When flipping a house goes right......and when it goes wrong. PART 1....
It's tough when you realize that in order to do something 'successfully', you need to do things that you don't necessarily find interesting or push your capabilities in the direction you want them to go. My experiences in flipping the two homes I discuss here are one of the many situations i've encountered lately that brought that reality into focus. First, i'll dive into a project that ticked all the boxes of a solid real estate investment project:

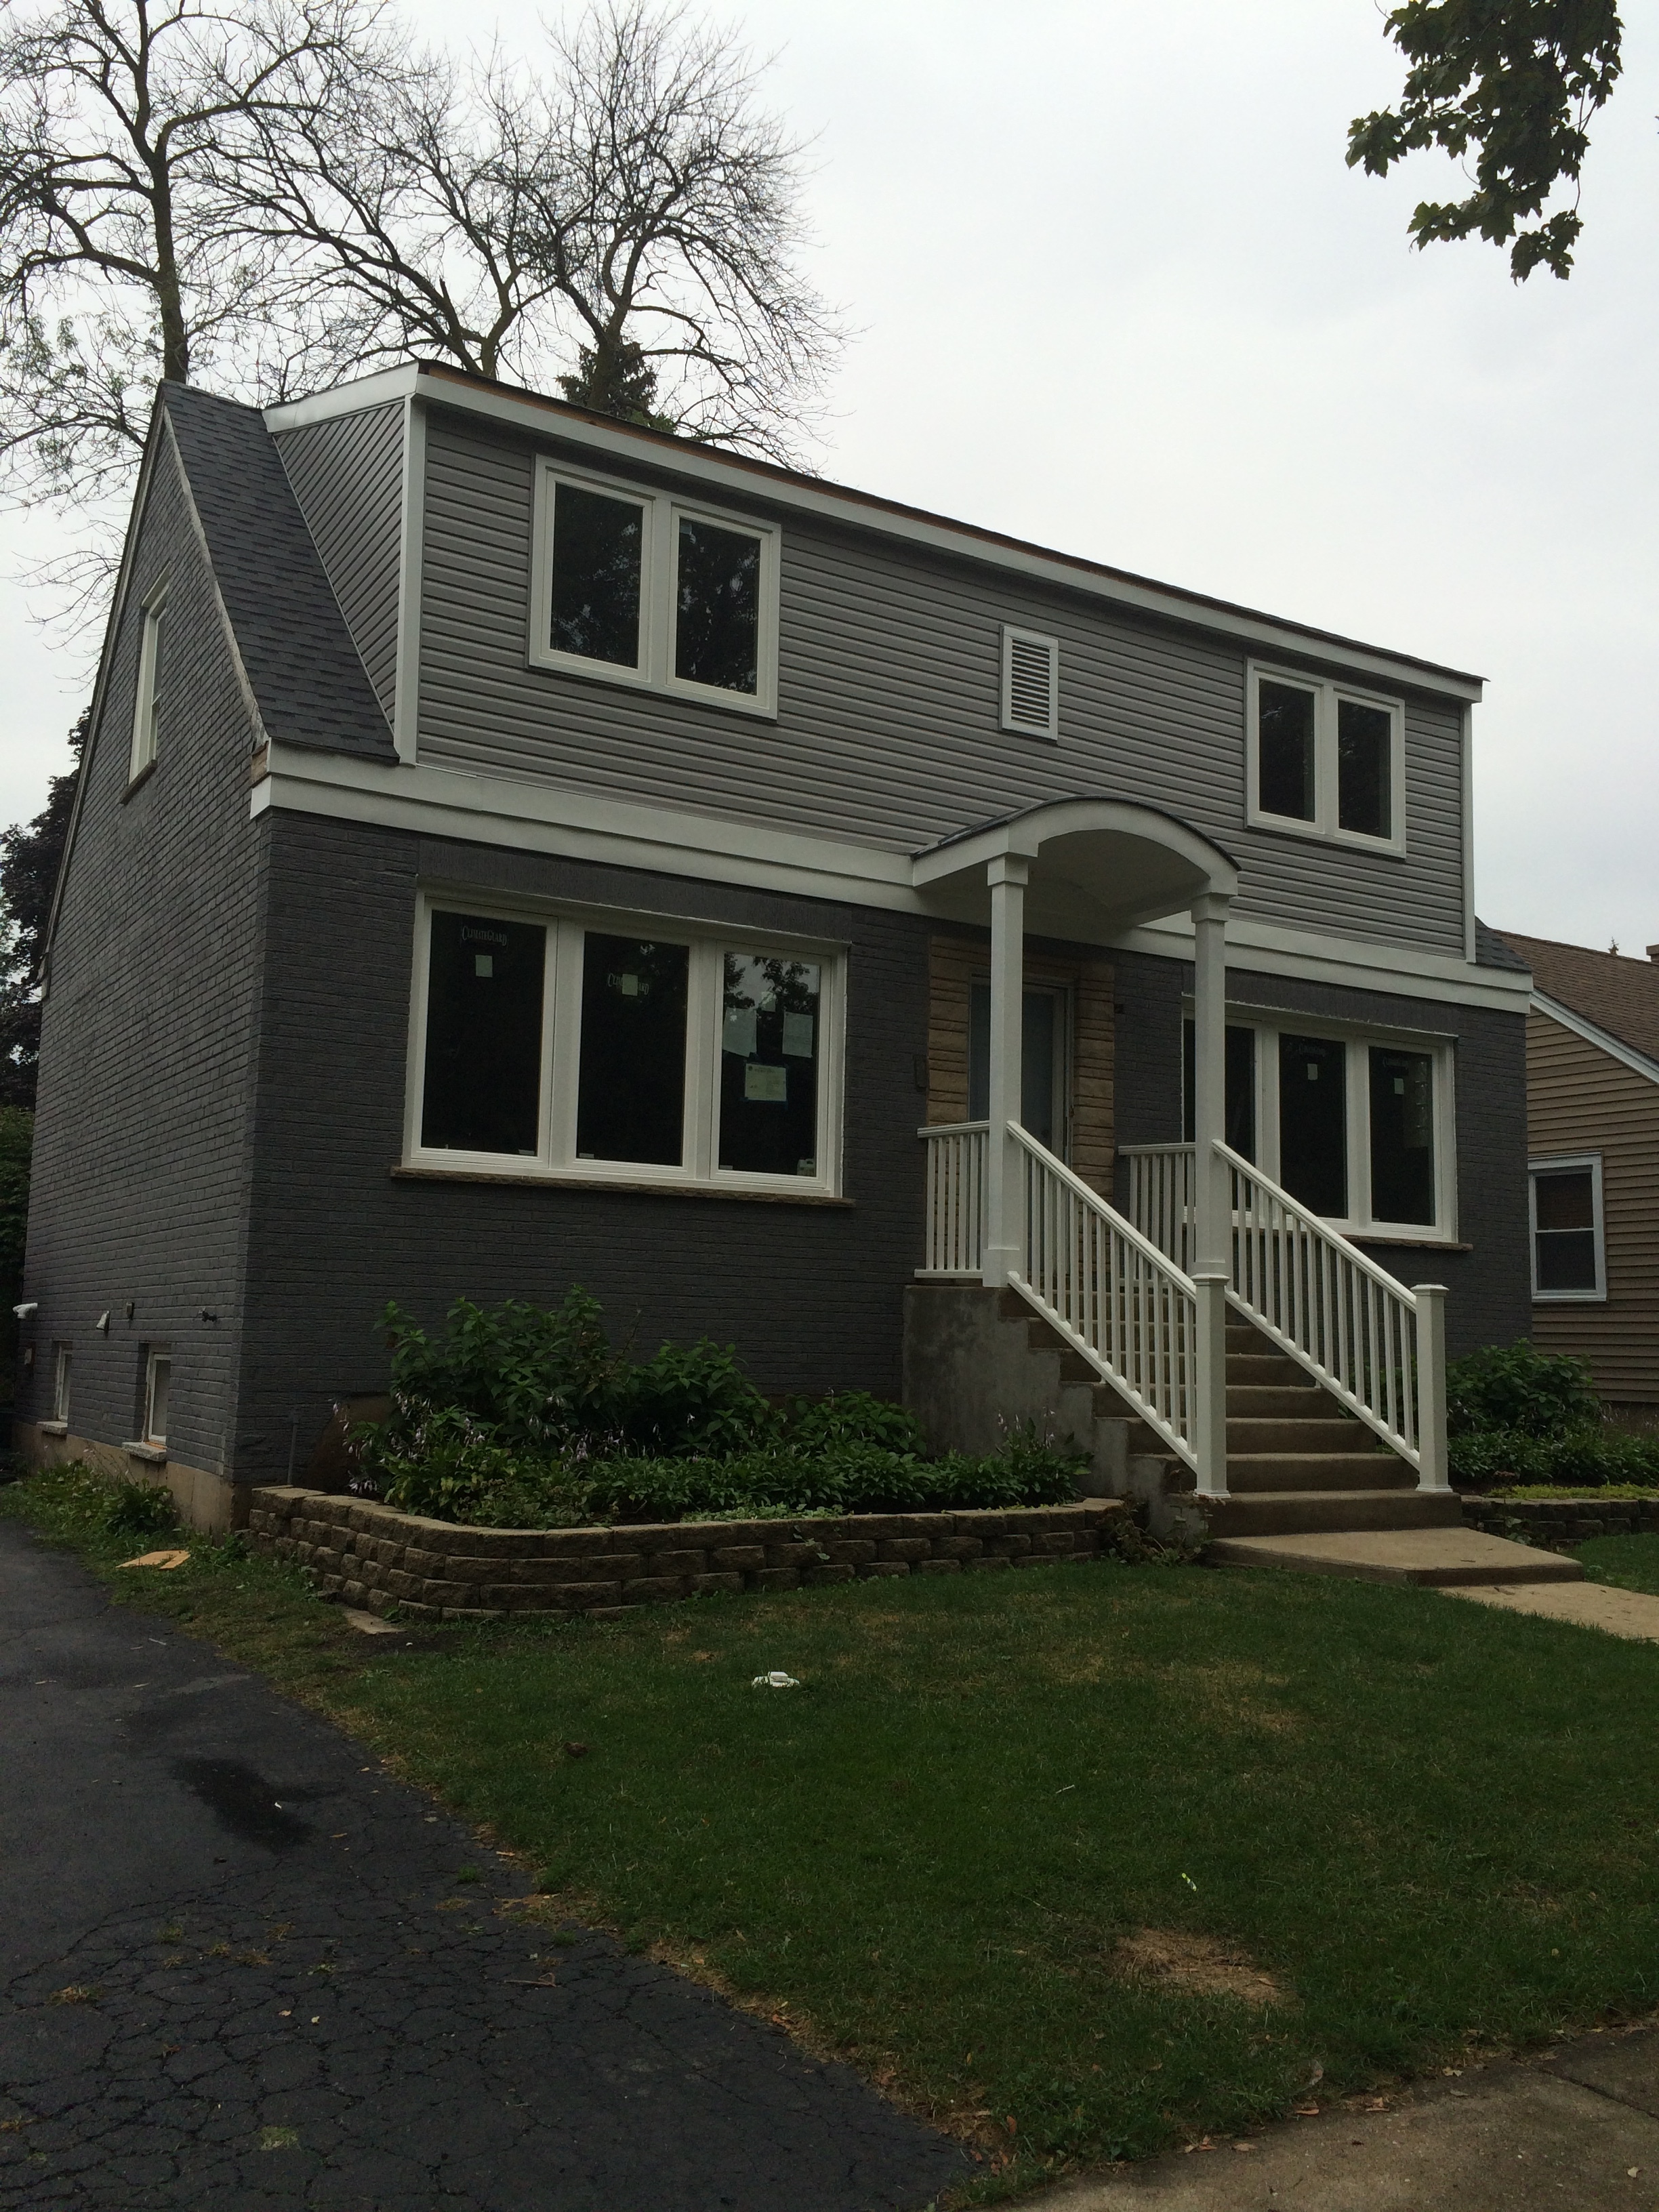
This solid little Cape Cod style cottage is everything I was looking for in a flip. After having worked with a handful of older, yet more charming, homes, I was adamant that I have a property with the following features:
- post WWII construction
- copper plumbing supply pipes
- 100amp electrical panel
- no foundations cracks
- walk-to-train location
- space for a master bath, if it didn't have one already
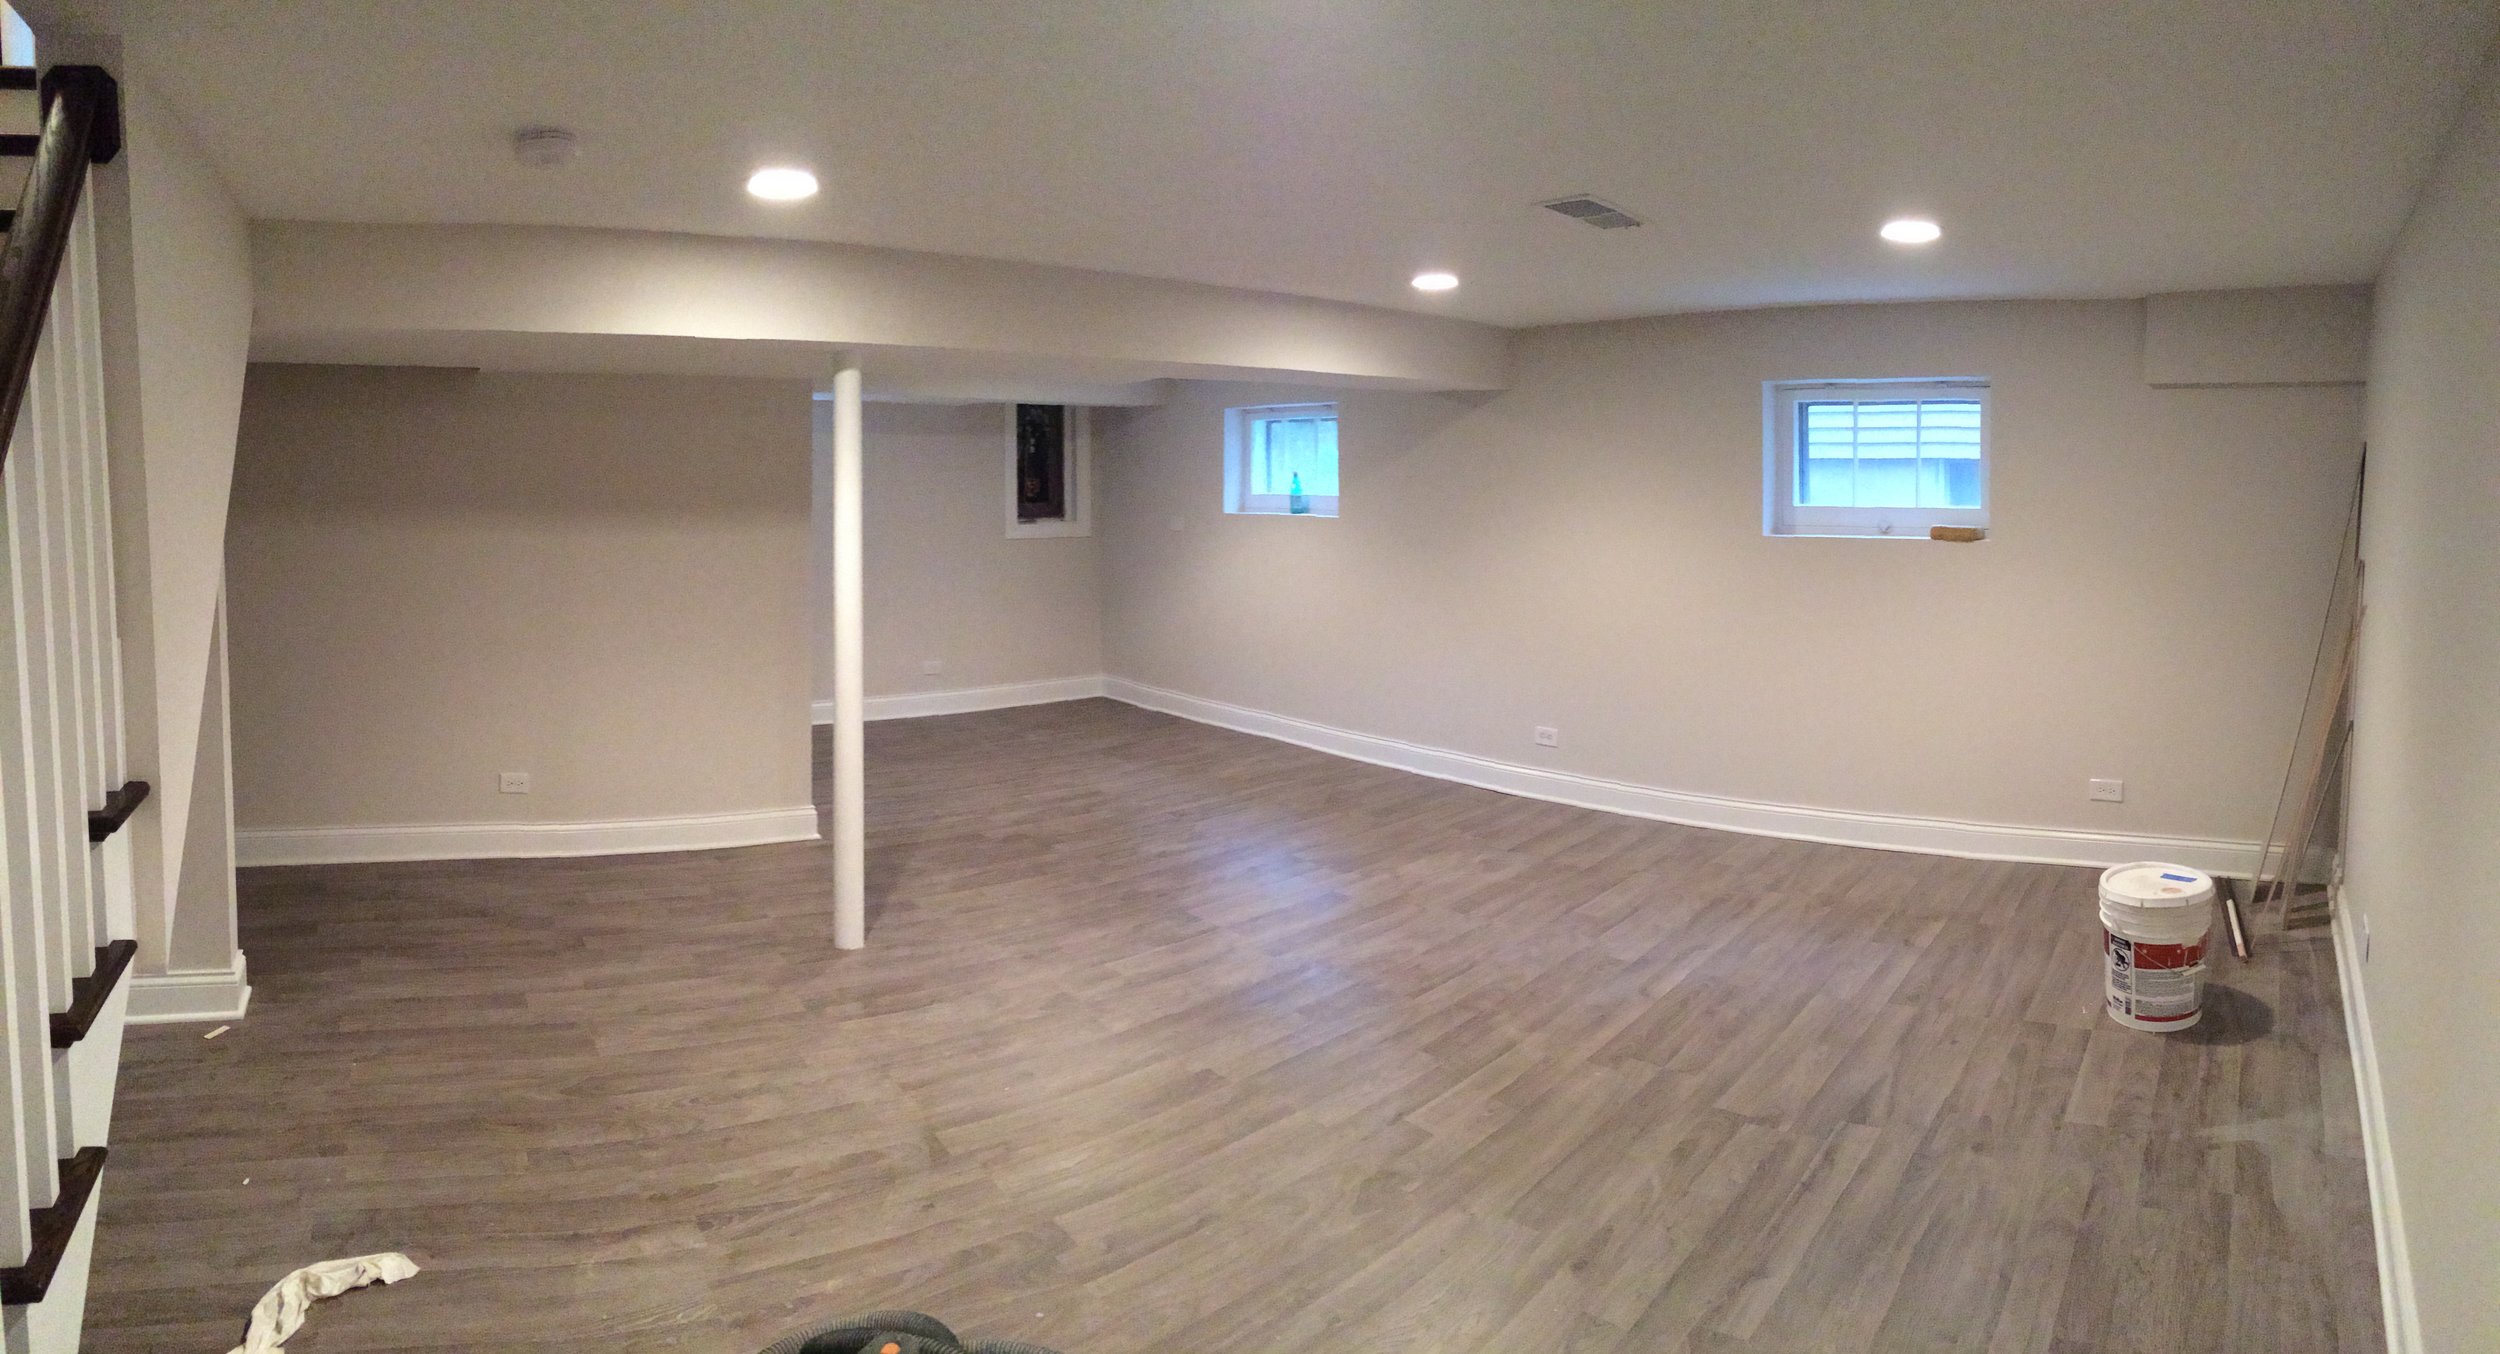
- minimum 7' basement ceilings, 8' preferred
The items above weren't hard to find in this neighborhood, and this one was priced properly to reflect it's rather unloved condition - right in that sweet spot between a thoroughly dated interior that needs and overhaul and a generally healthy structure that has no major issues.
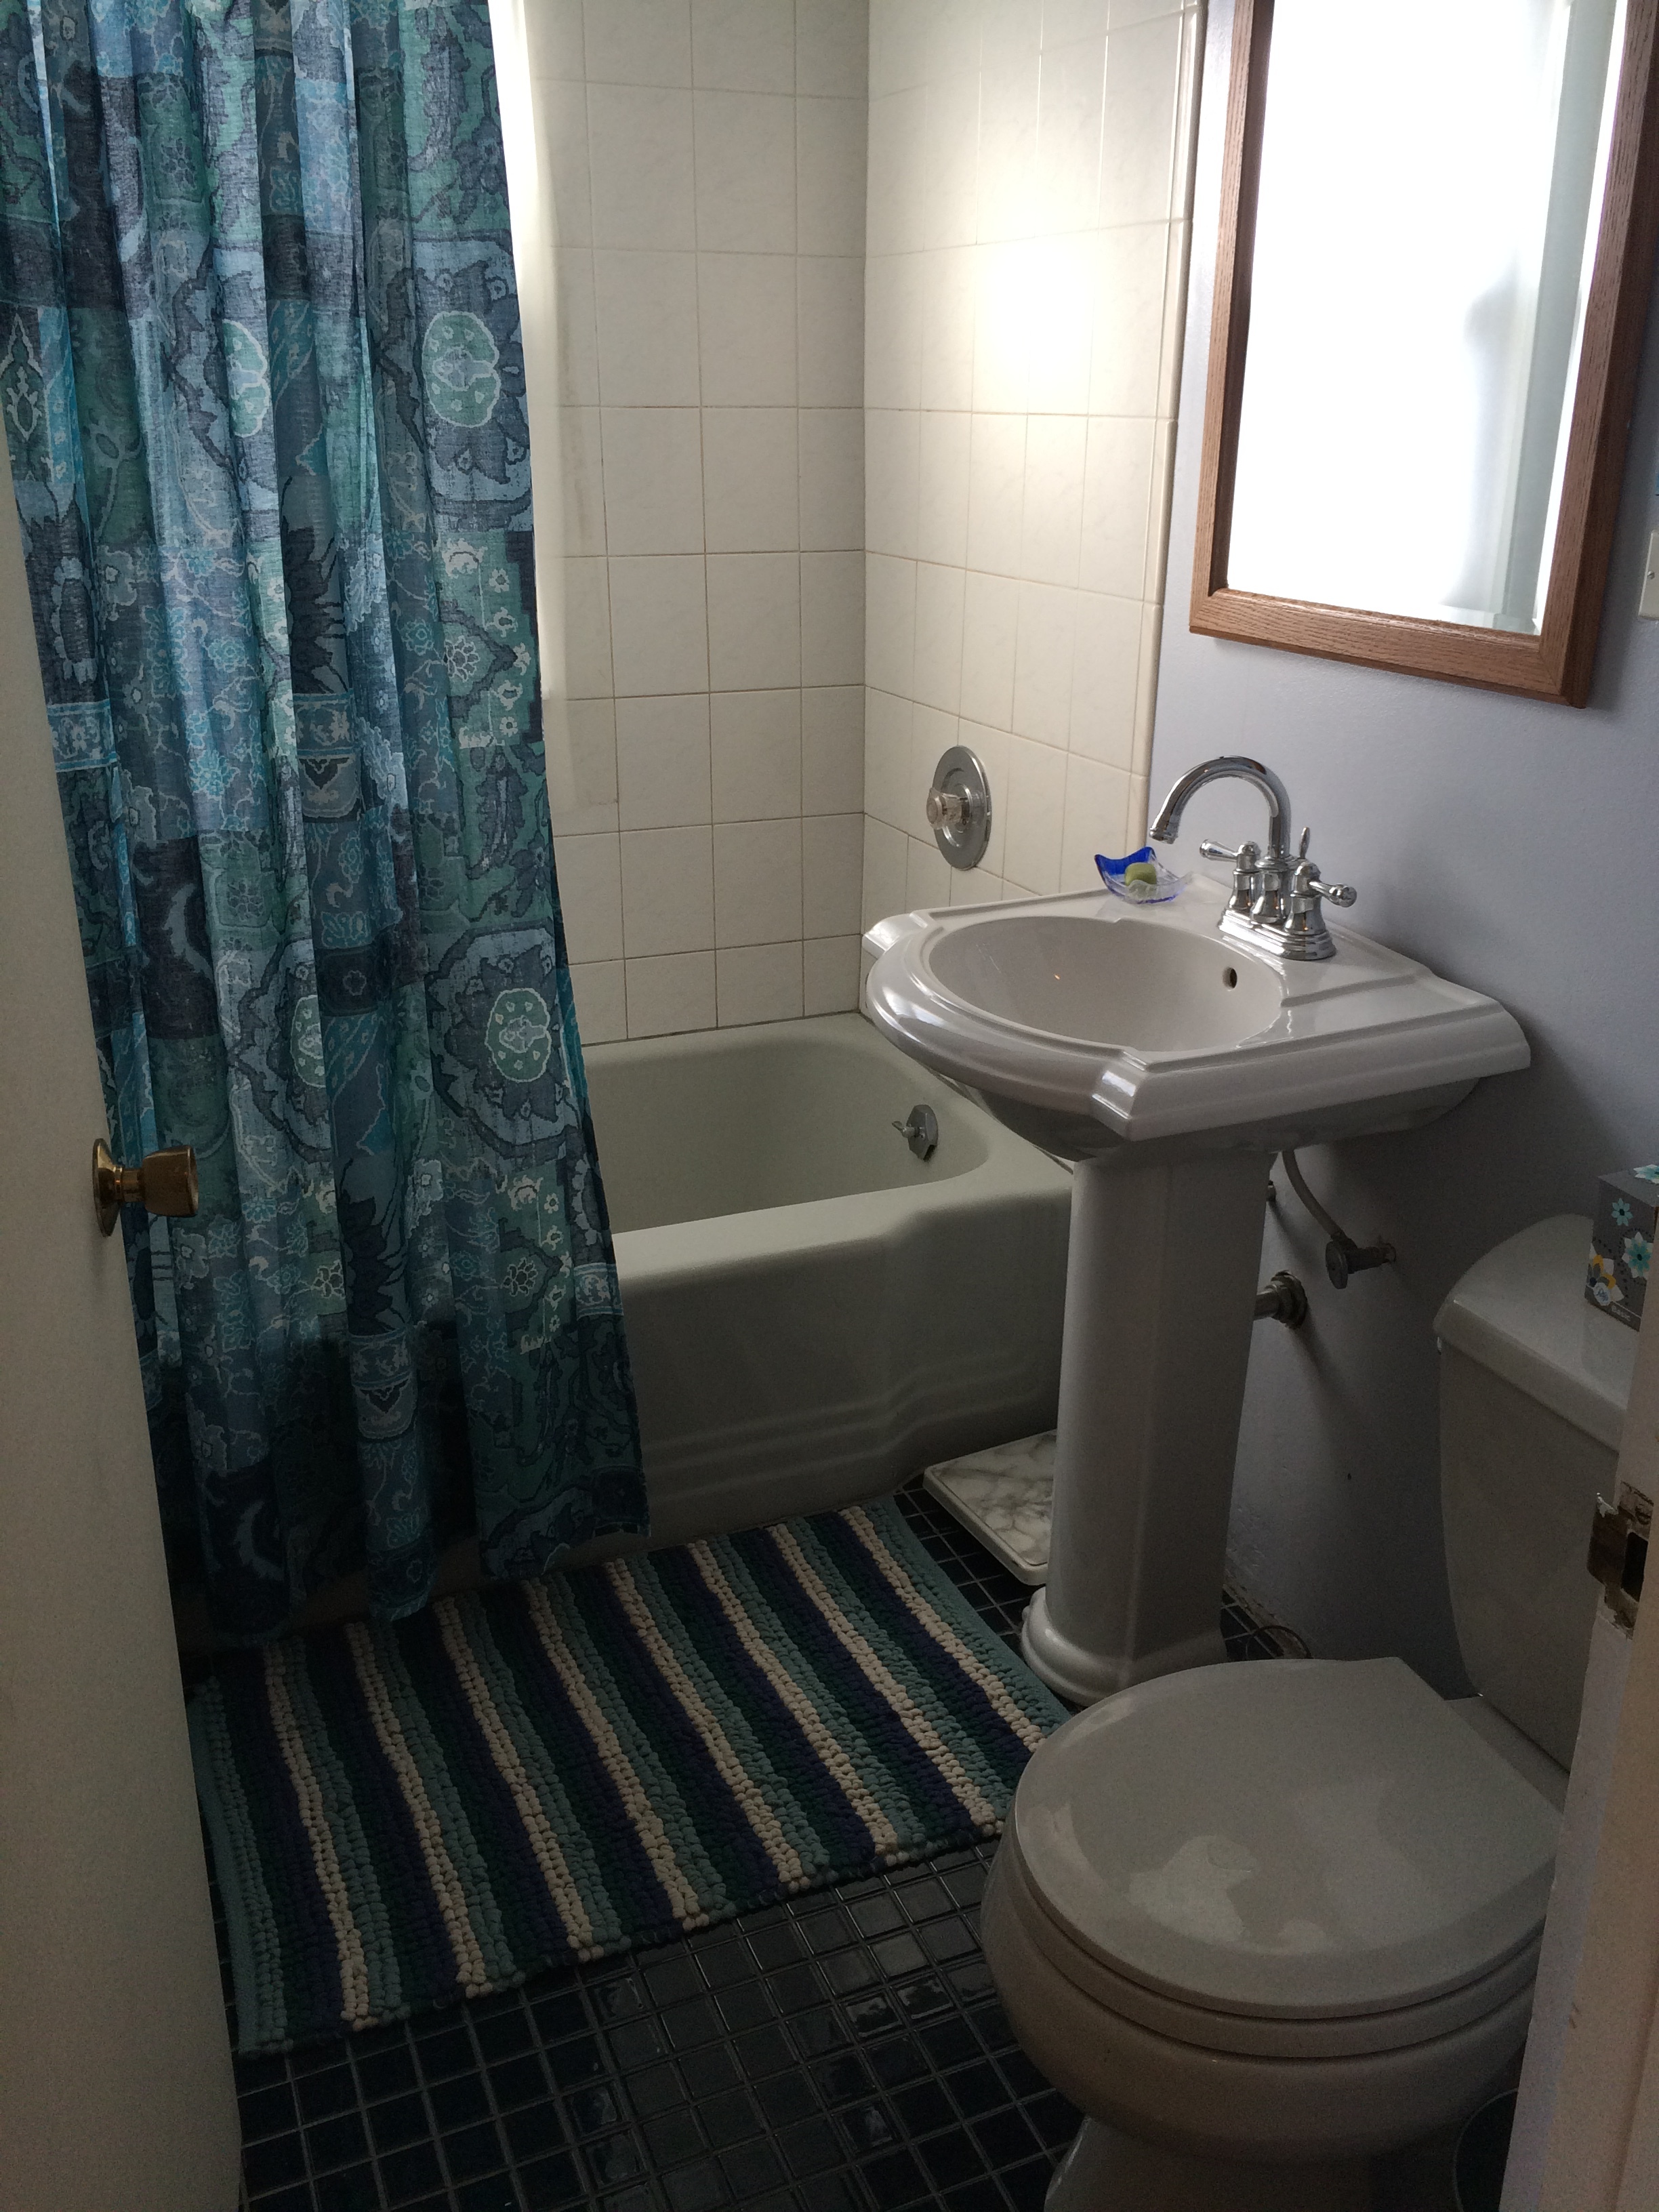
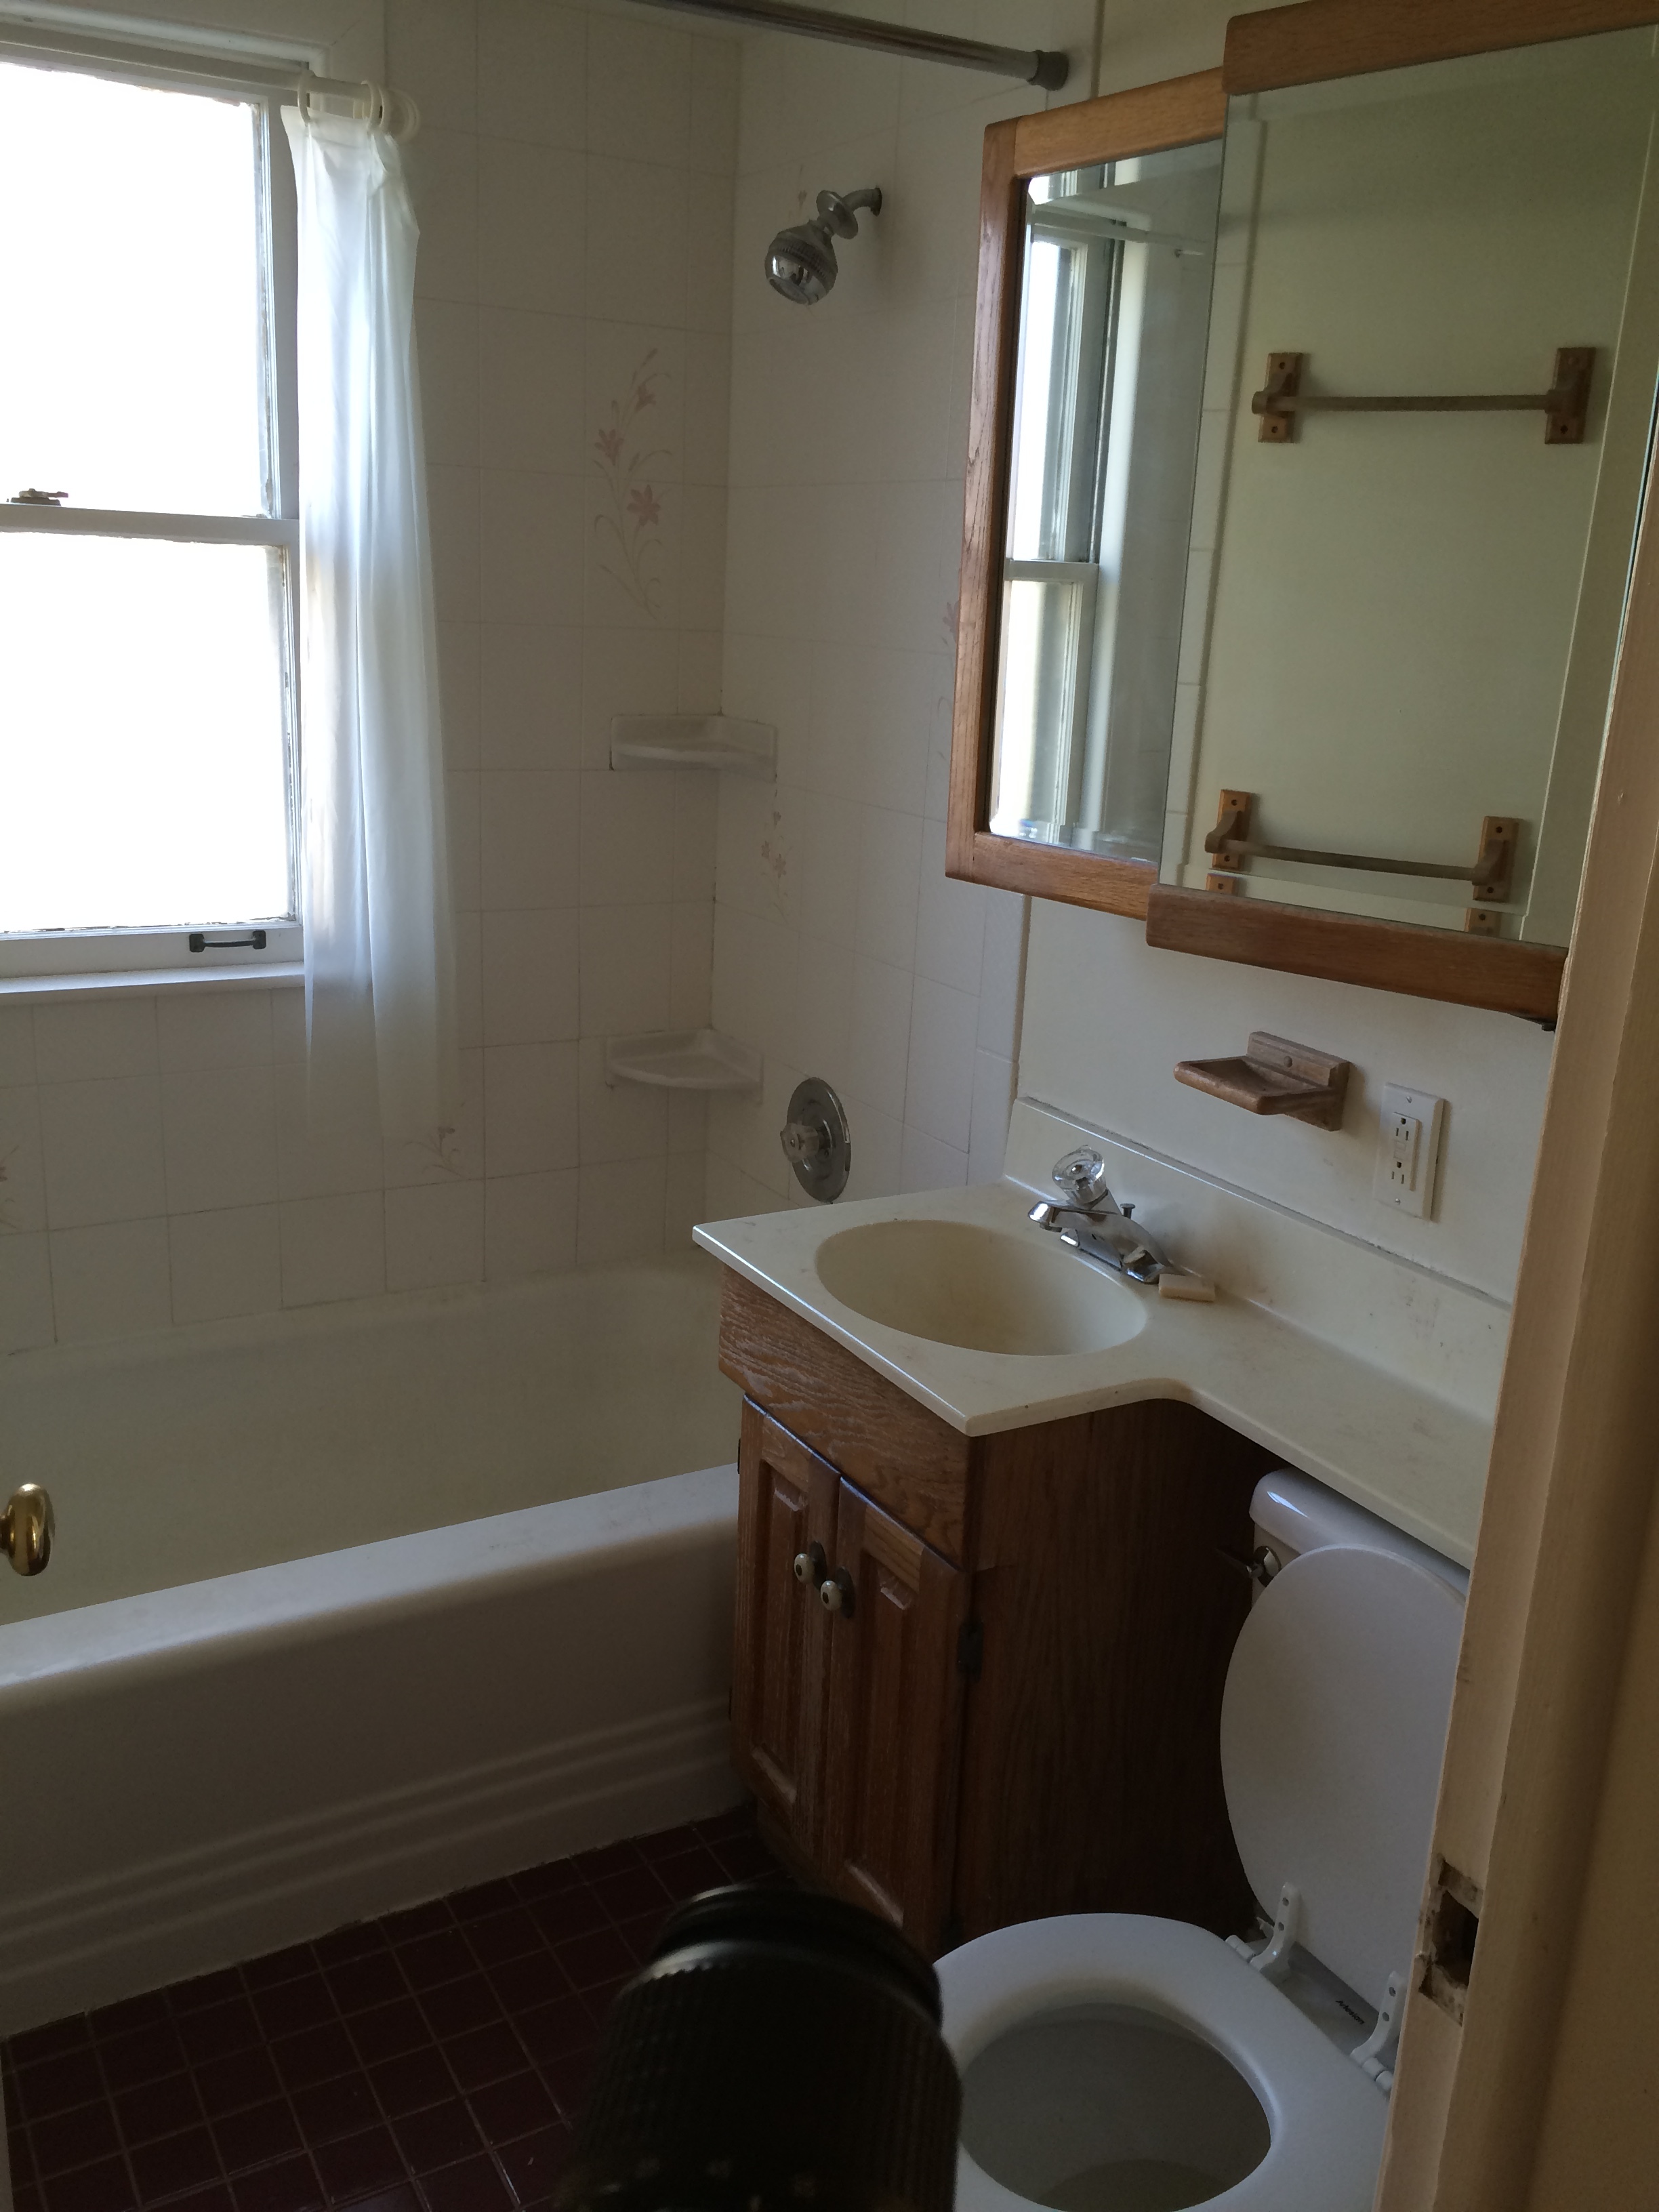

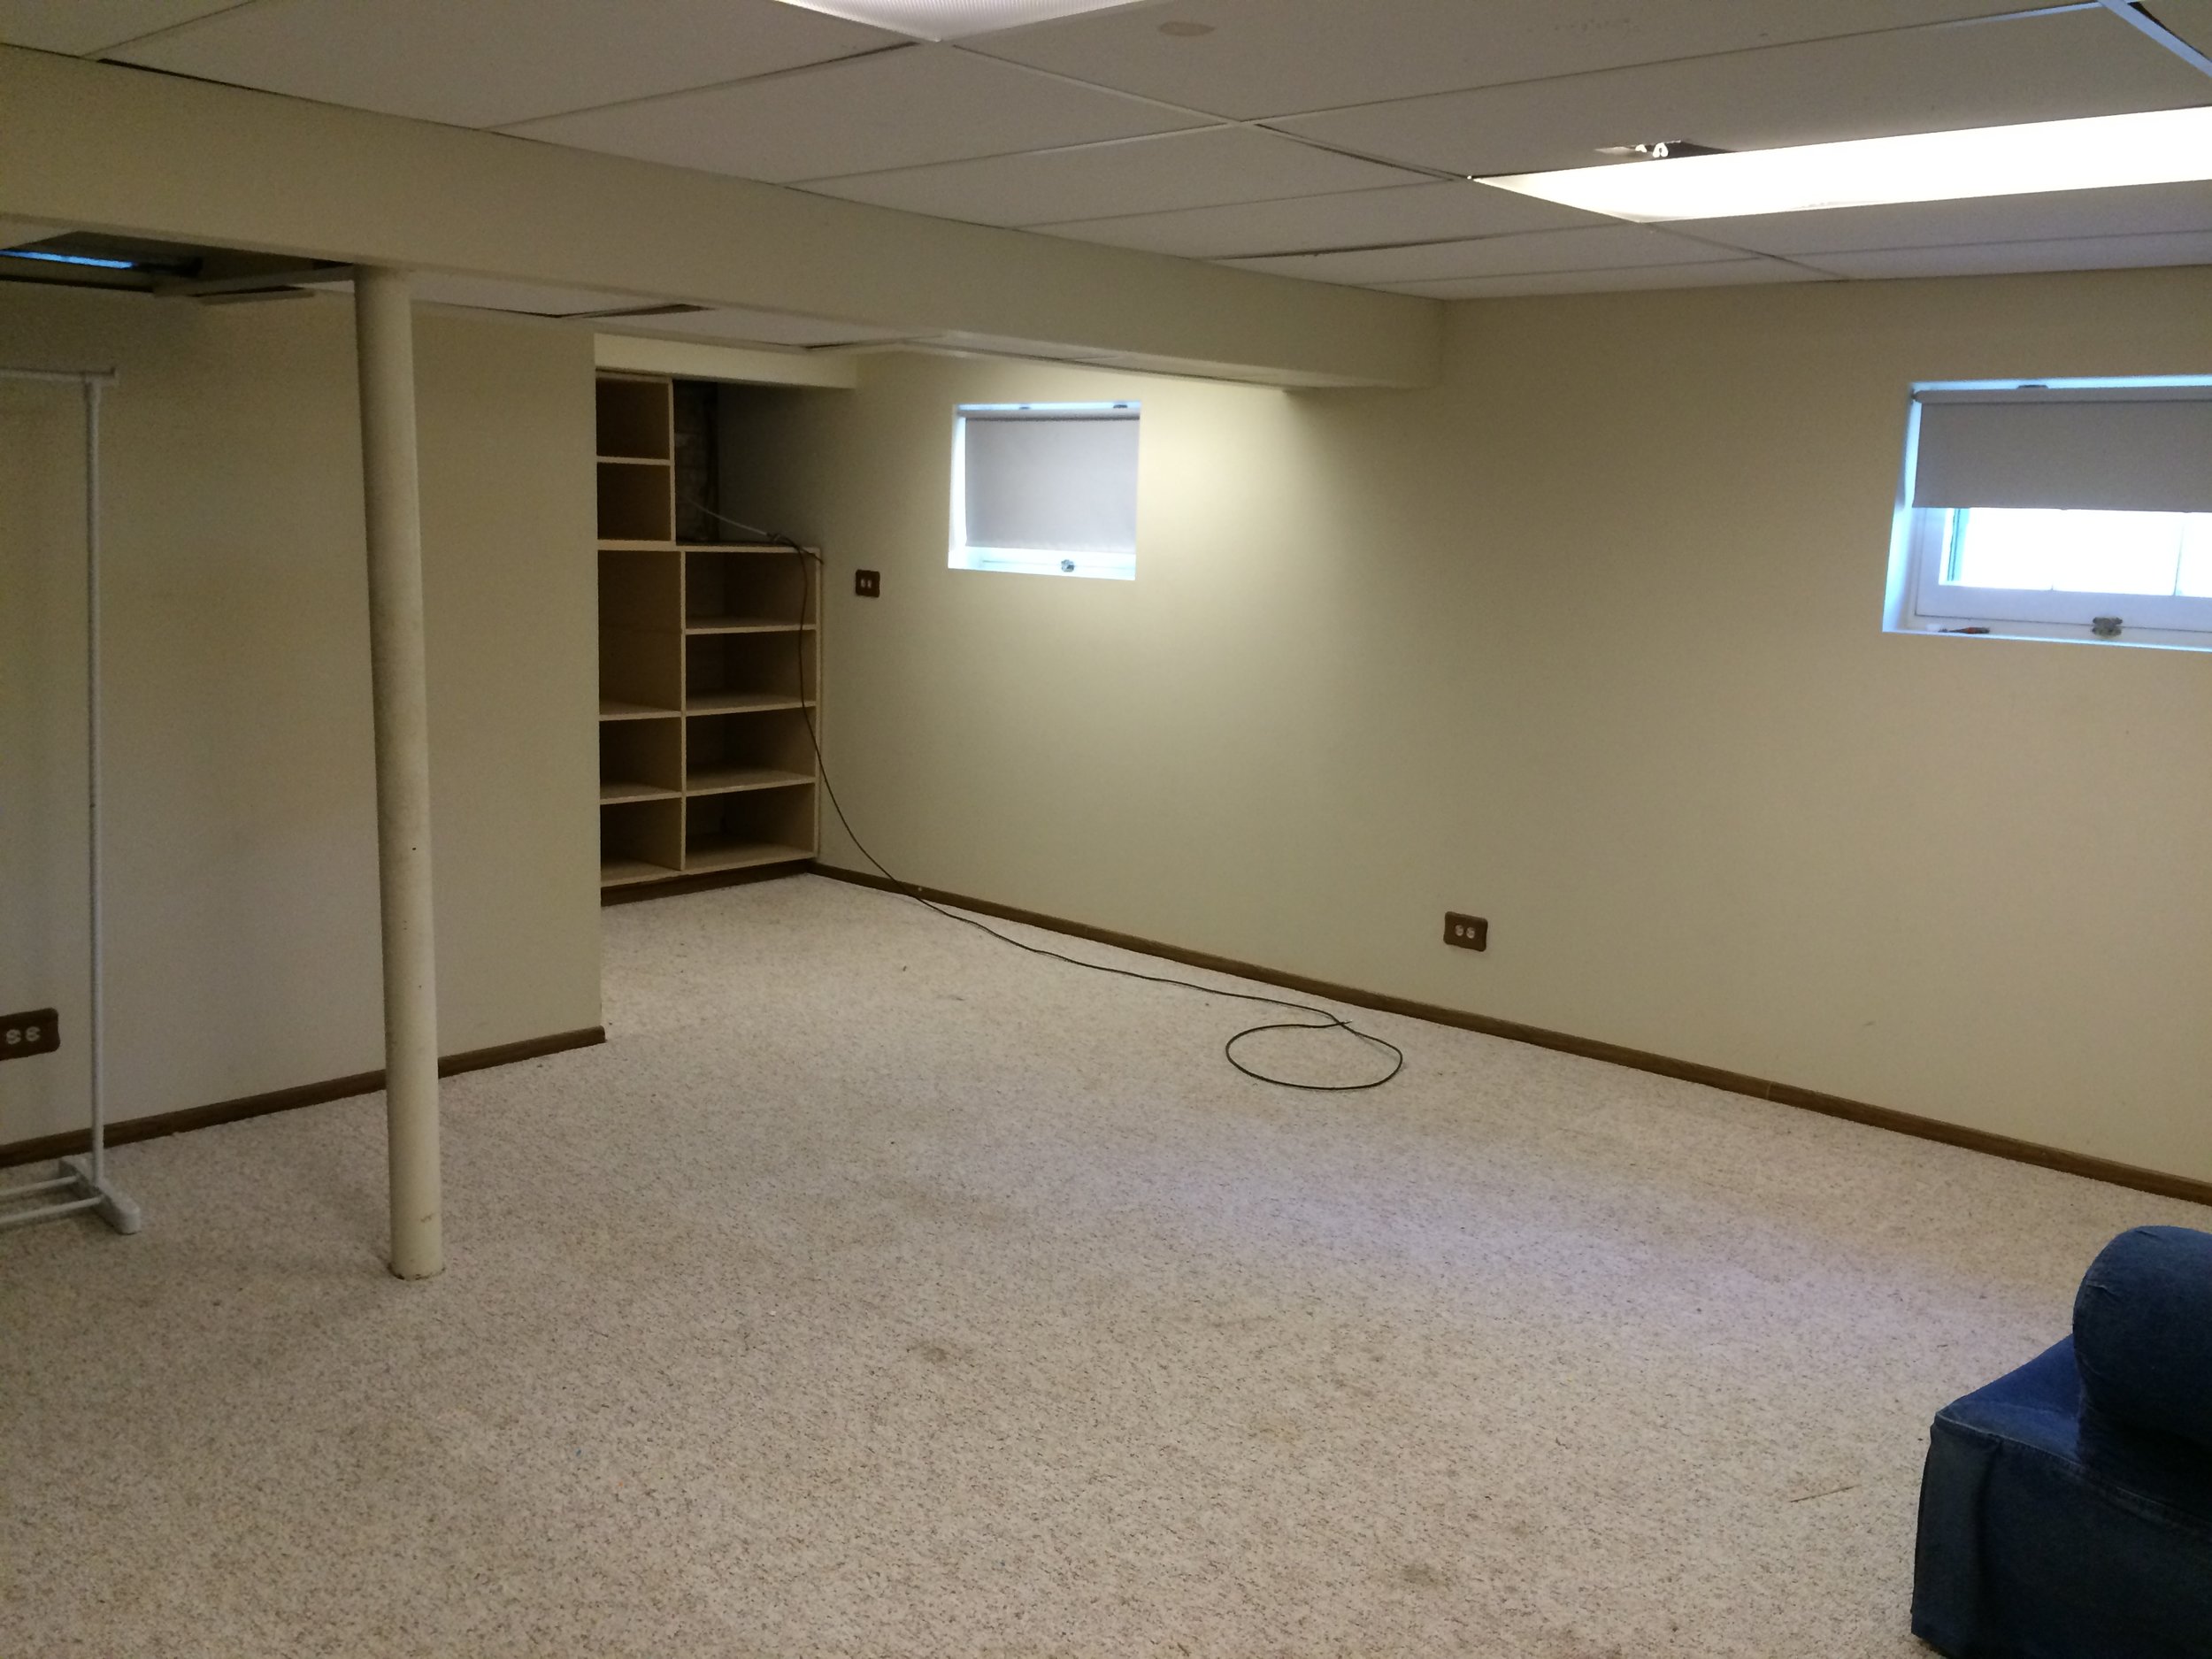

See? Not too bad, huh? What you can't see in photos, though, is that untangible tinge of age, musty smell, and forgotten feel that makes good houses fall victim to the market. There were also problems like uncoordinated brick varieties, a missing master suite, and too many walls. My goals were to add as much value and utility to the house without adding to the footprint. Foundations are expensive, and would have destroyed my profit margins. Little cottages like this, with their gable rooflines, make for great candidates to dormer out and add a bedroom, and the floor plan of this gem made it easy to add that coveted 3rd - and master - bathroom, too. Cue the sledgehammers, building permits, and bleeding of cash!
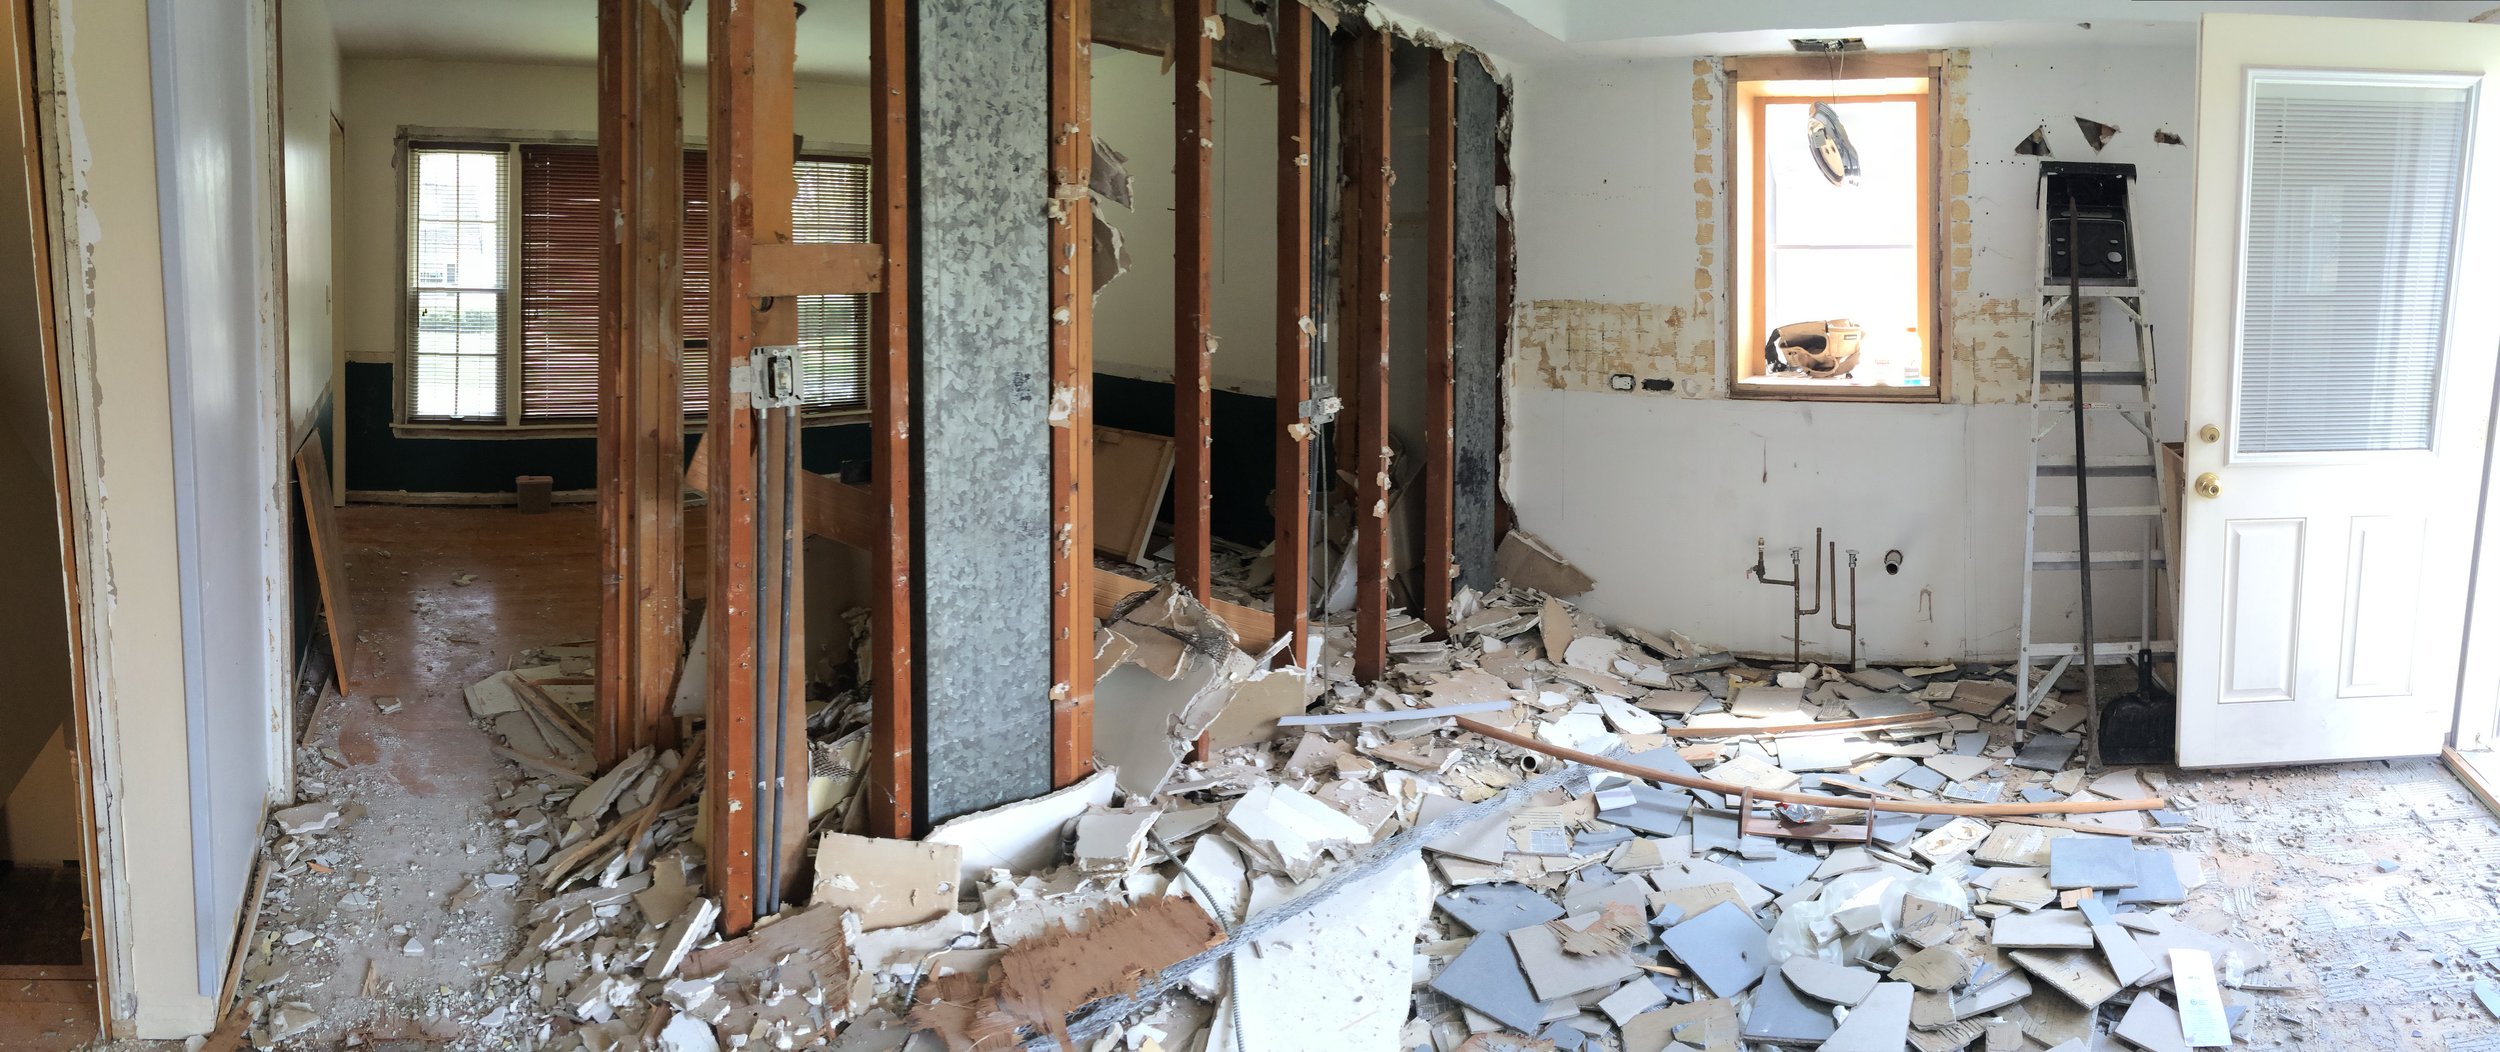
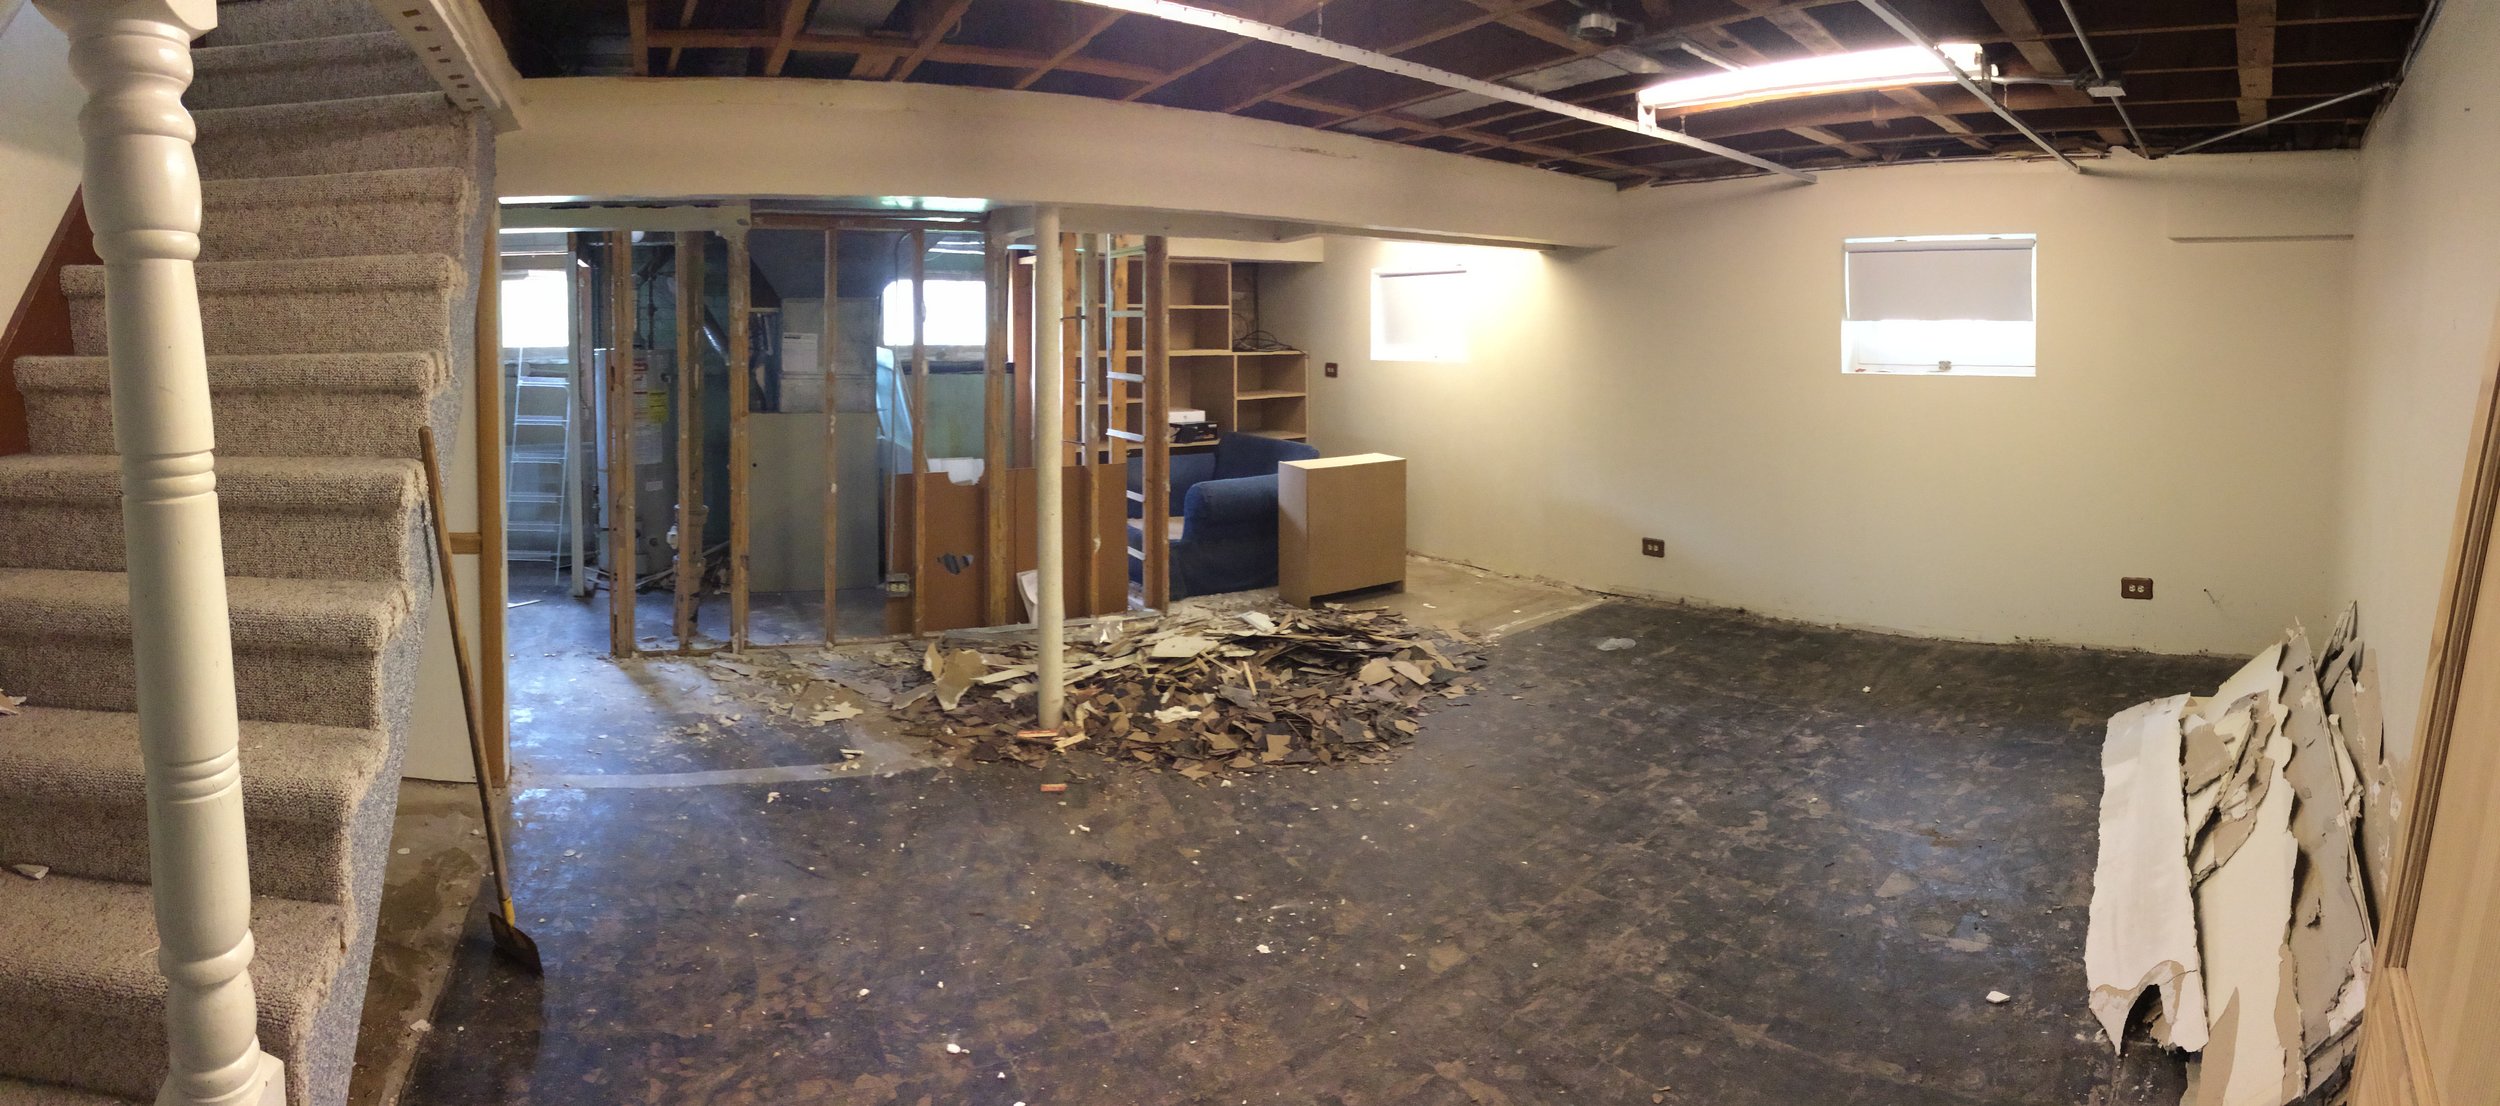
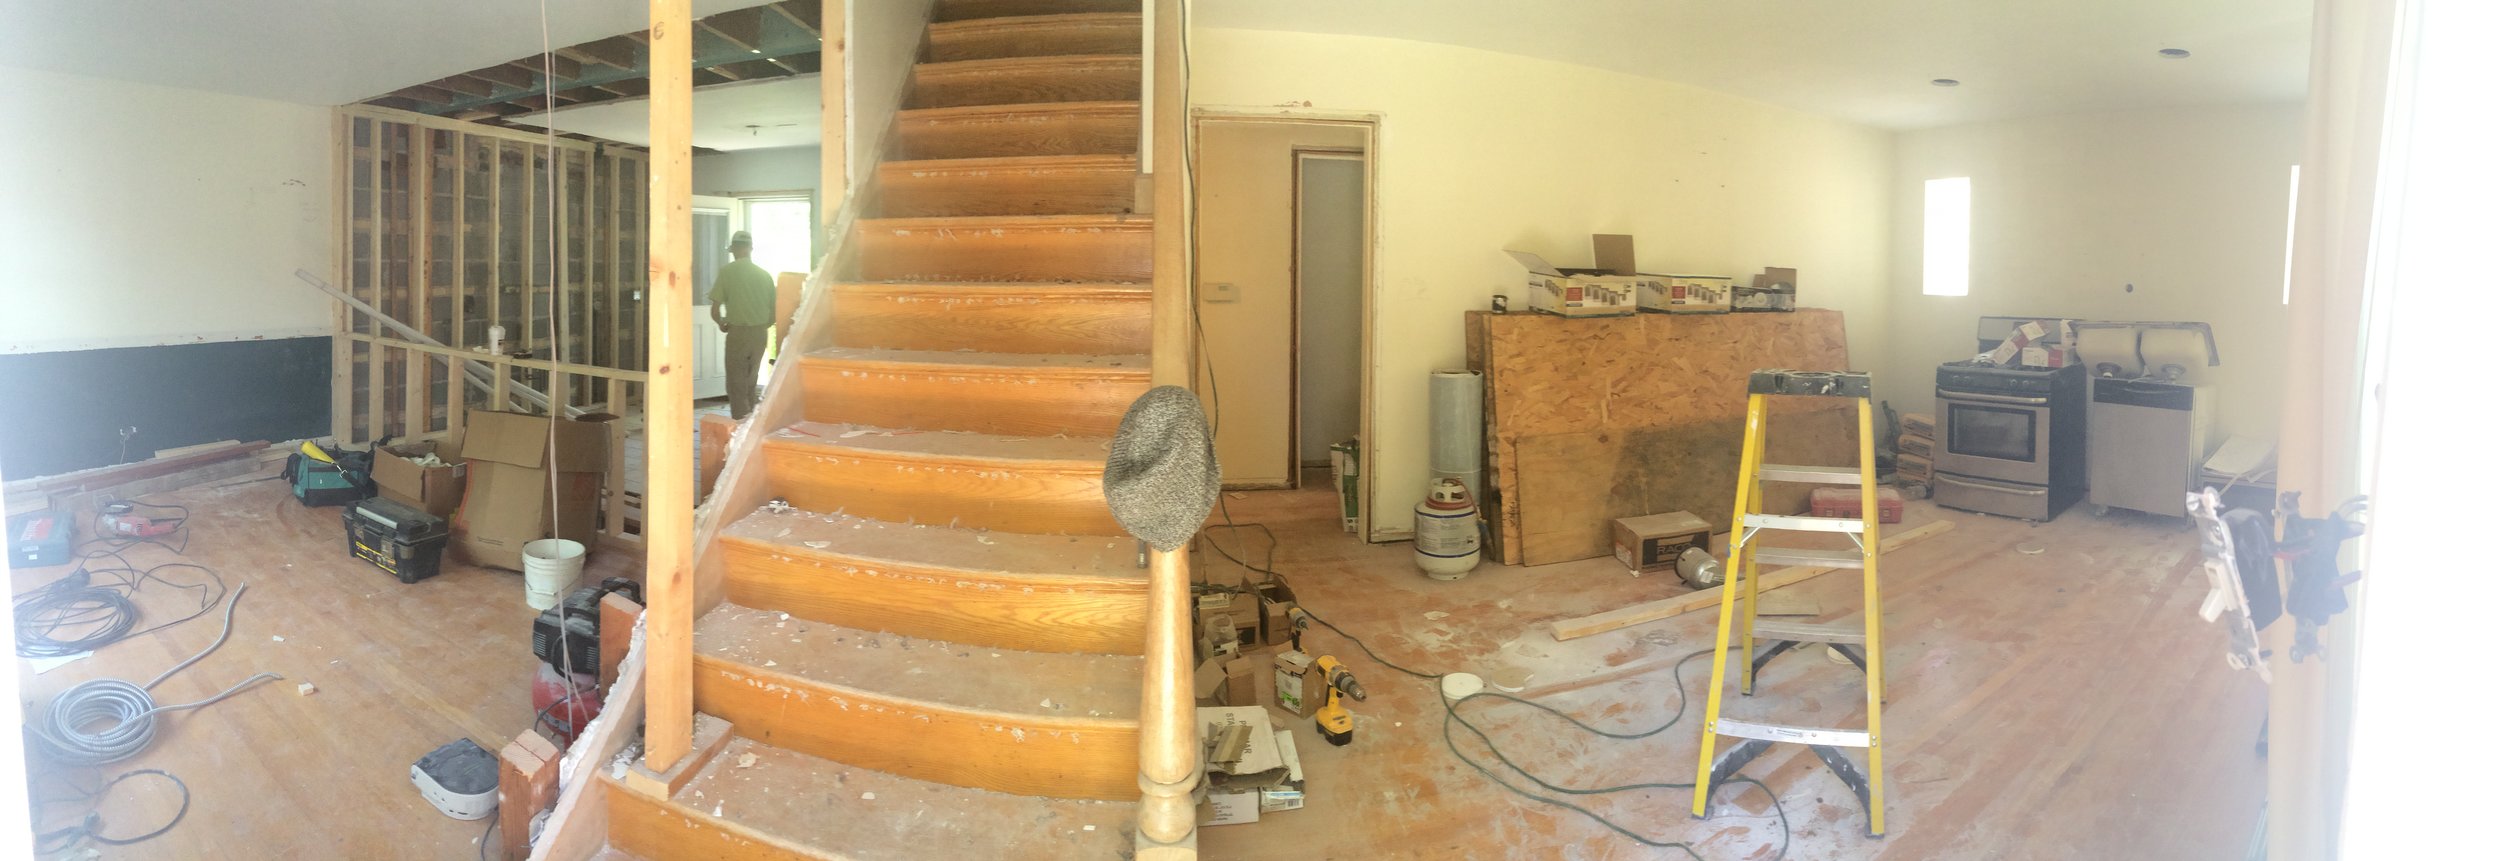
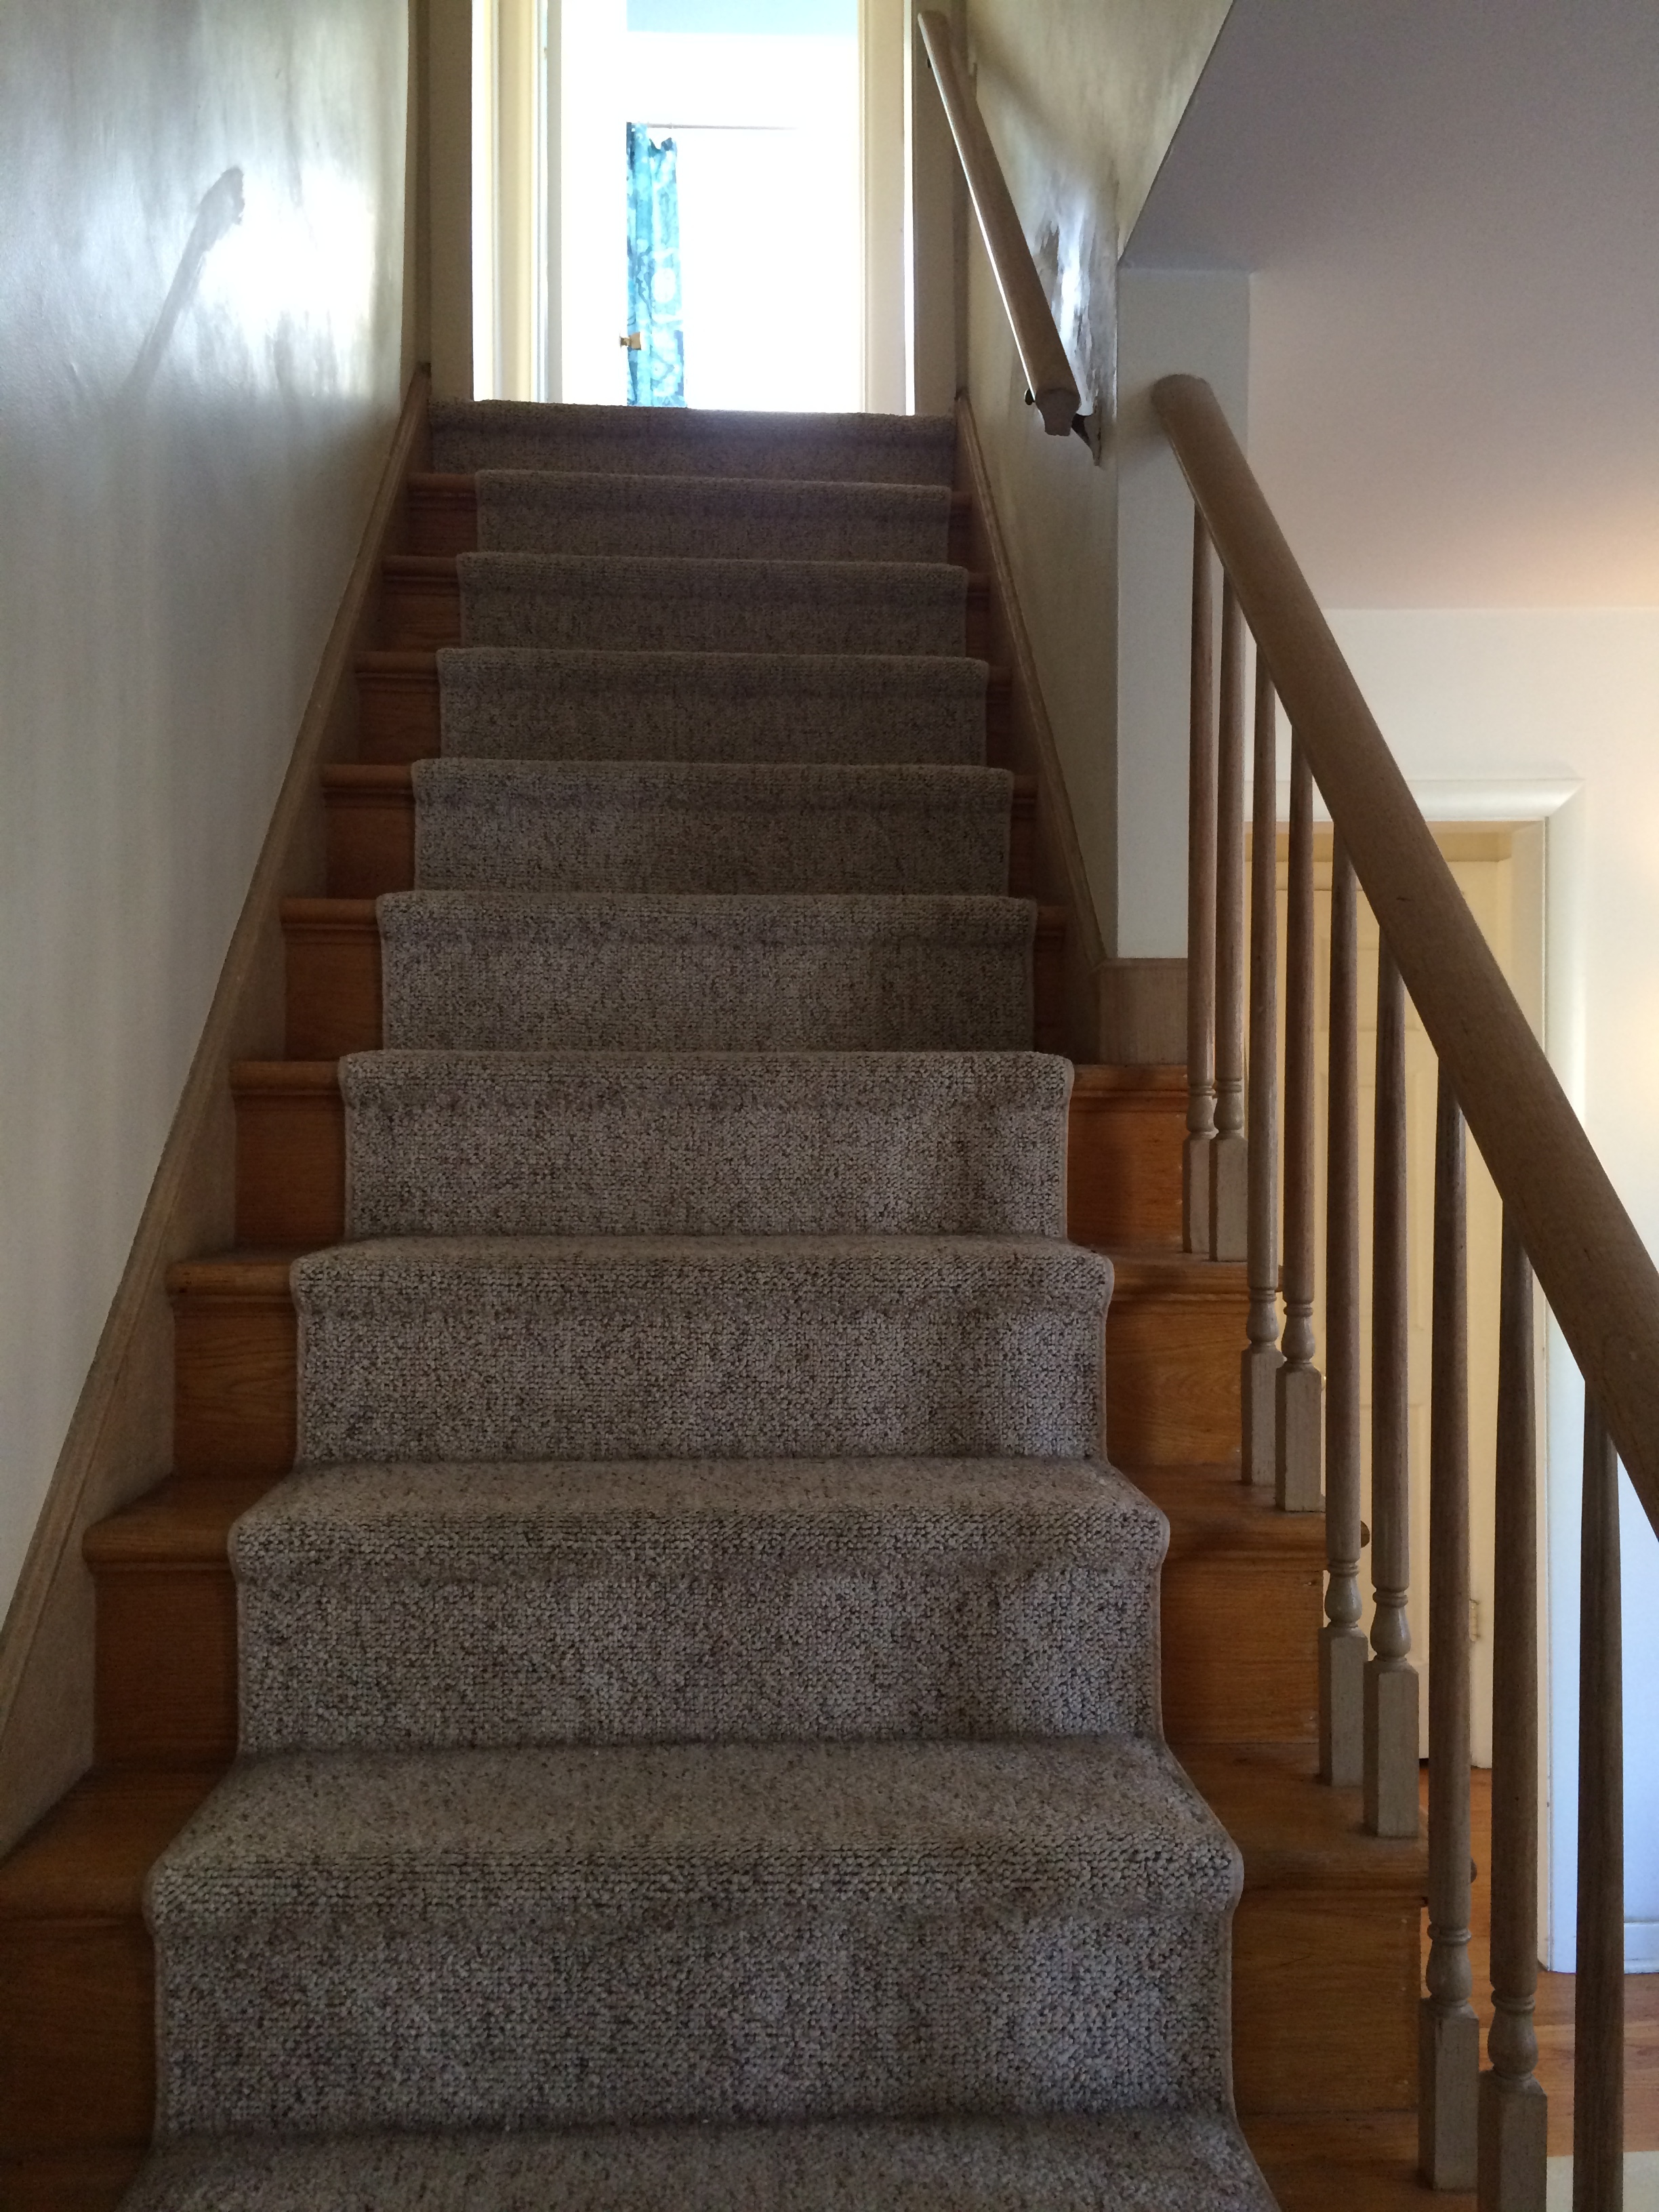
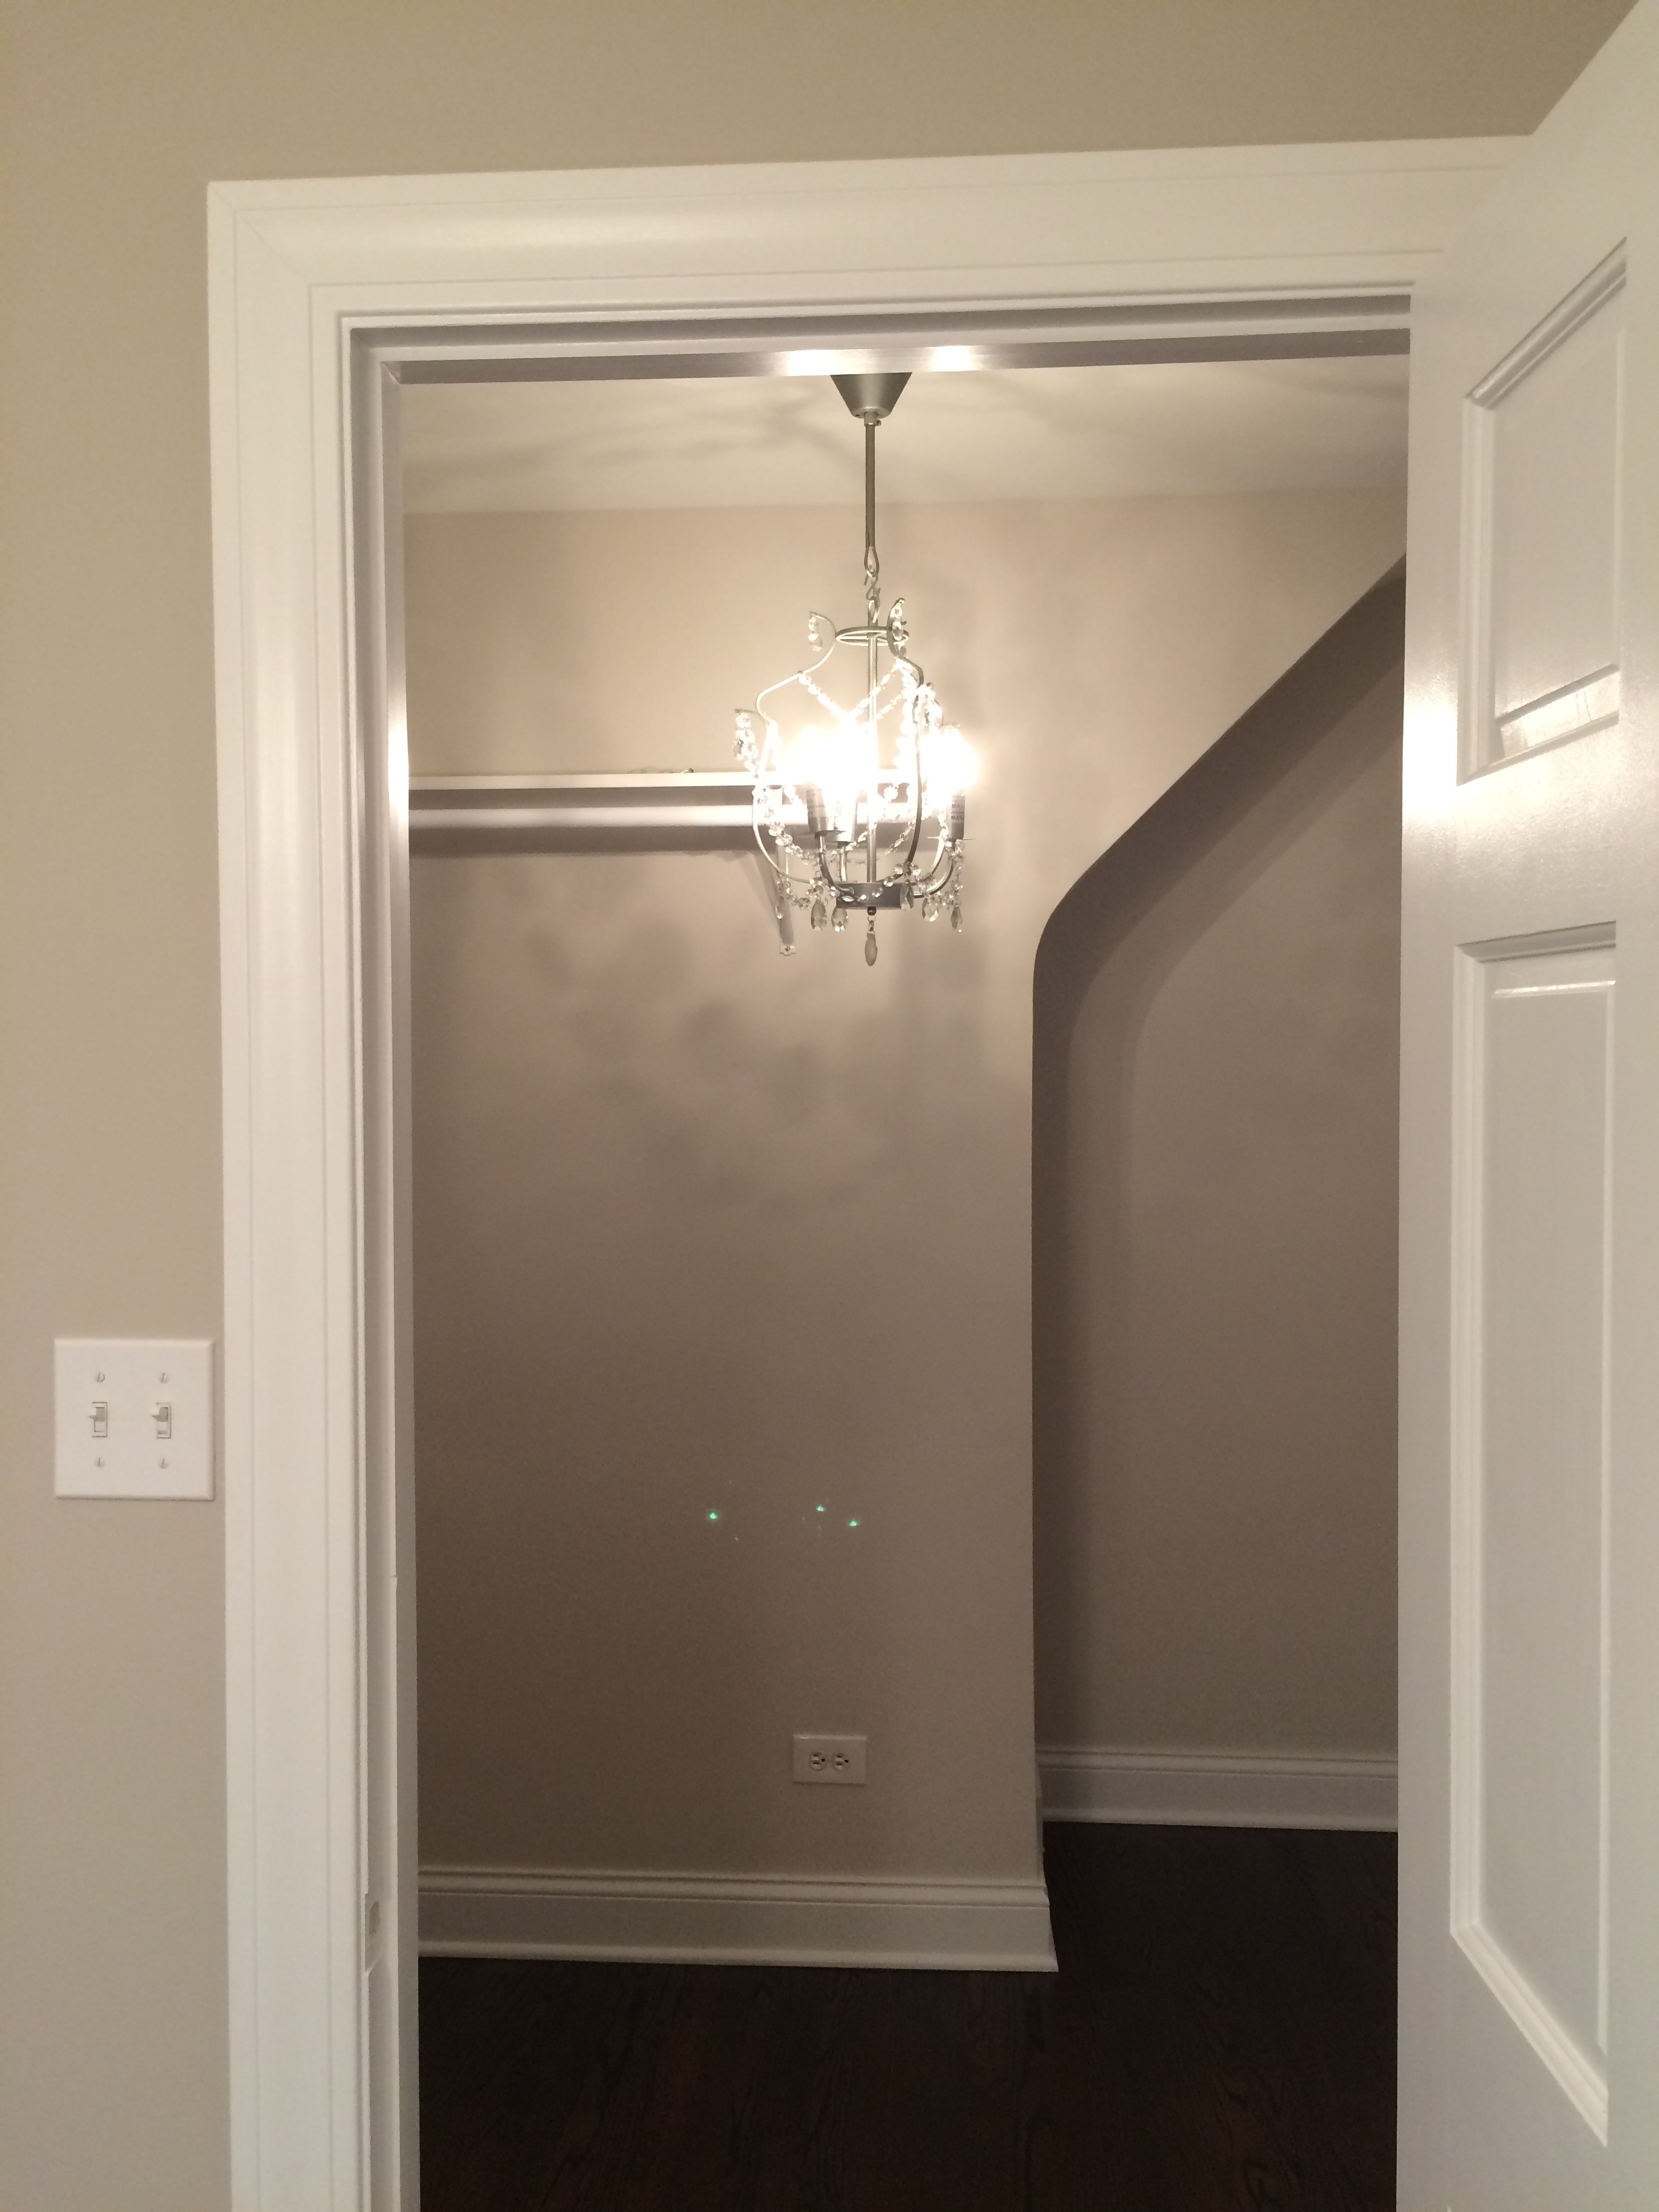
This is always the most satisfying part for me - the rough bits, the messy bits, the heavy lifting and tearing out the issues that weighed heavy on the house. For this house, I opened up the first floor by removing a wall between the dining and kitchen, as well as most of the walls closing off the staircase. Because of the style, size, and structural plan of the house, this modification was quick and easy - which translates to being easy on the budget as well. We also busted into the attic, allowing us to dormer the front half of the house to match the back - and add a master suite!! This was key to reselling the house - without the master suite it's just a tiny postwar bungalow with a new set of cabinets.
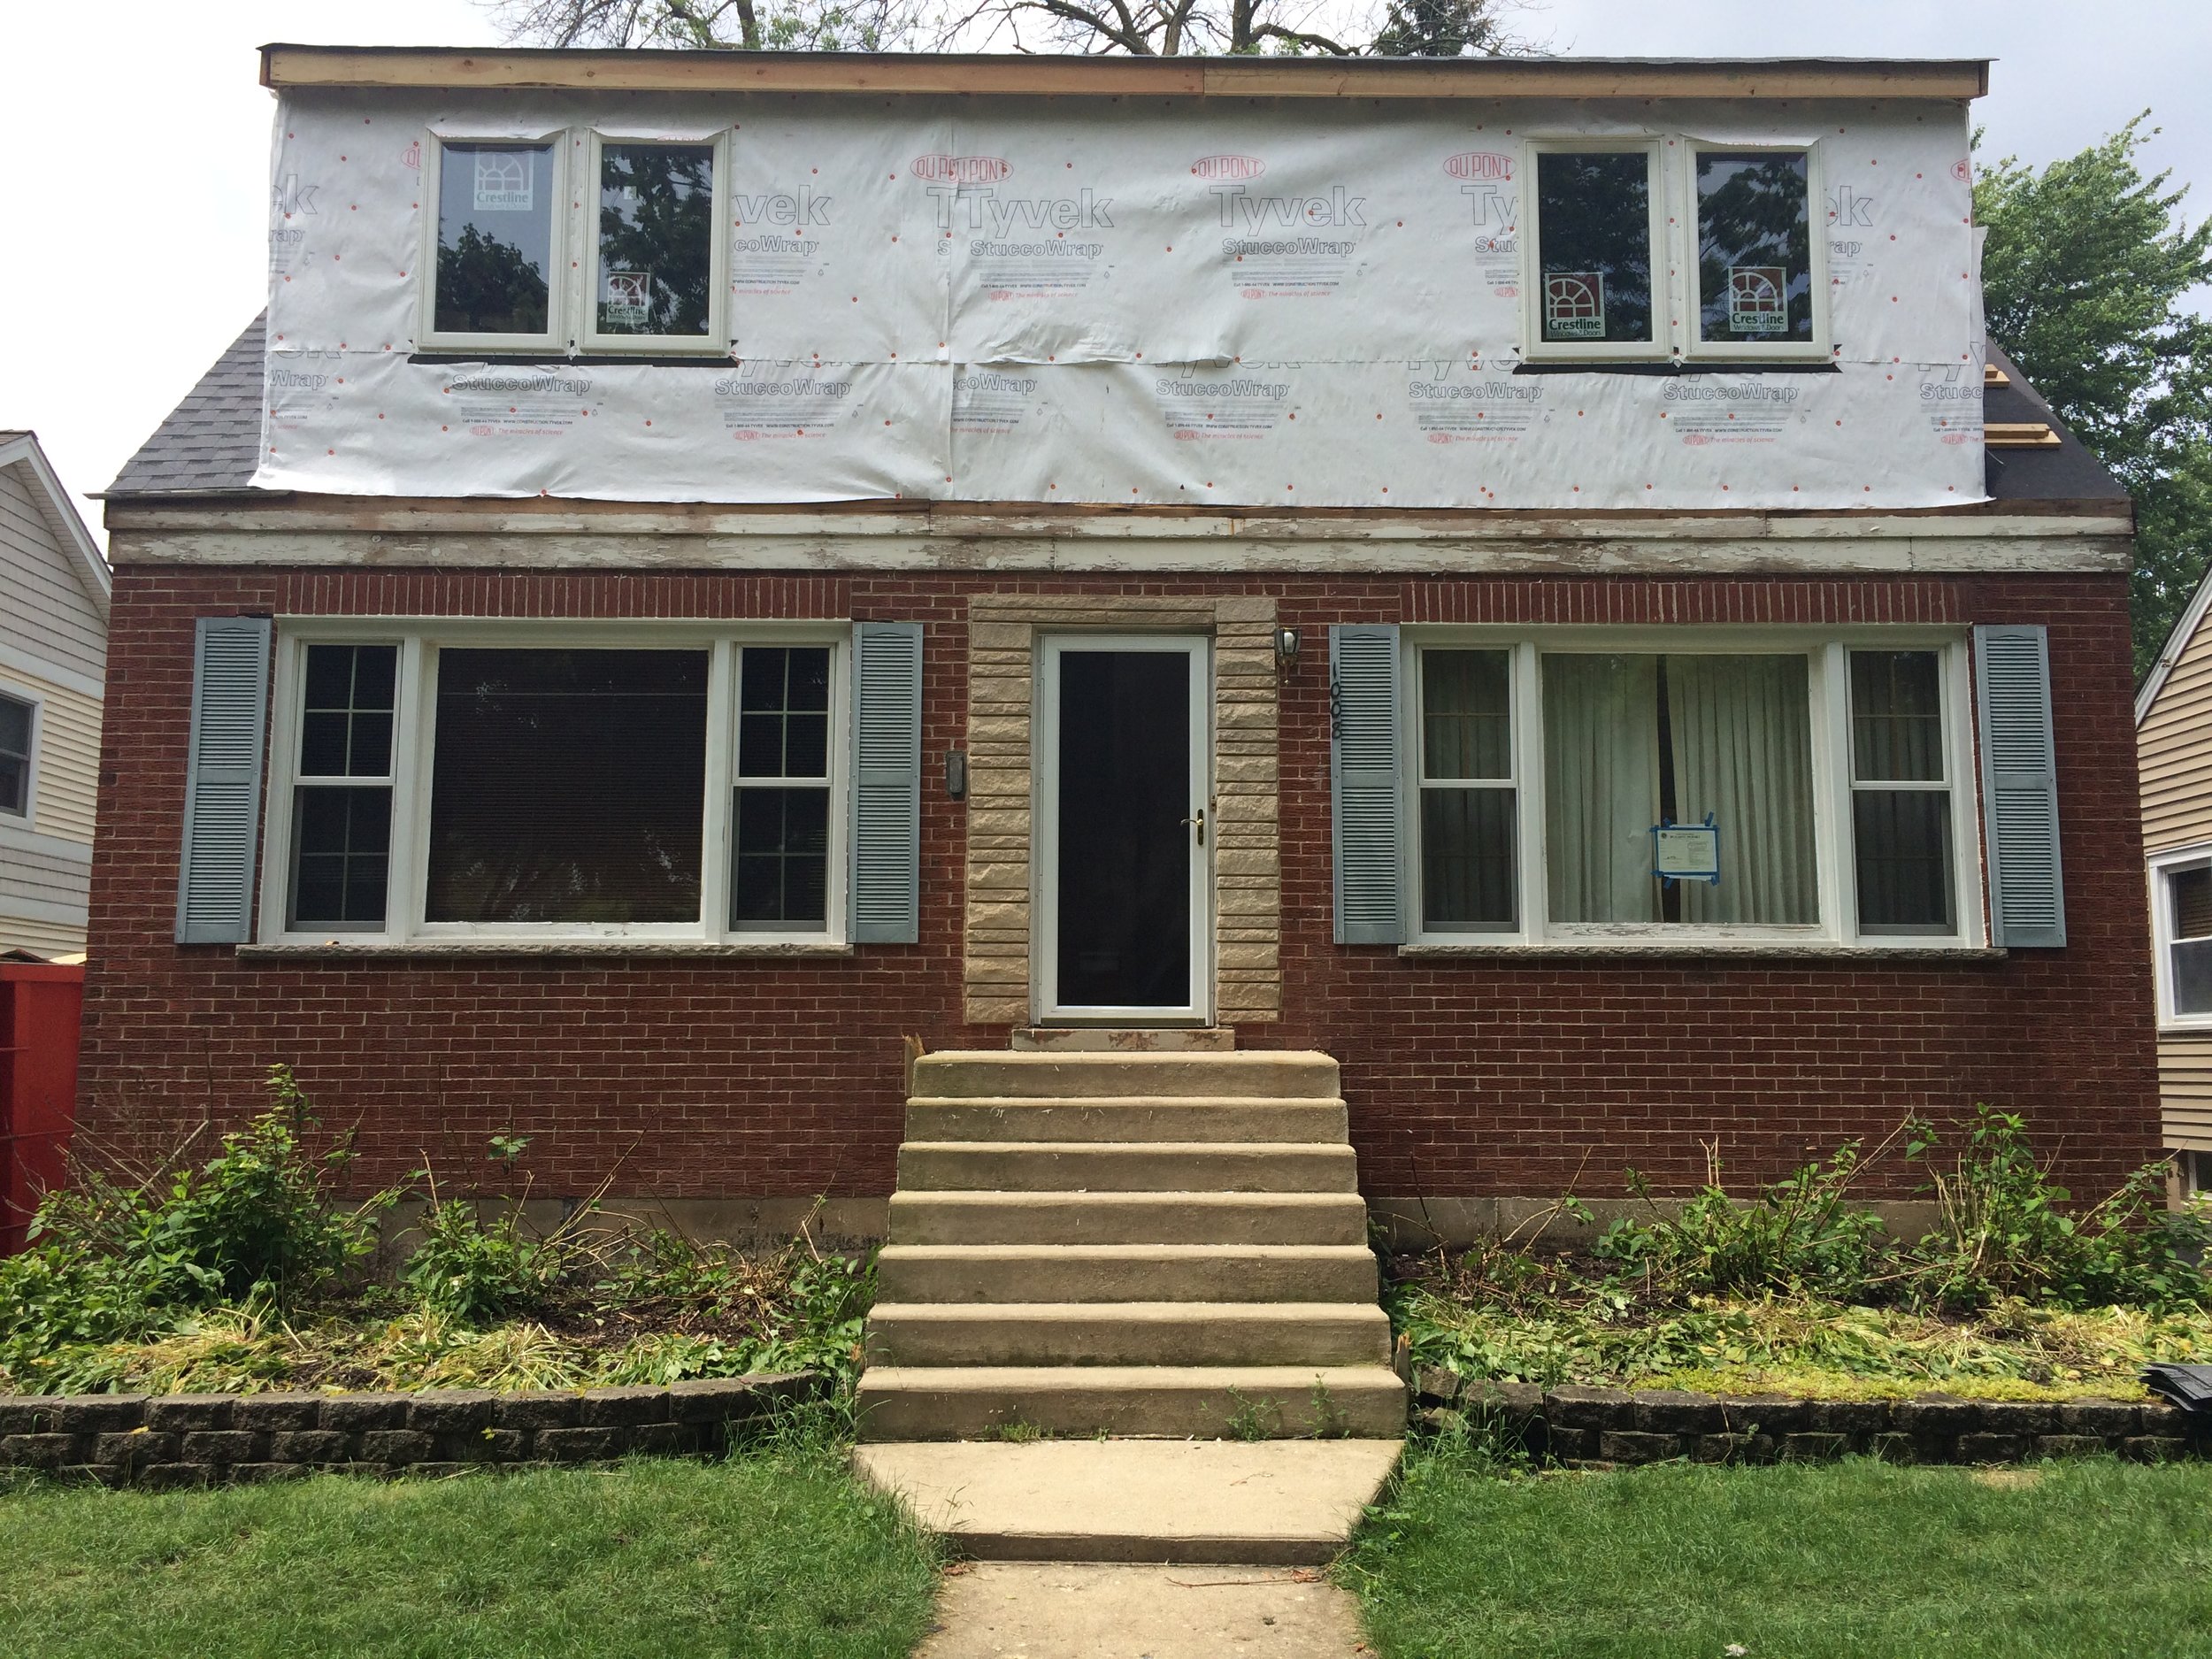
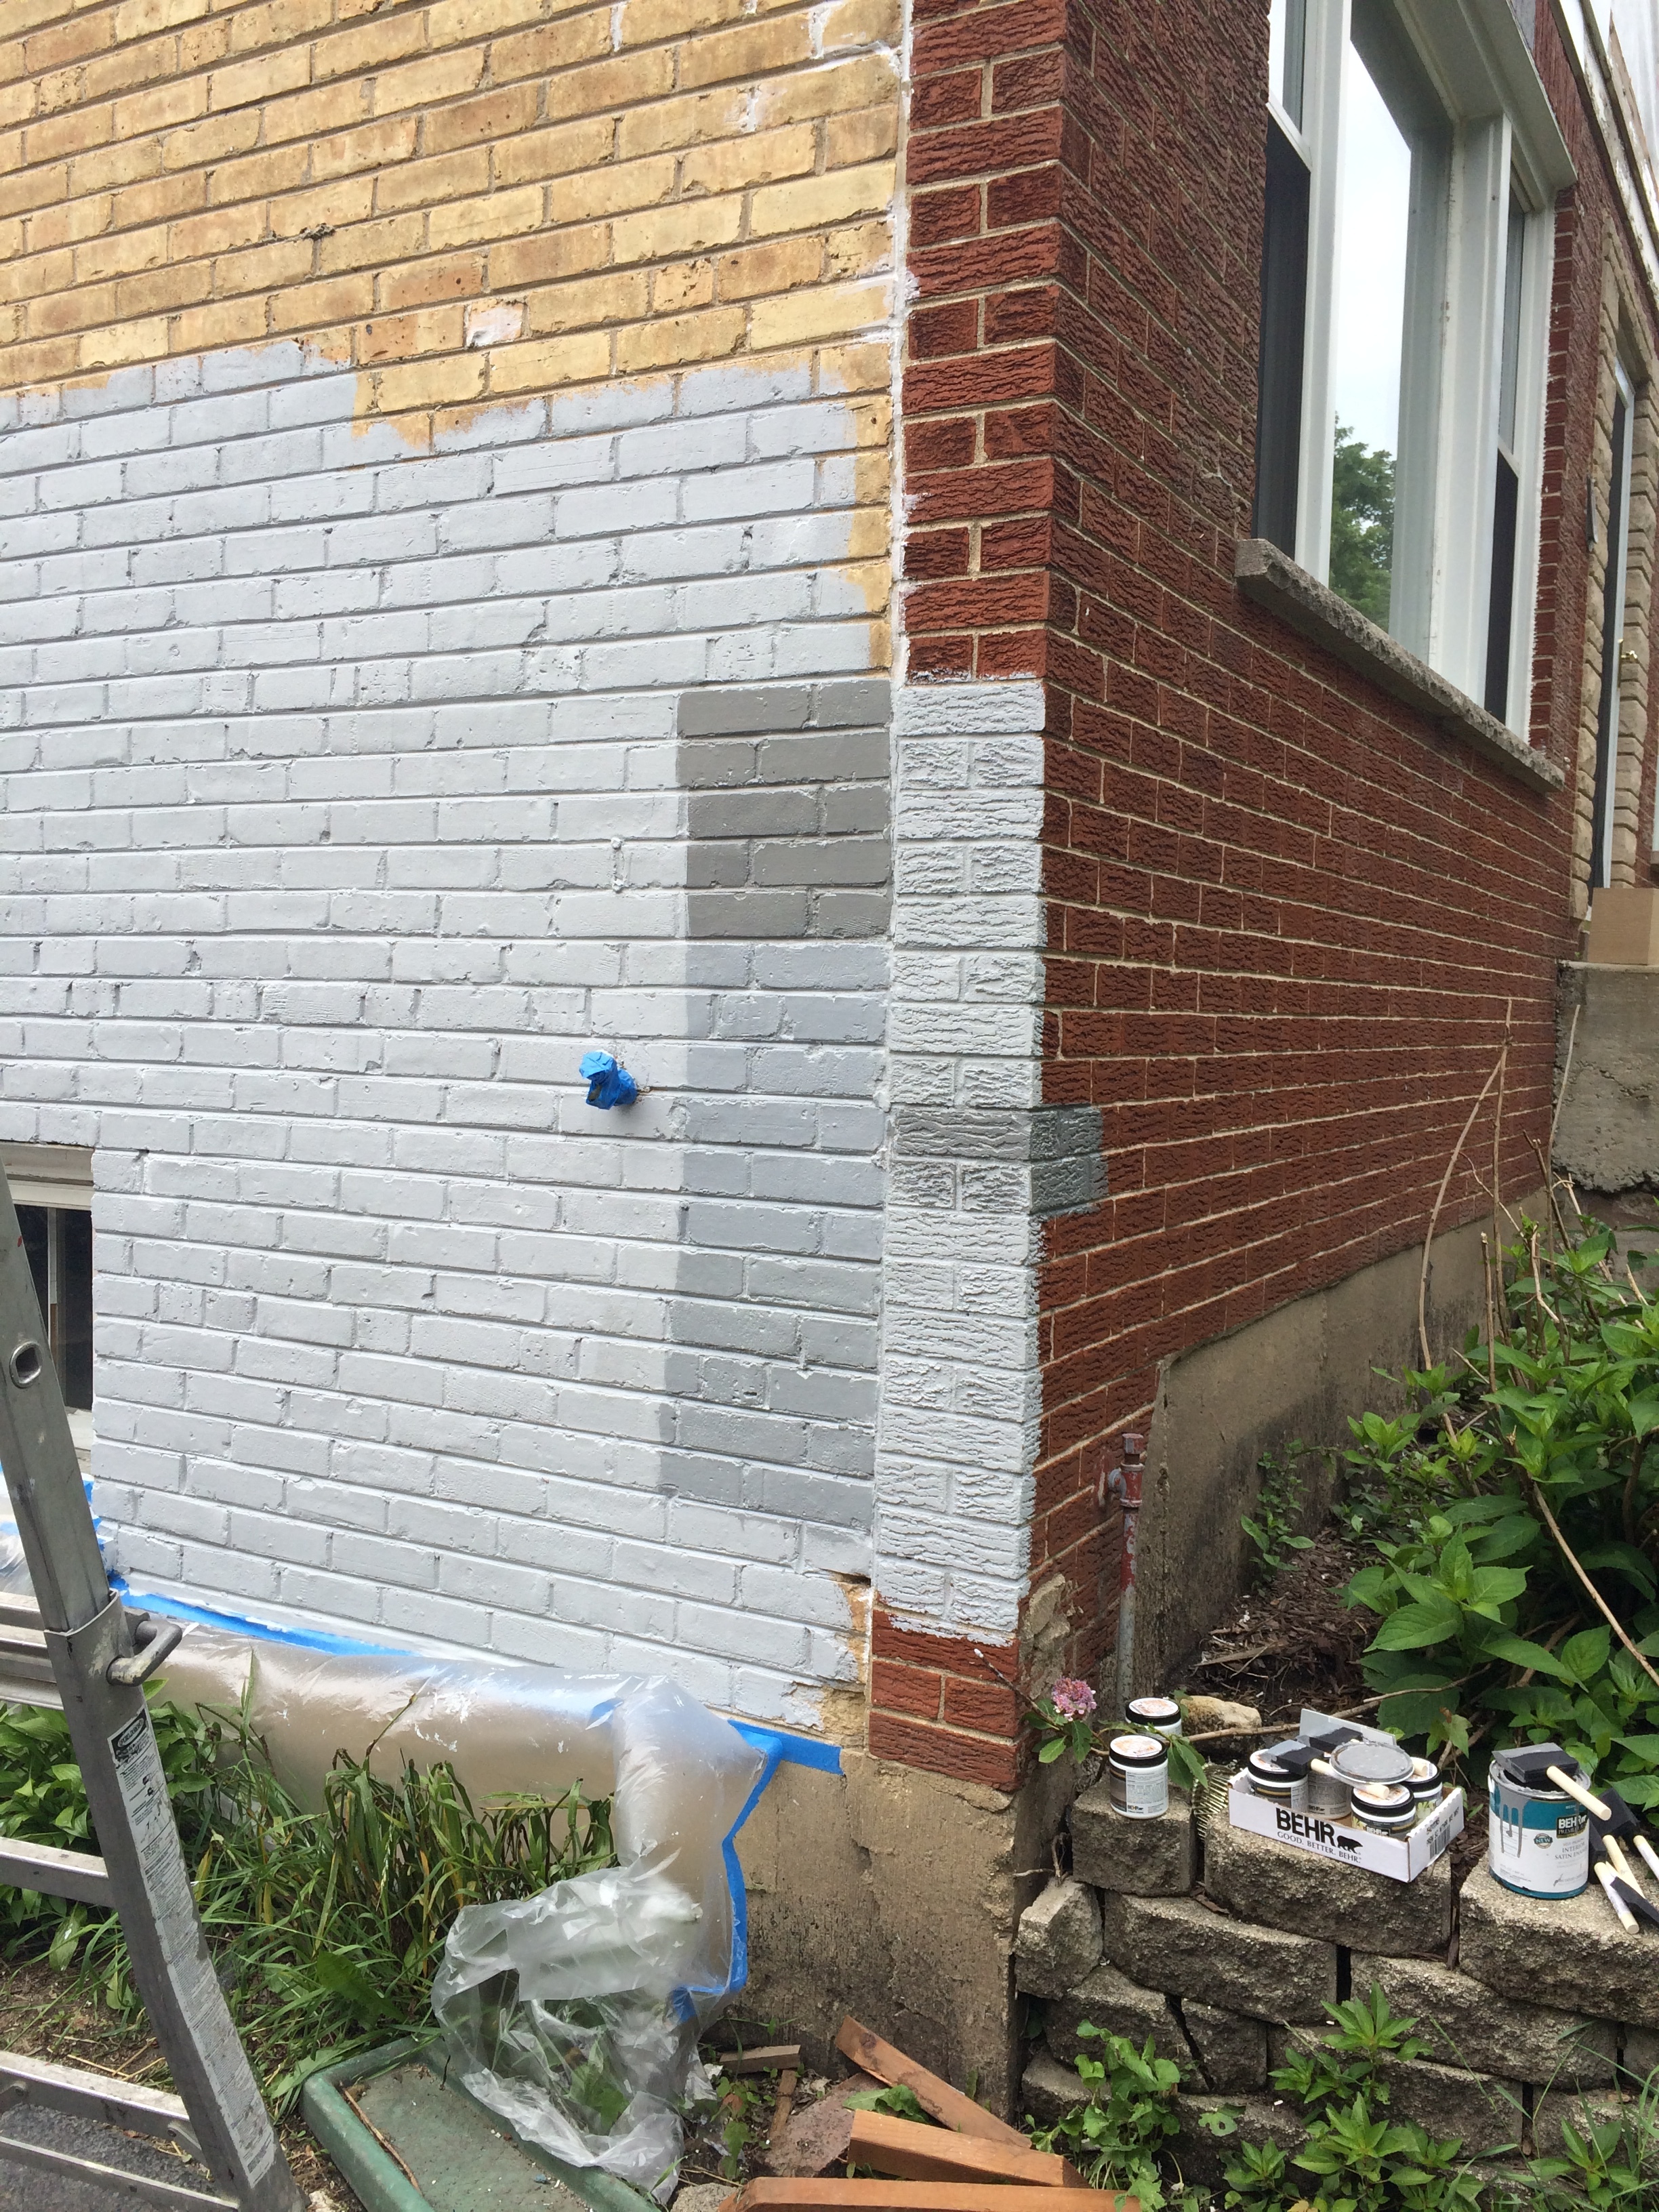
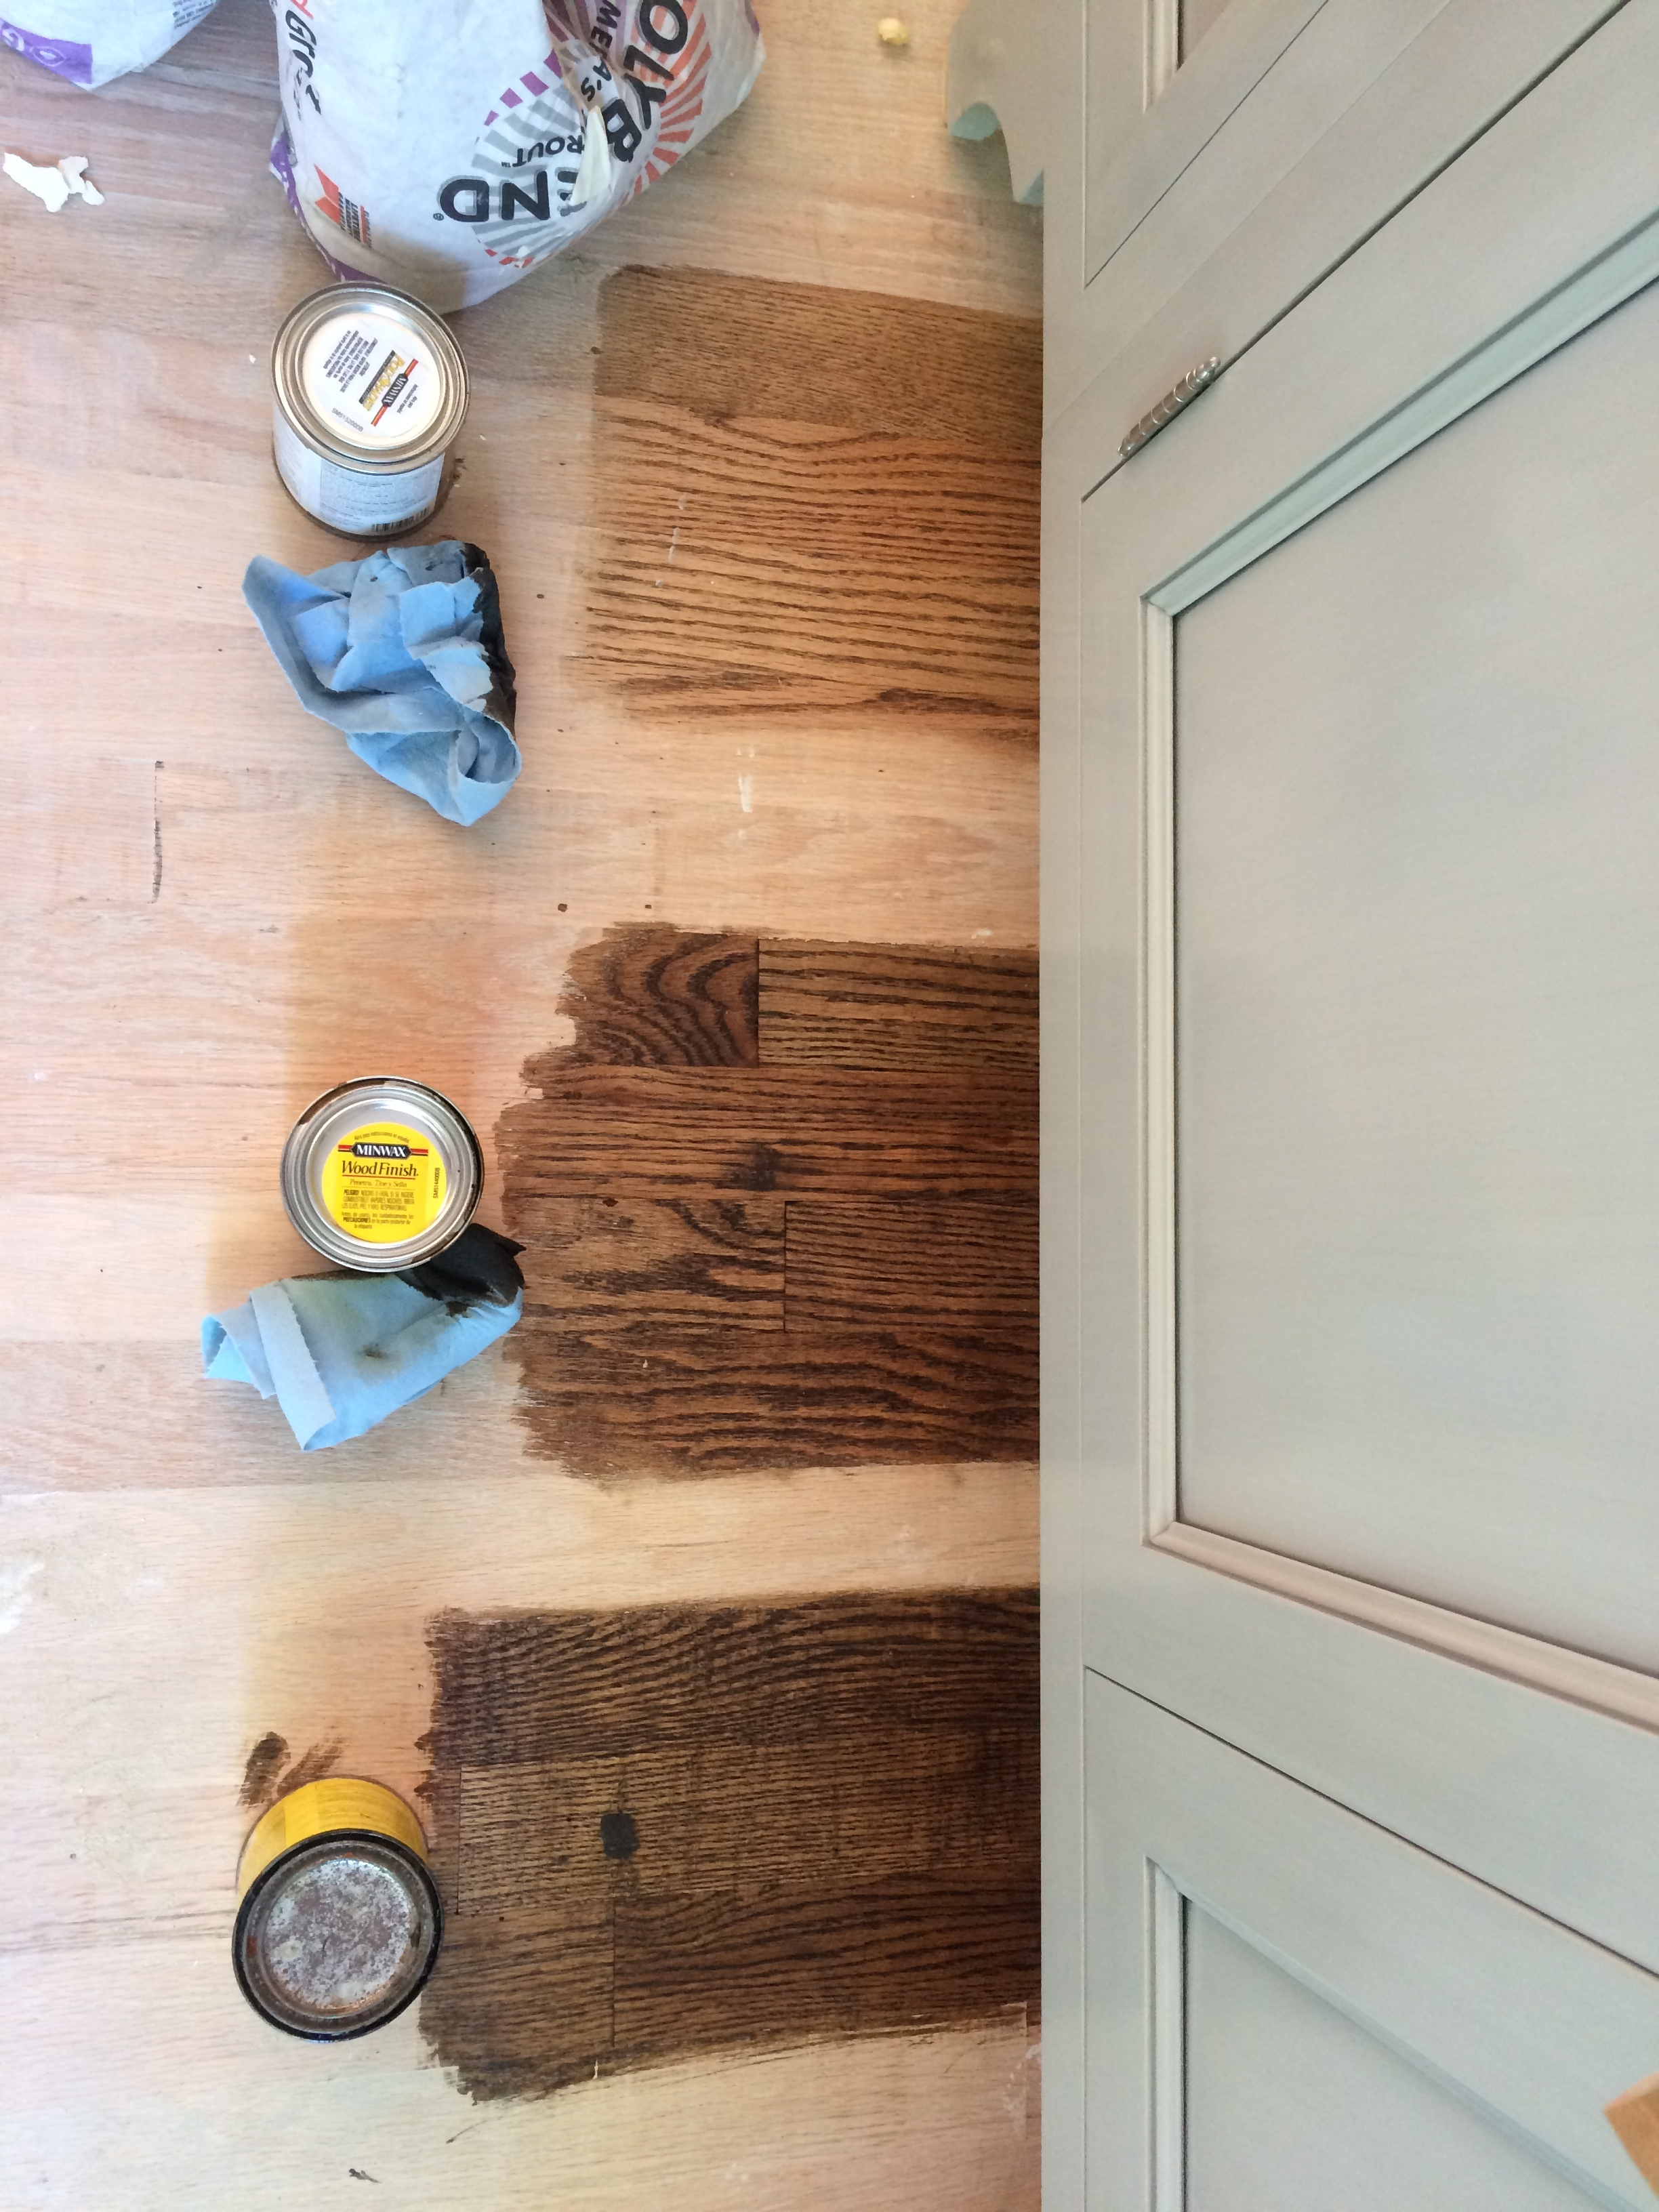
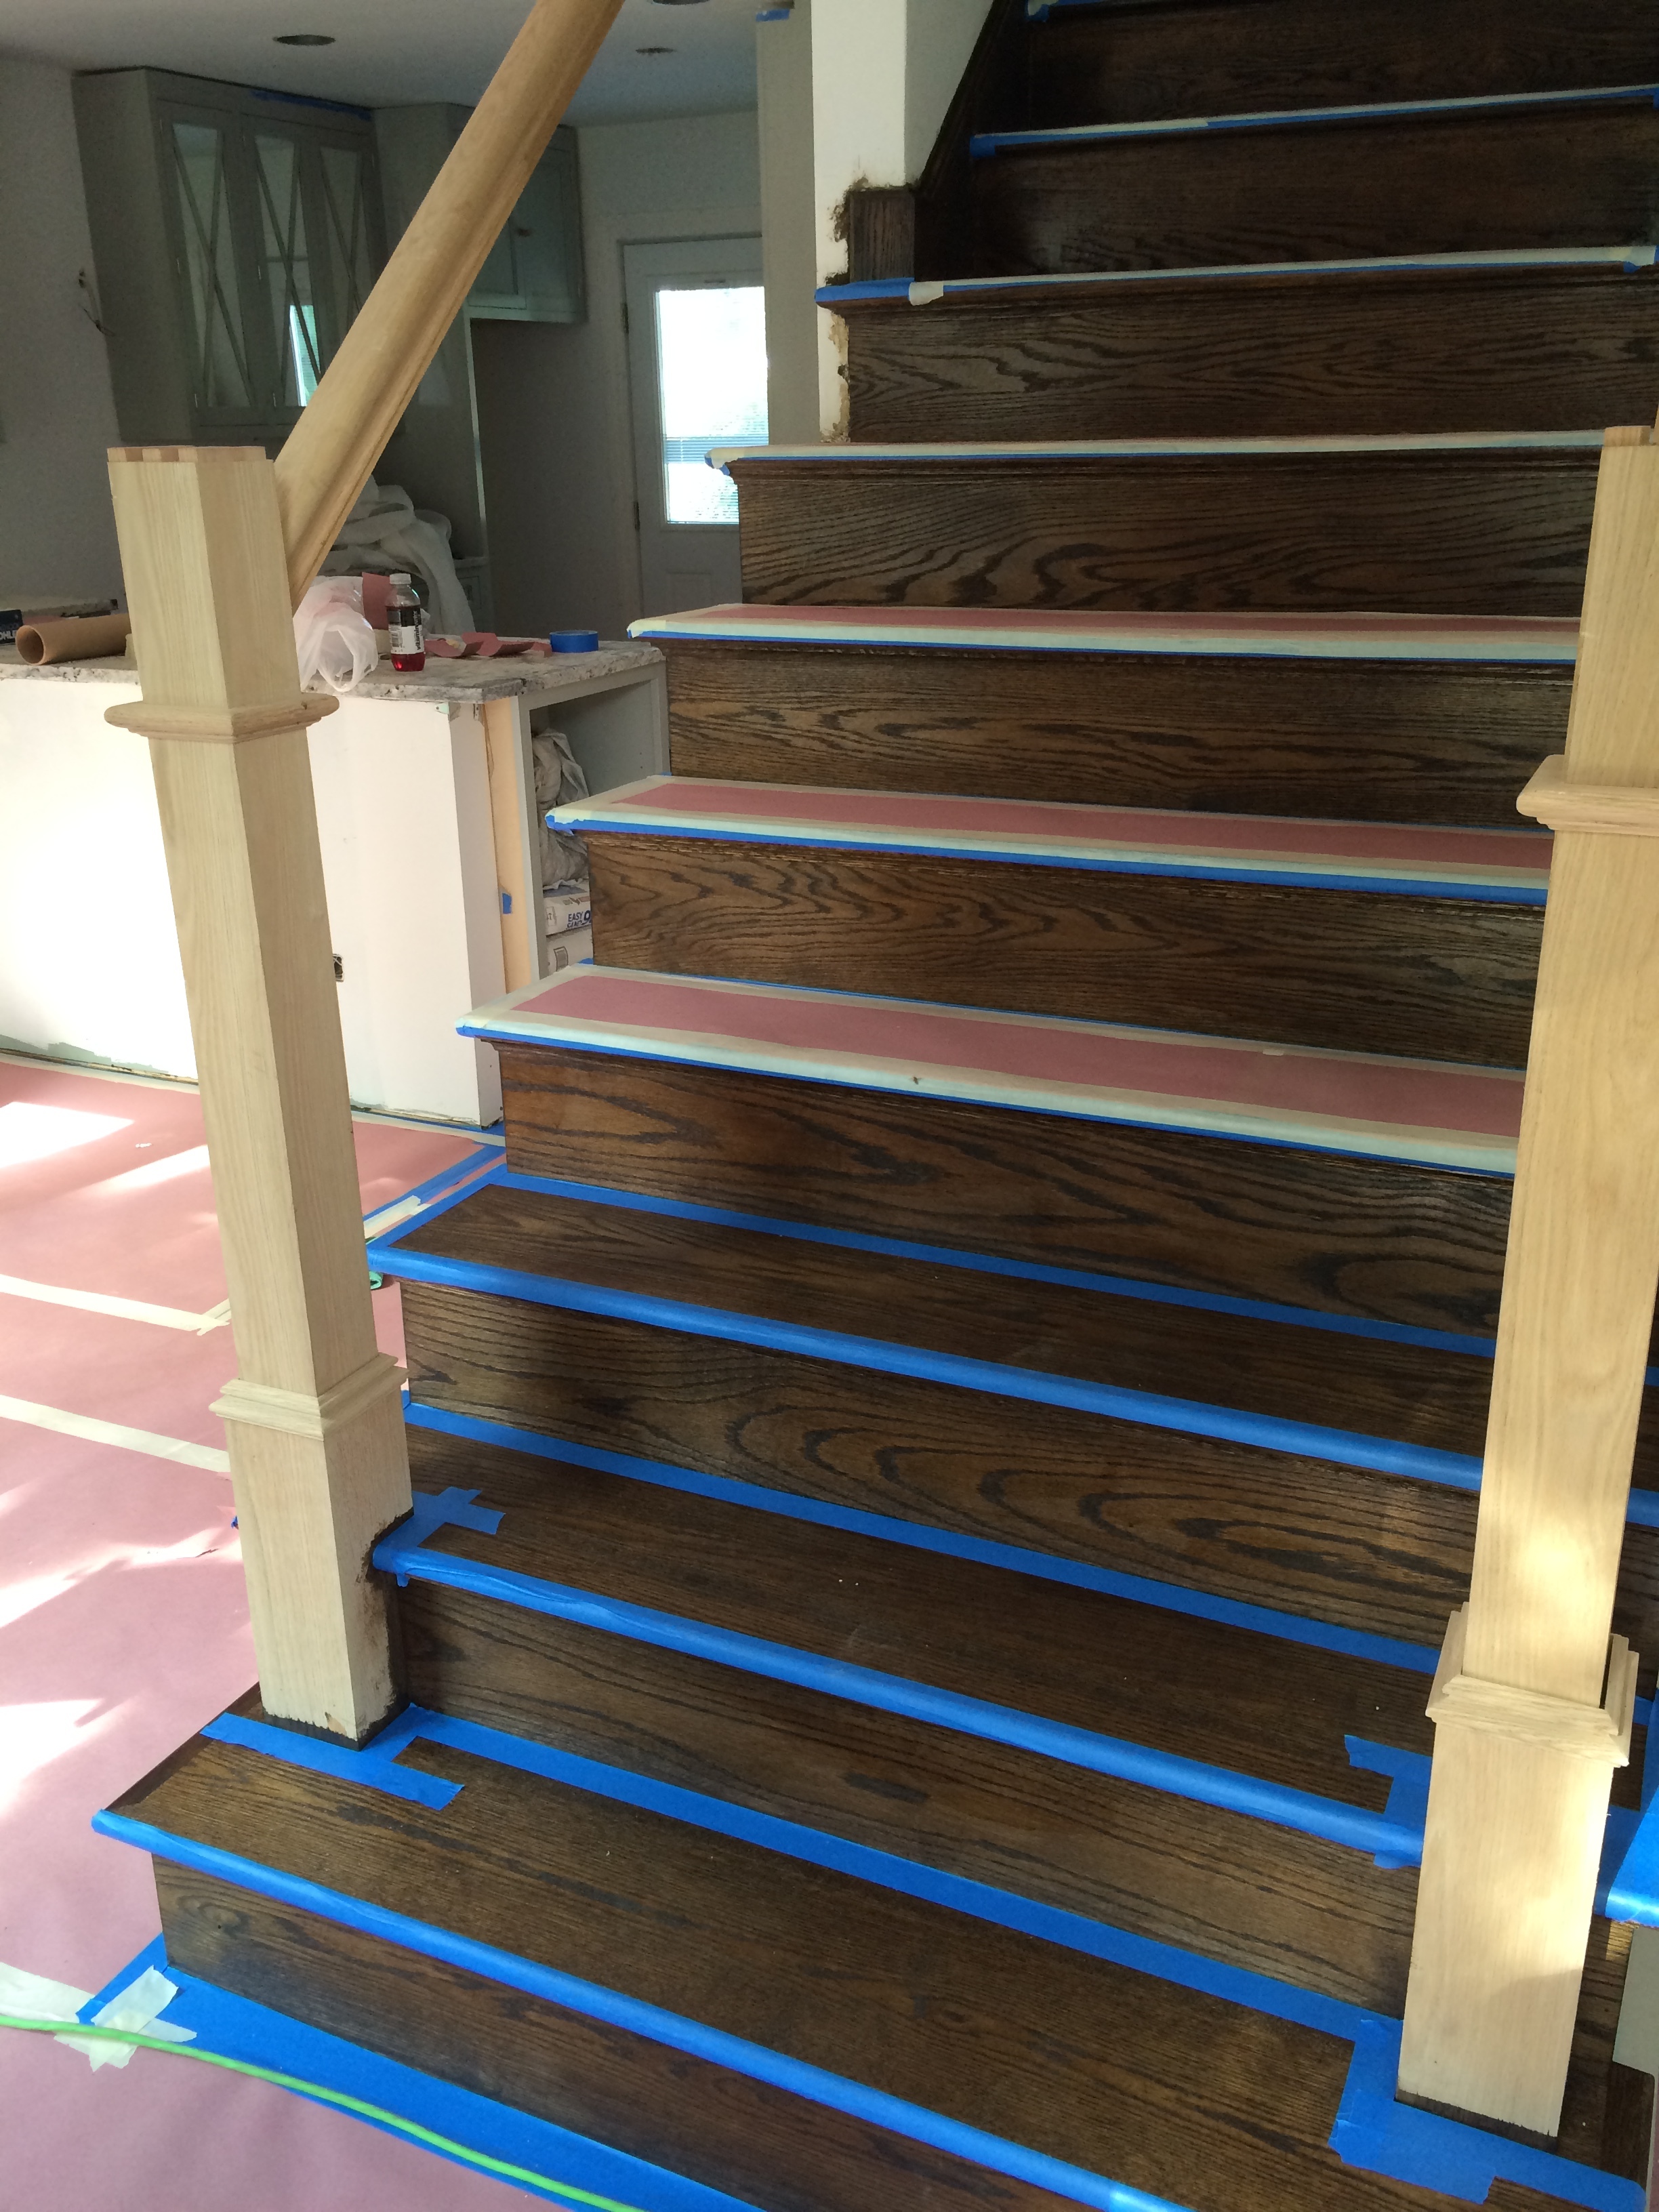
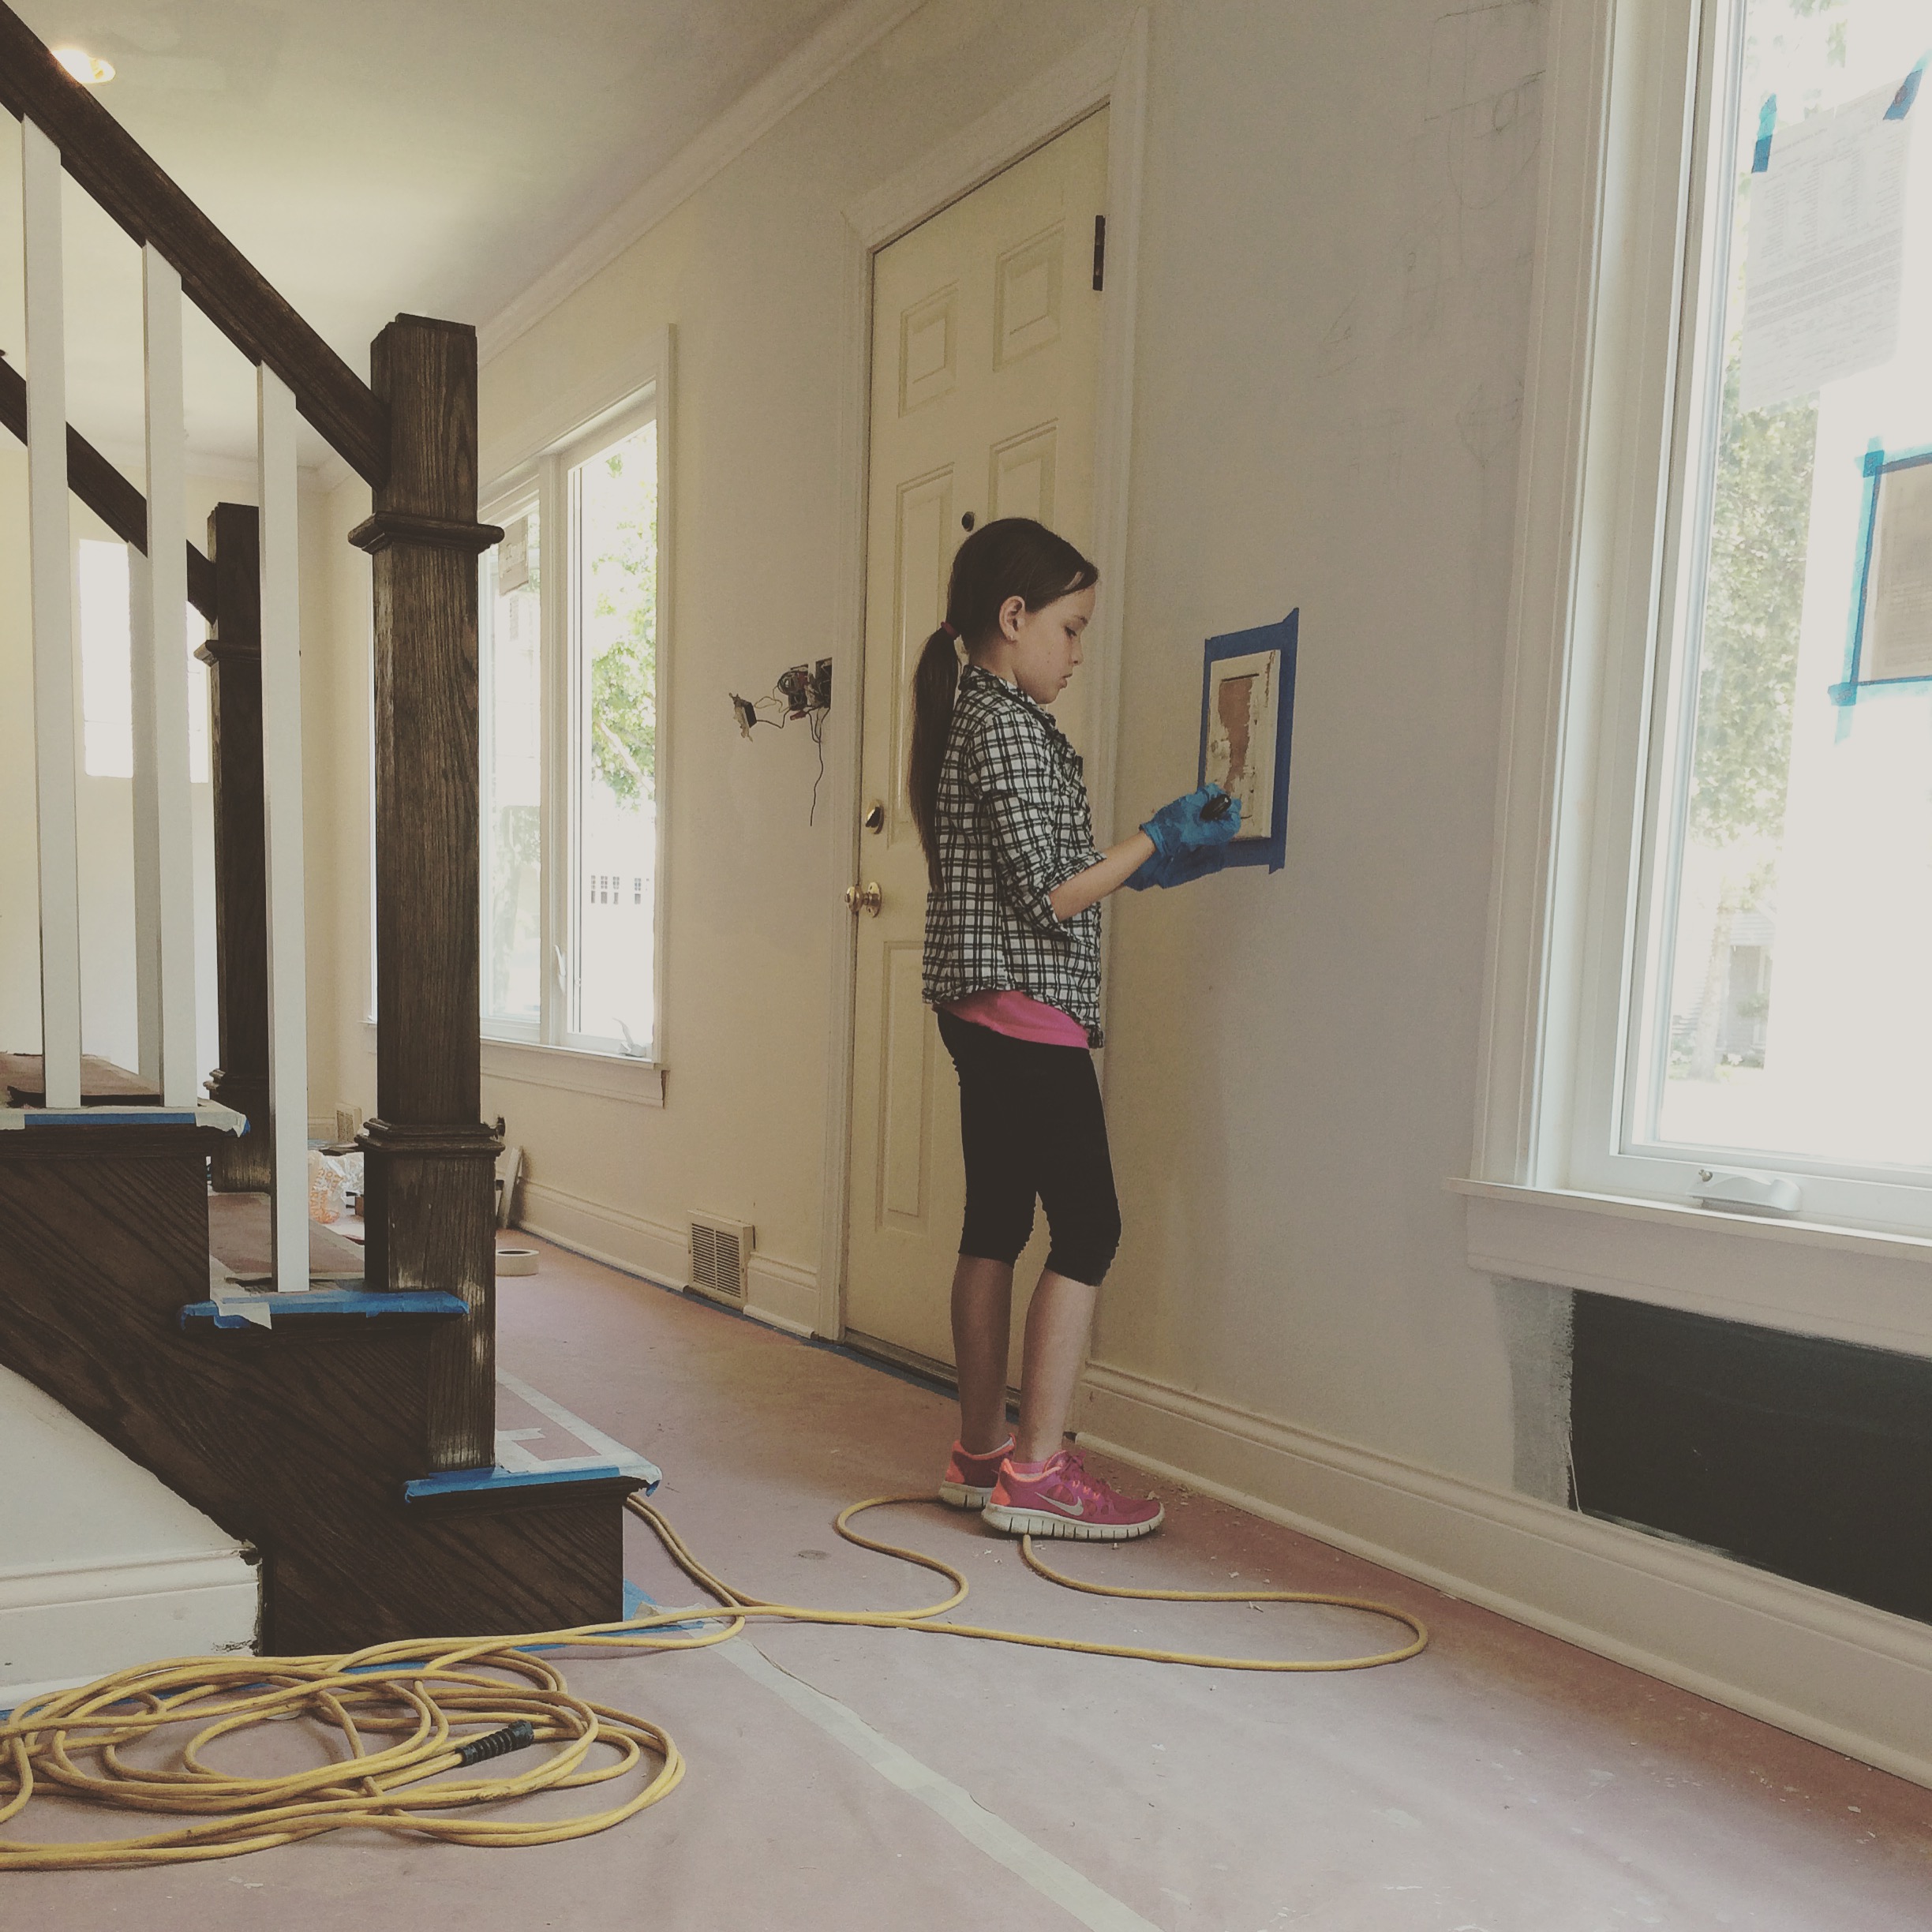
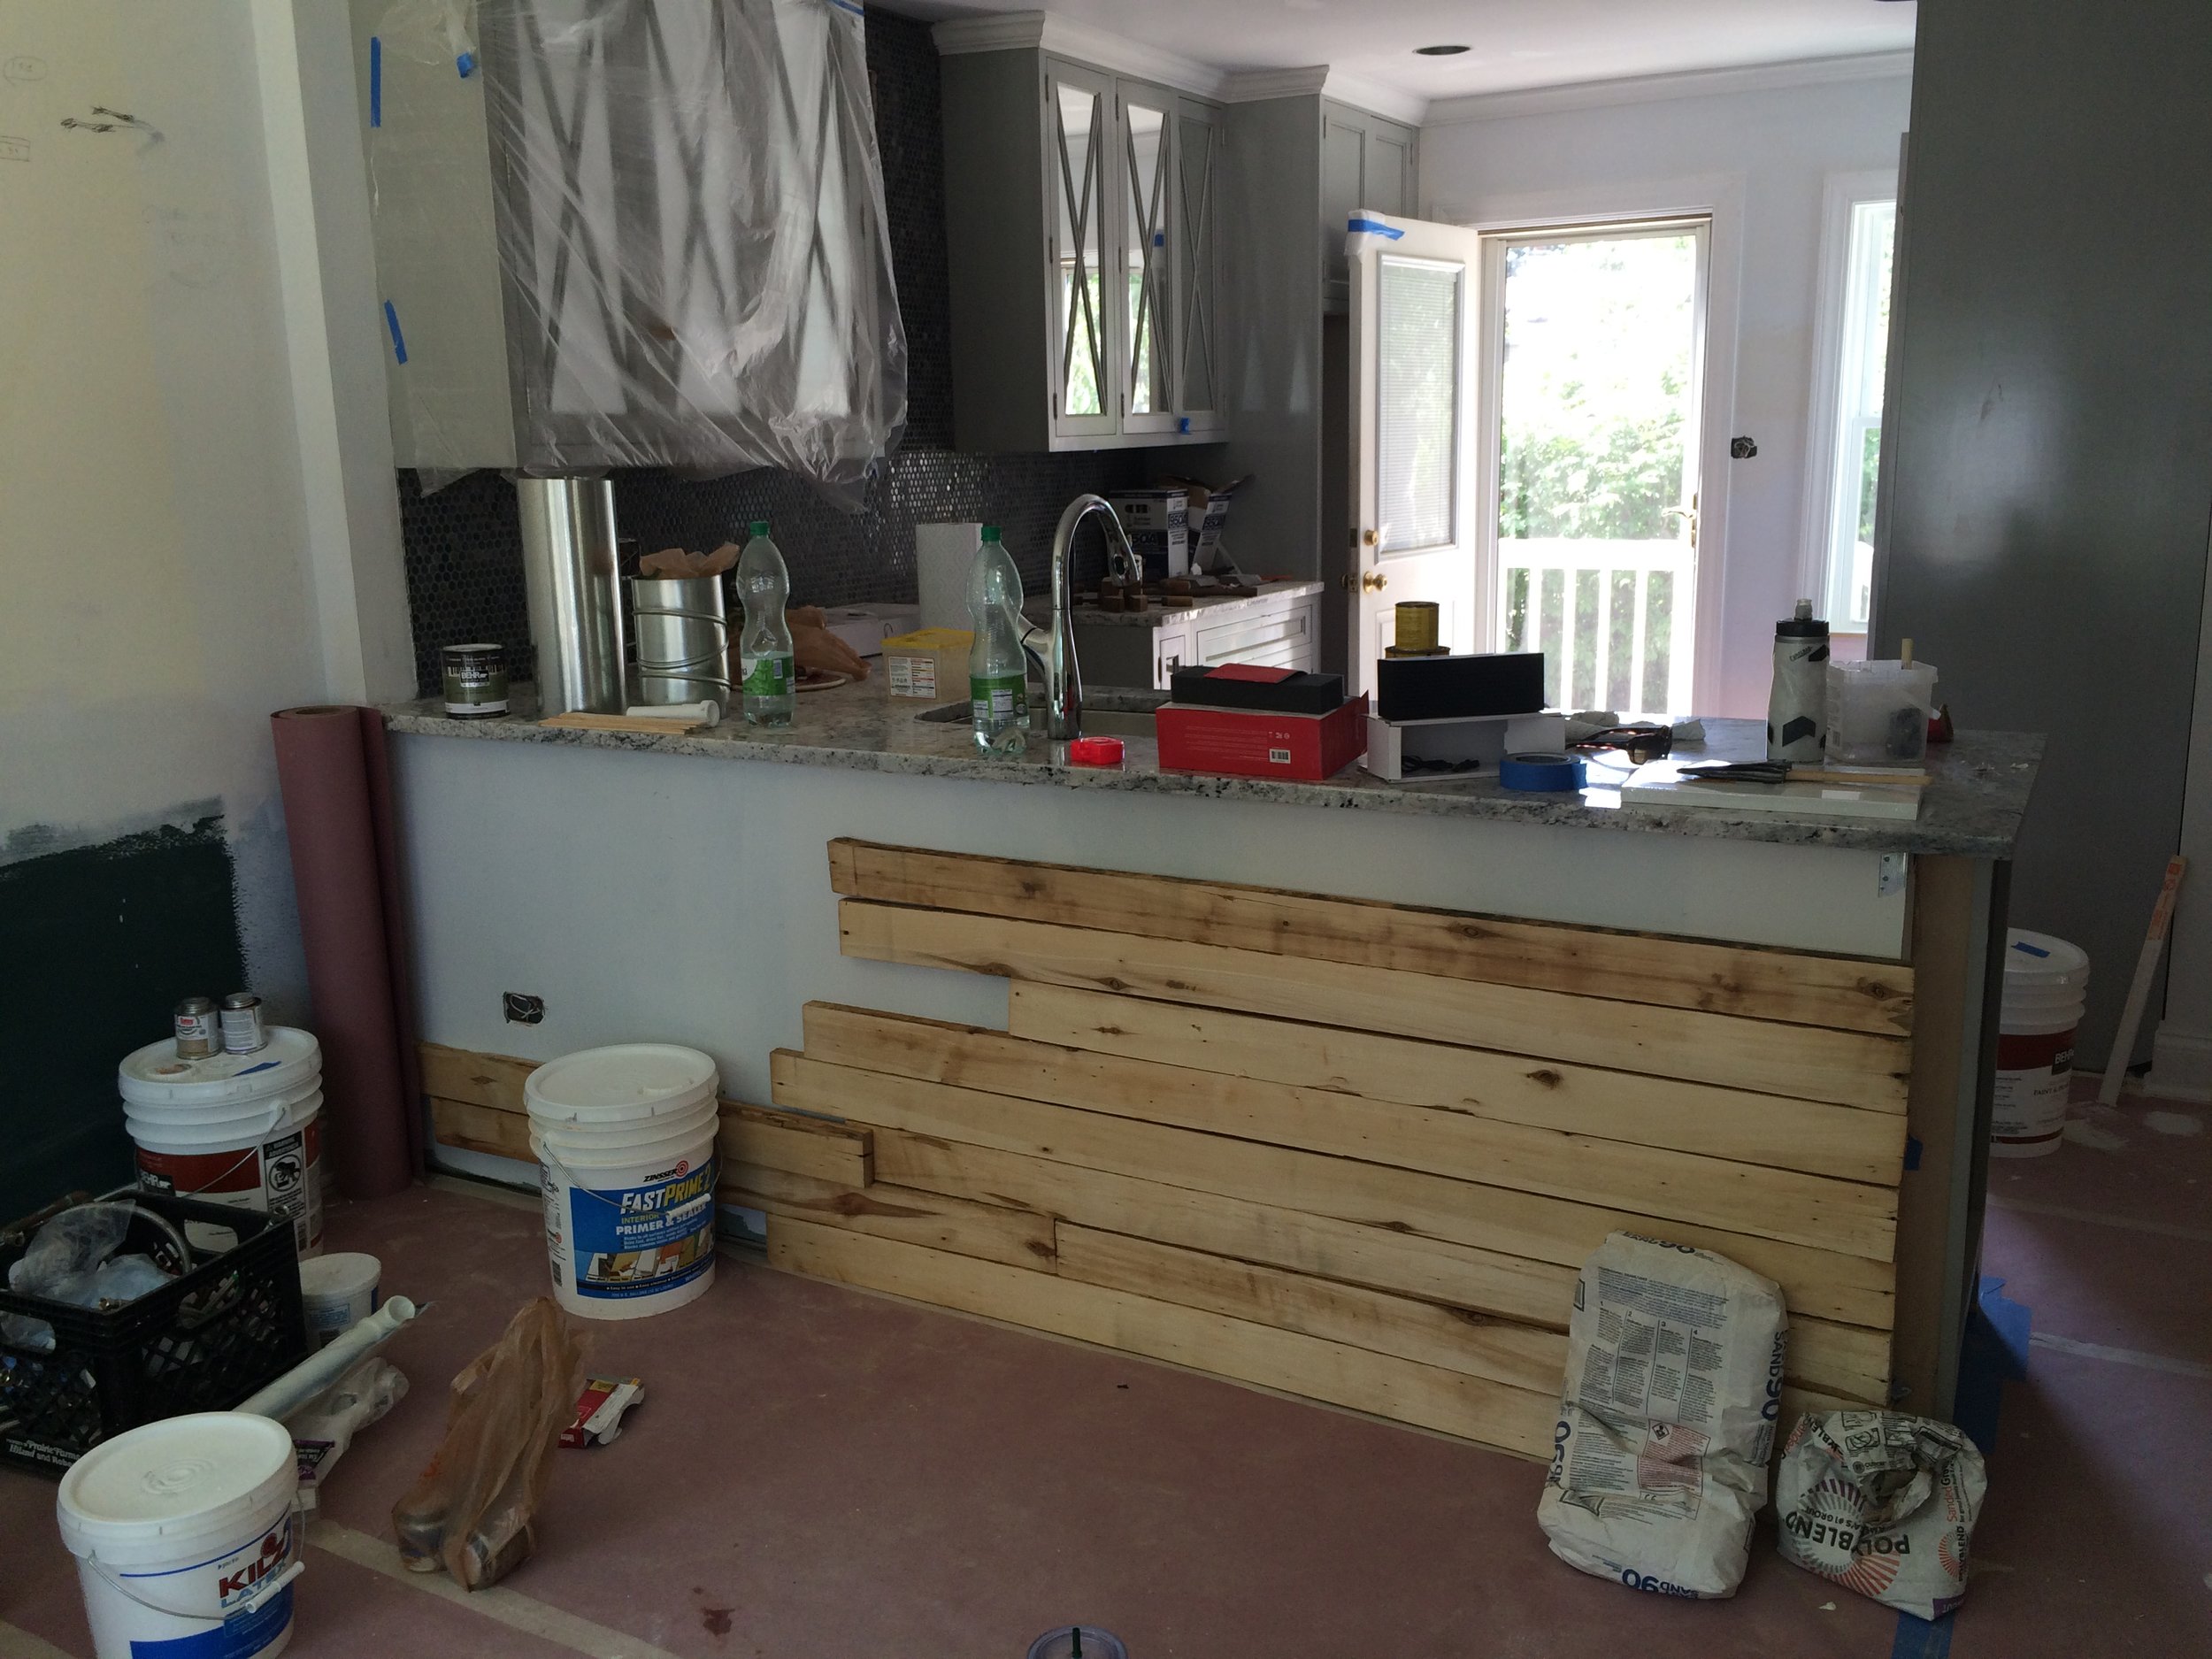
So about that dormer..... Was it the right answer? Yes. Did it get me the nice big master suite I wanted? Yes. Does it satisfy my design sensibilities? No. No it does not. It was so hard to just let it go and believe it would be good enough. And as for painting brick? It goes against everything I was taught about brick and against my love of organic materials. HOWEVER, that brick on the front of the house was some of the tackiest brick I've ever seen, and I understand that the general public doesn't share my love of Chicago common brick, so again I closed my eyes and held my nose, then painted it gray. Inside, my daughter took on her pet project of restoring the charming mail slot, and we brought the original staircase back to life. I took some of the attic floorboards and planed them down to use for a feature wall behind the kitchen peninsula, and we sanded the original floors. Small, fun projects that came together to make the whole house new and feel like a complete design thought.
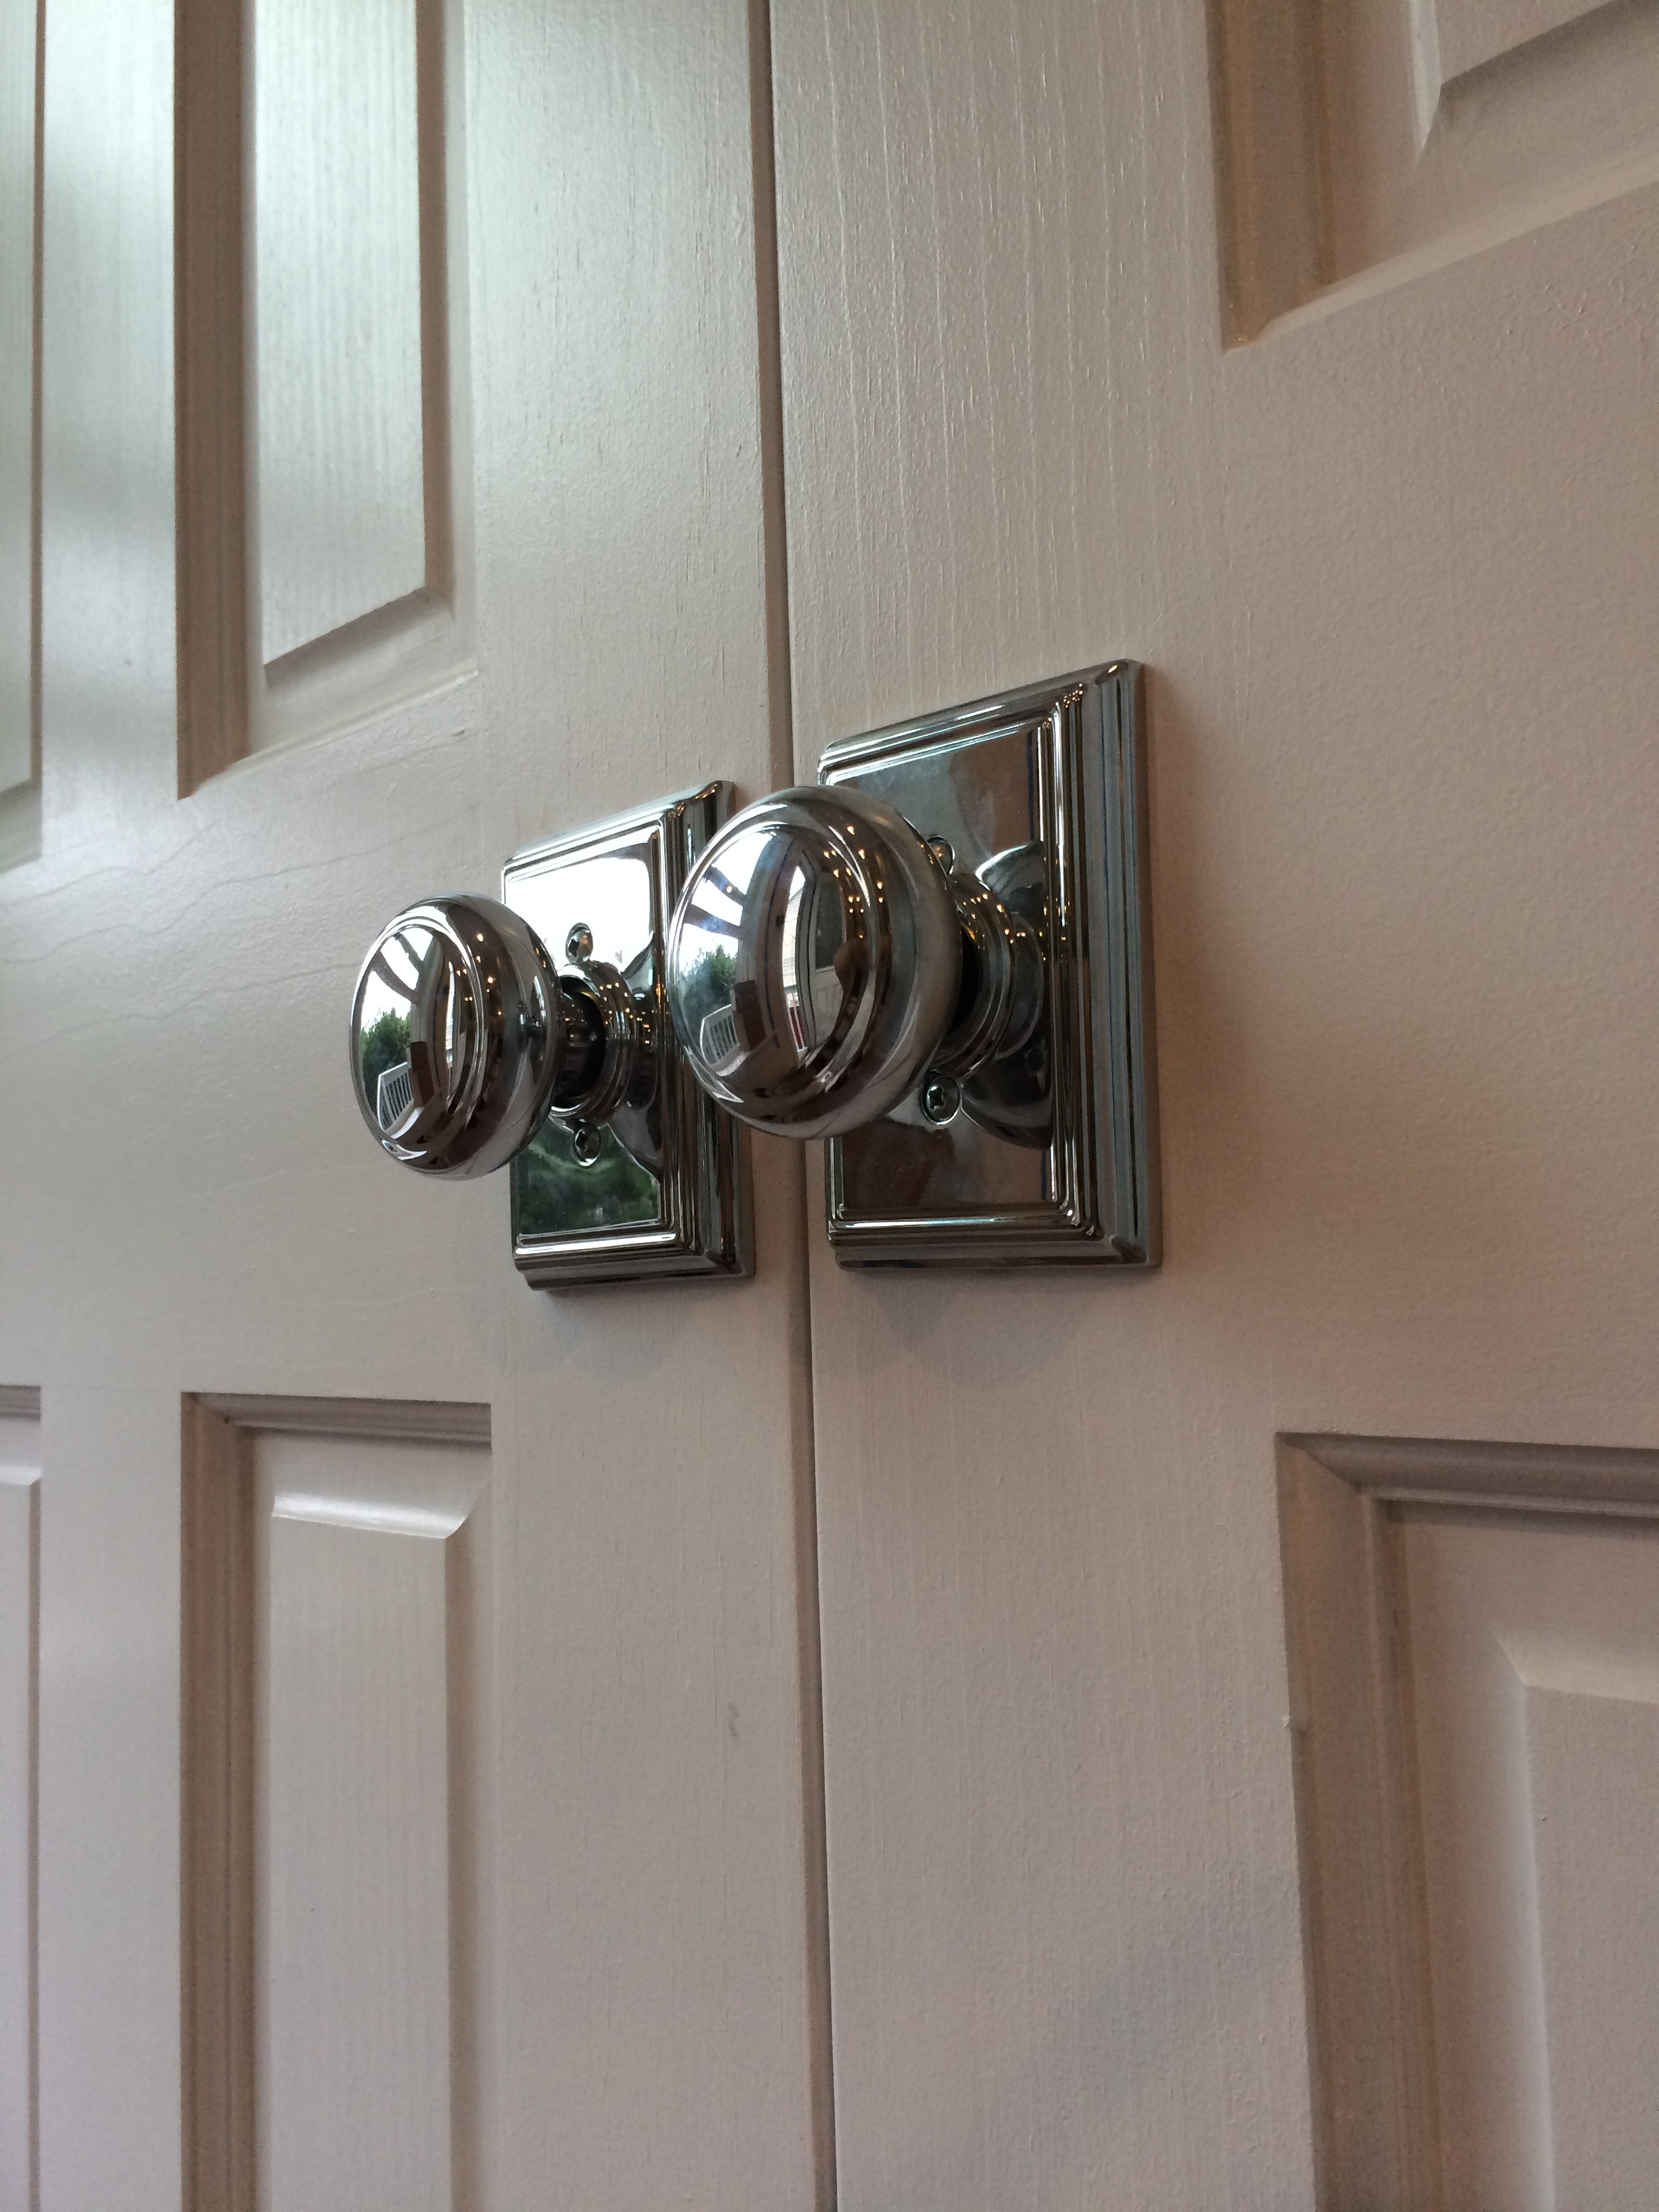
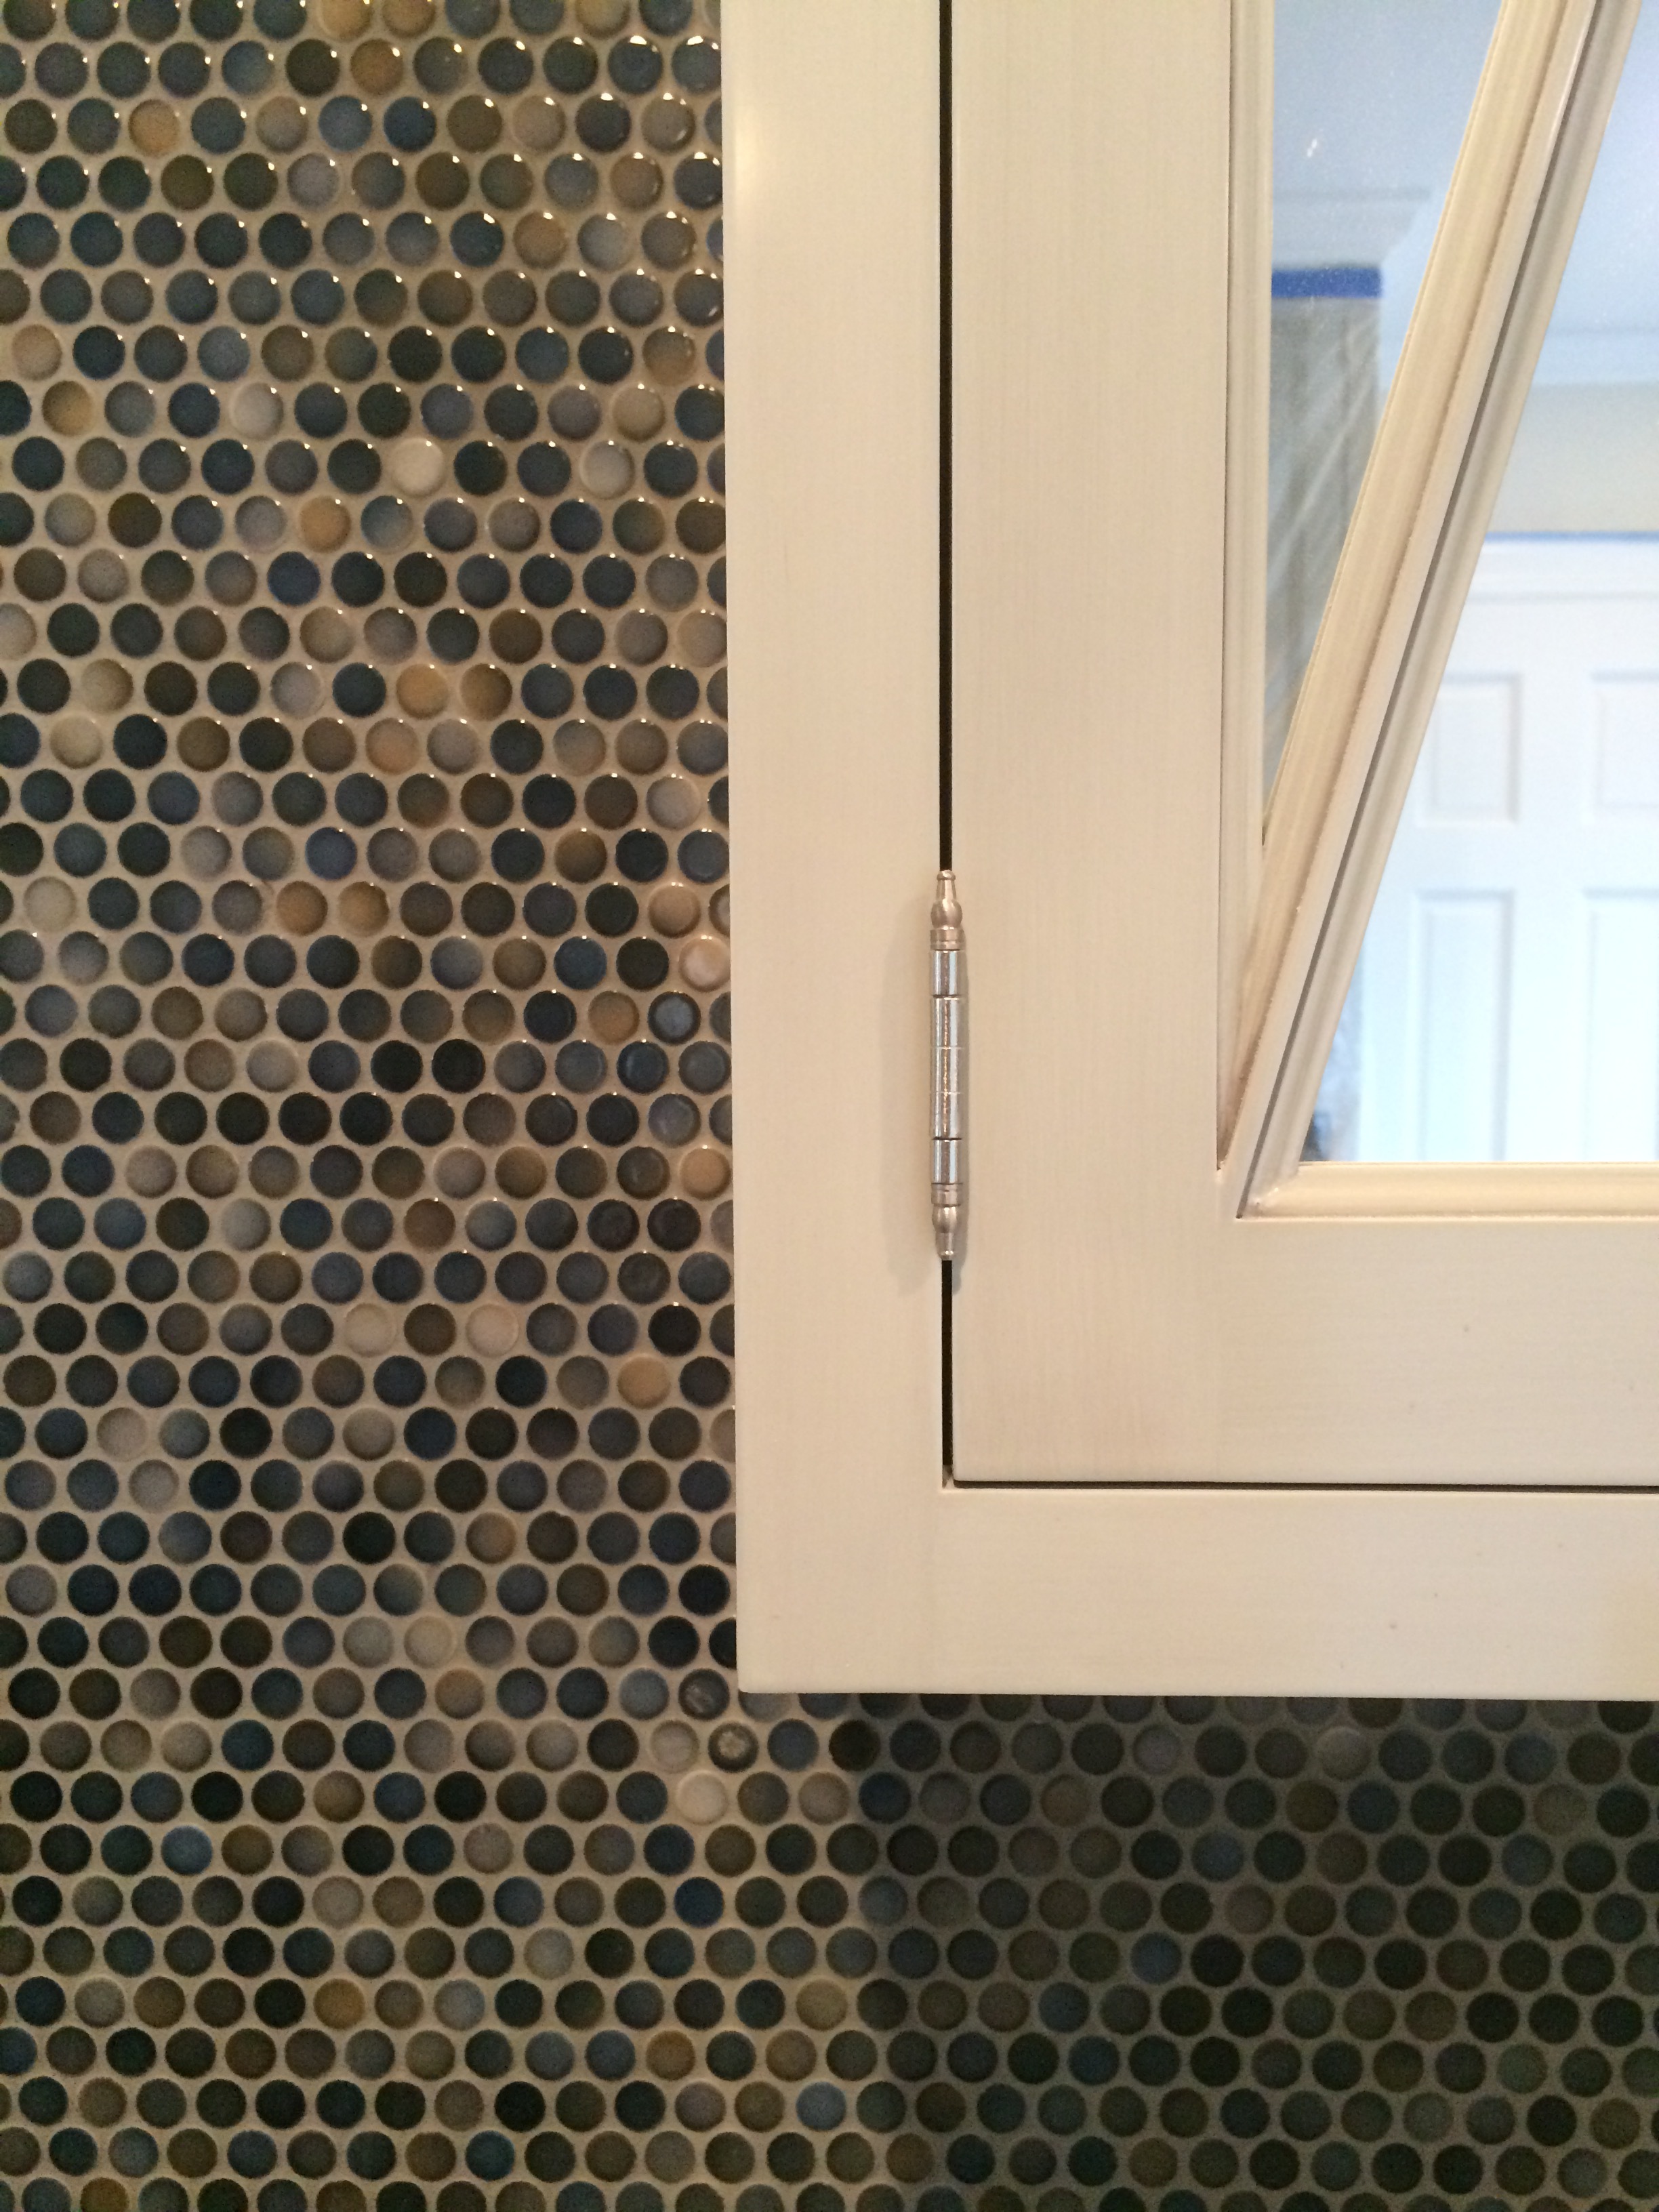
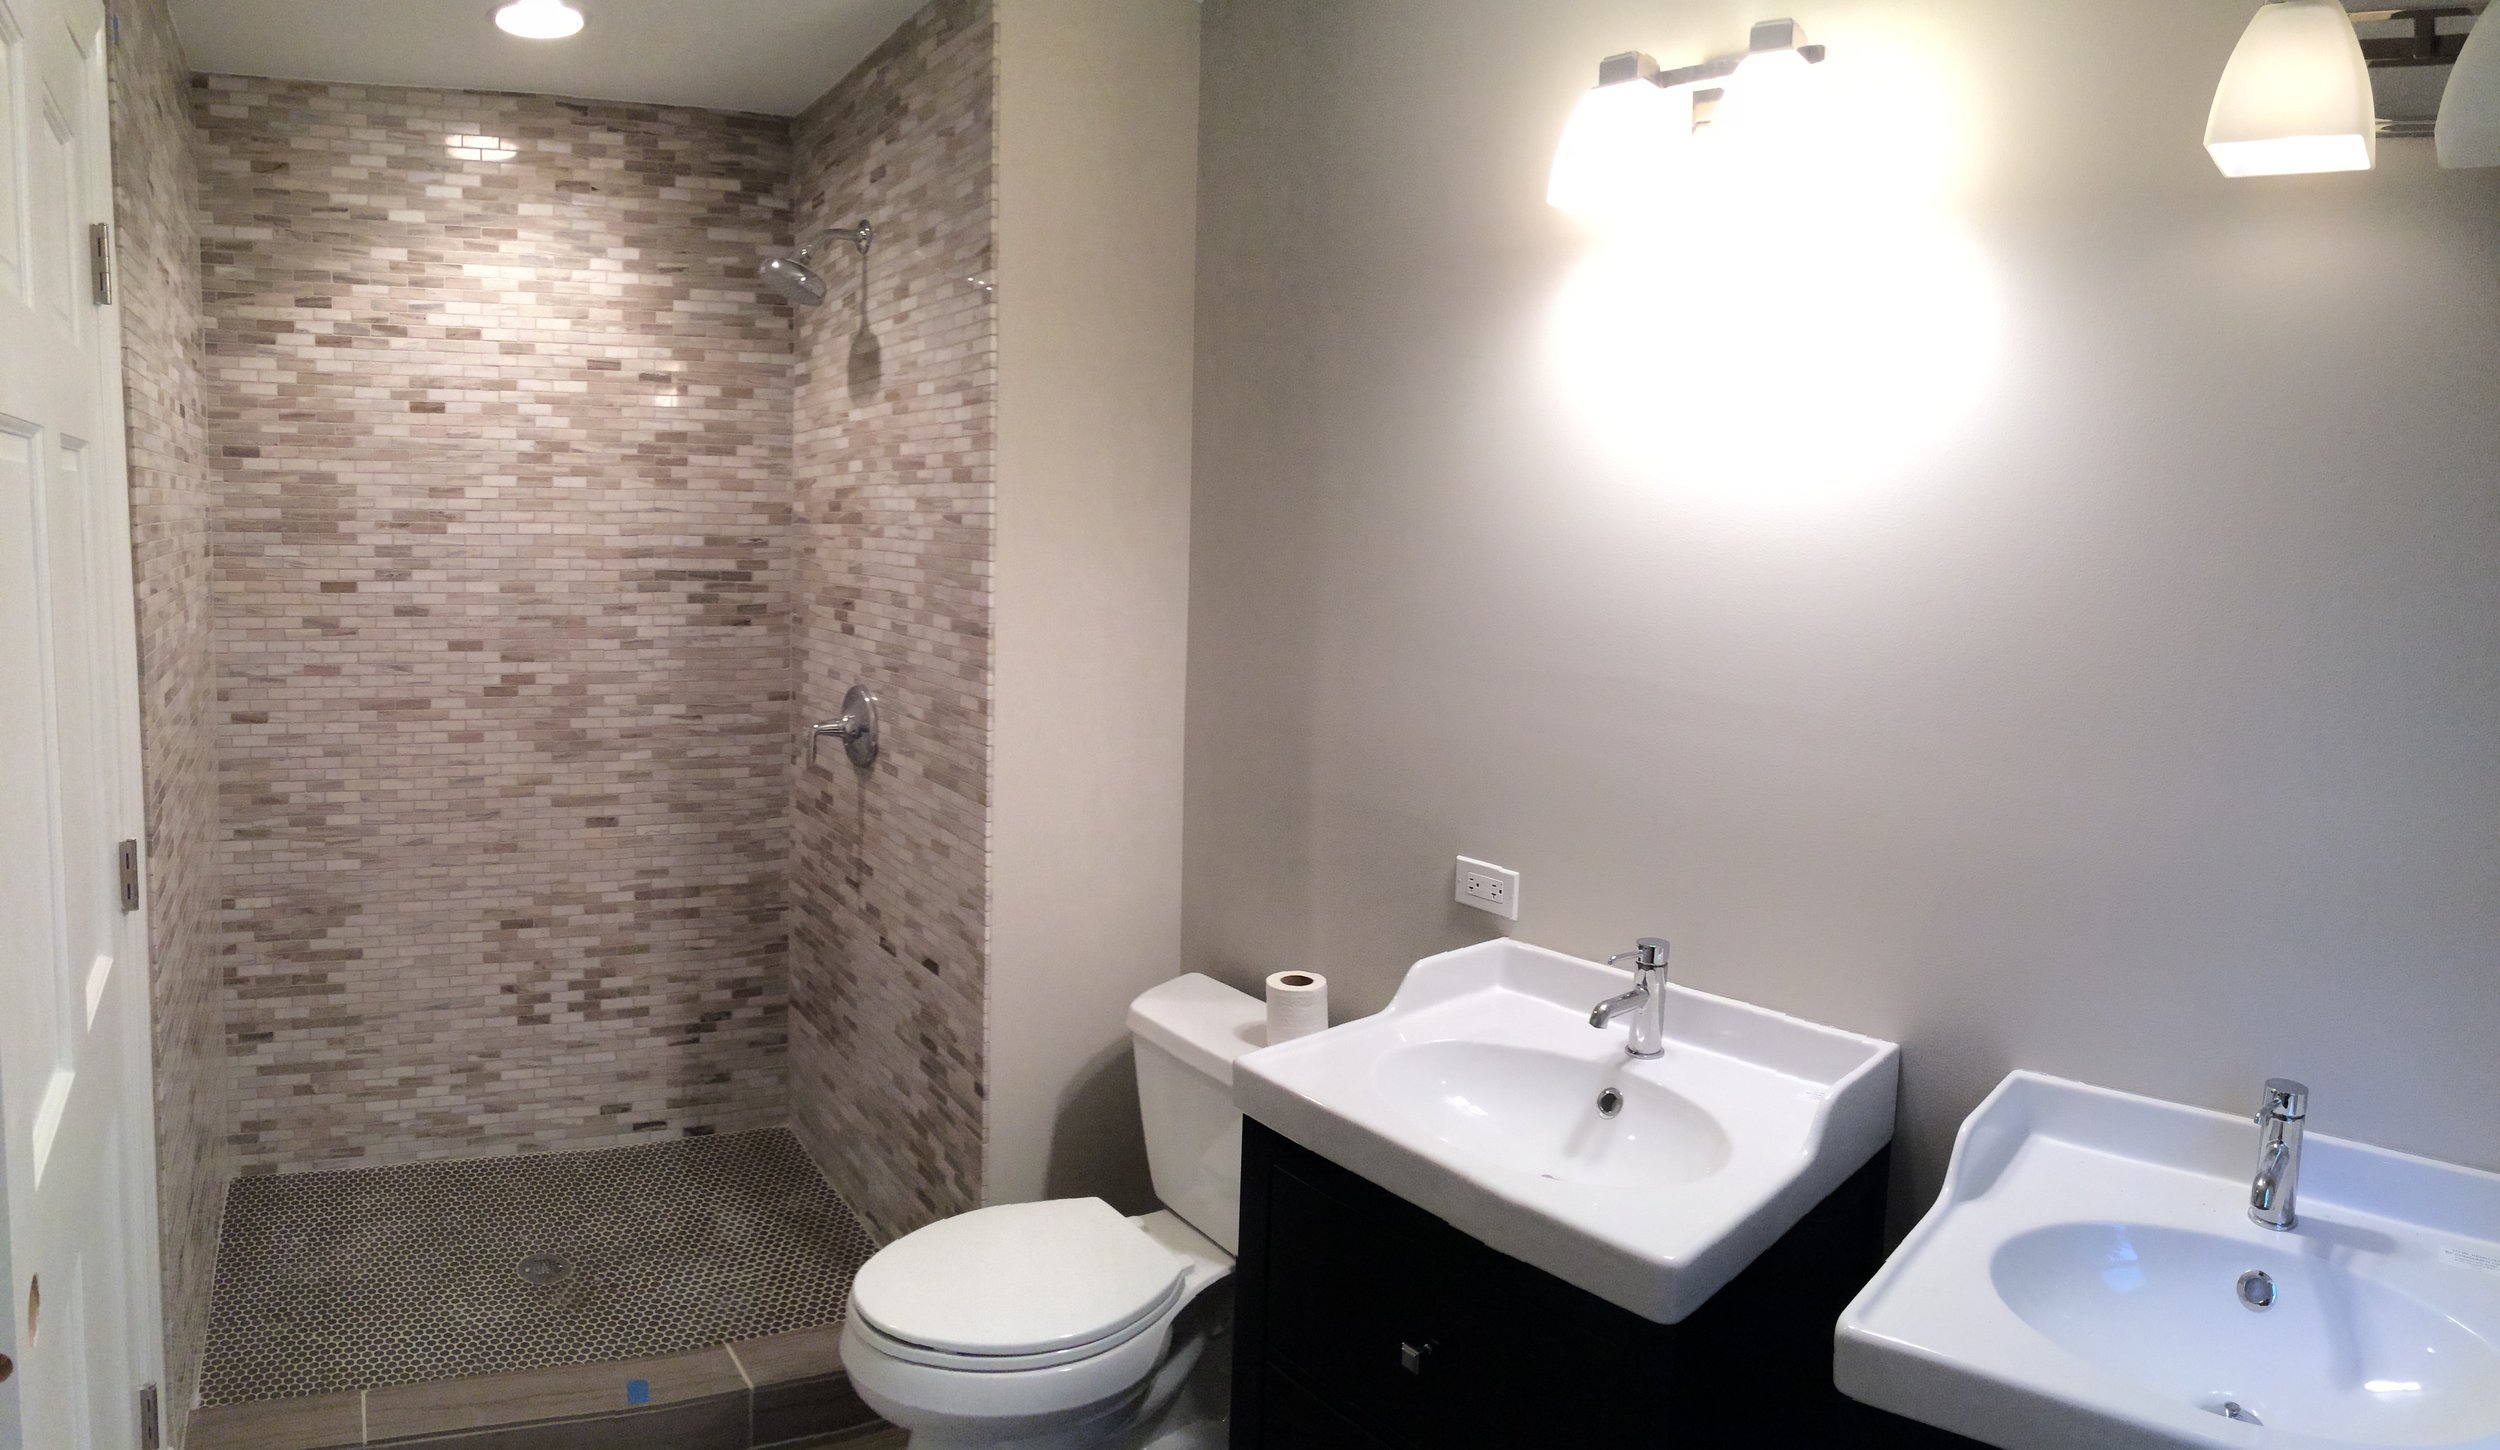
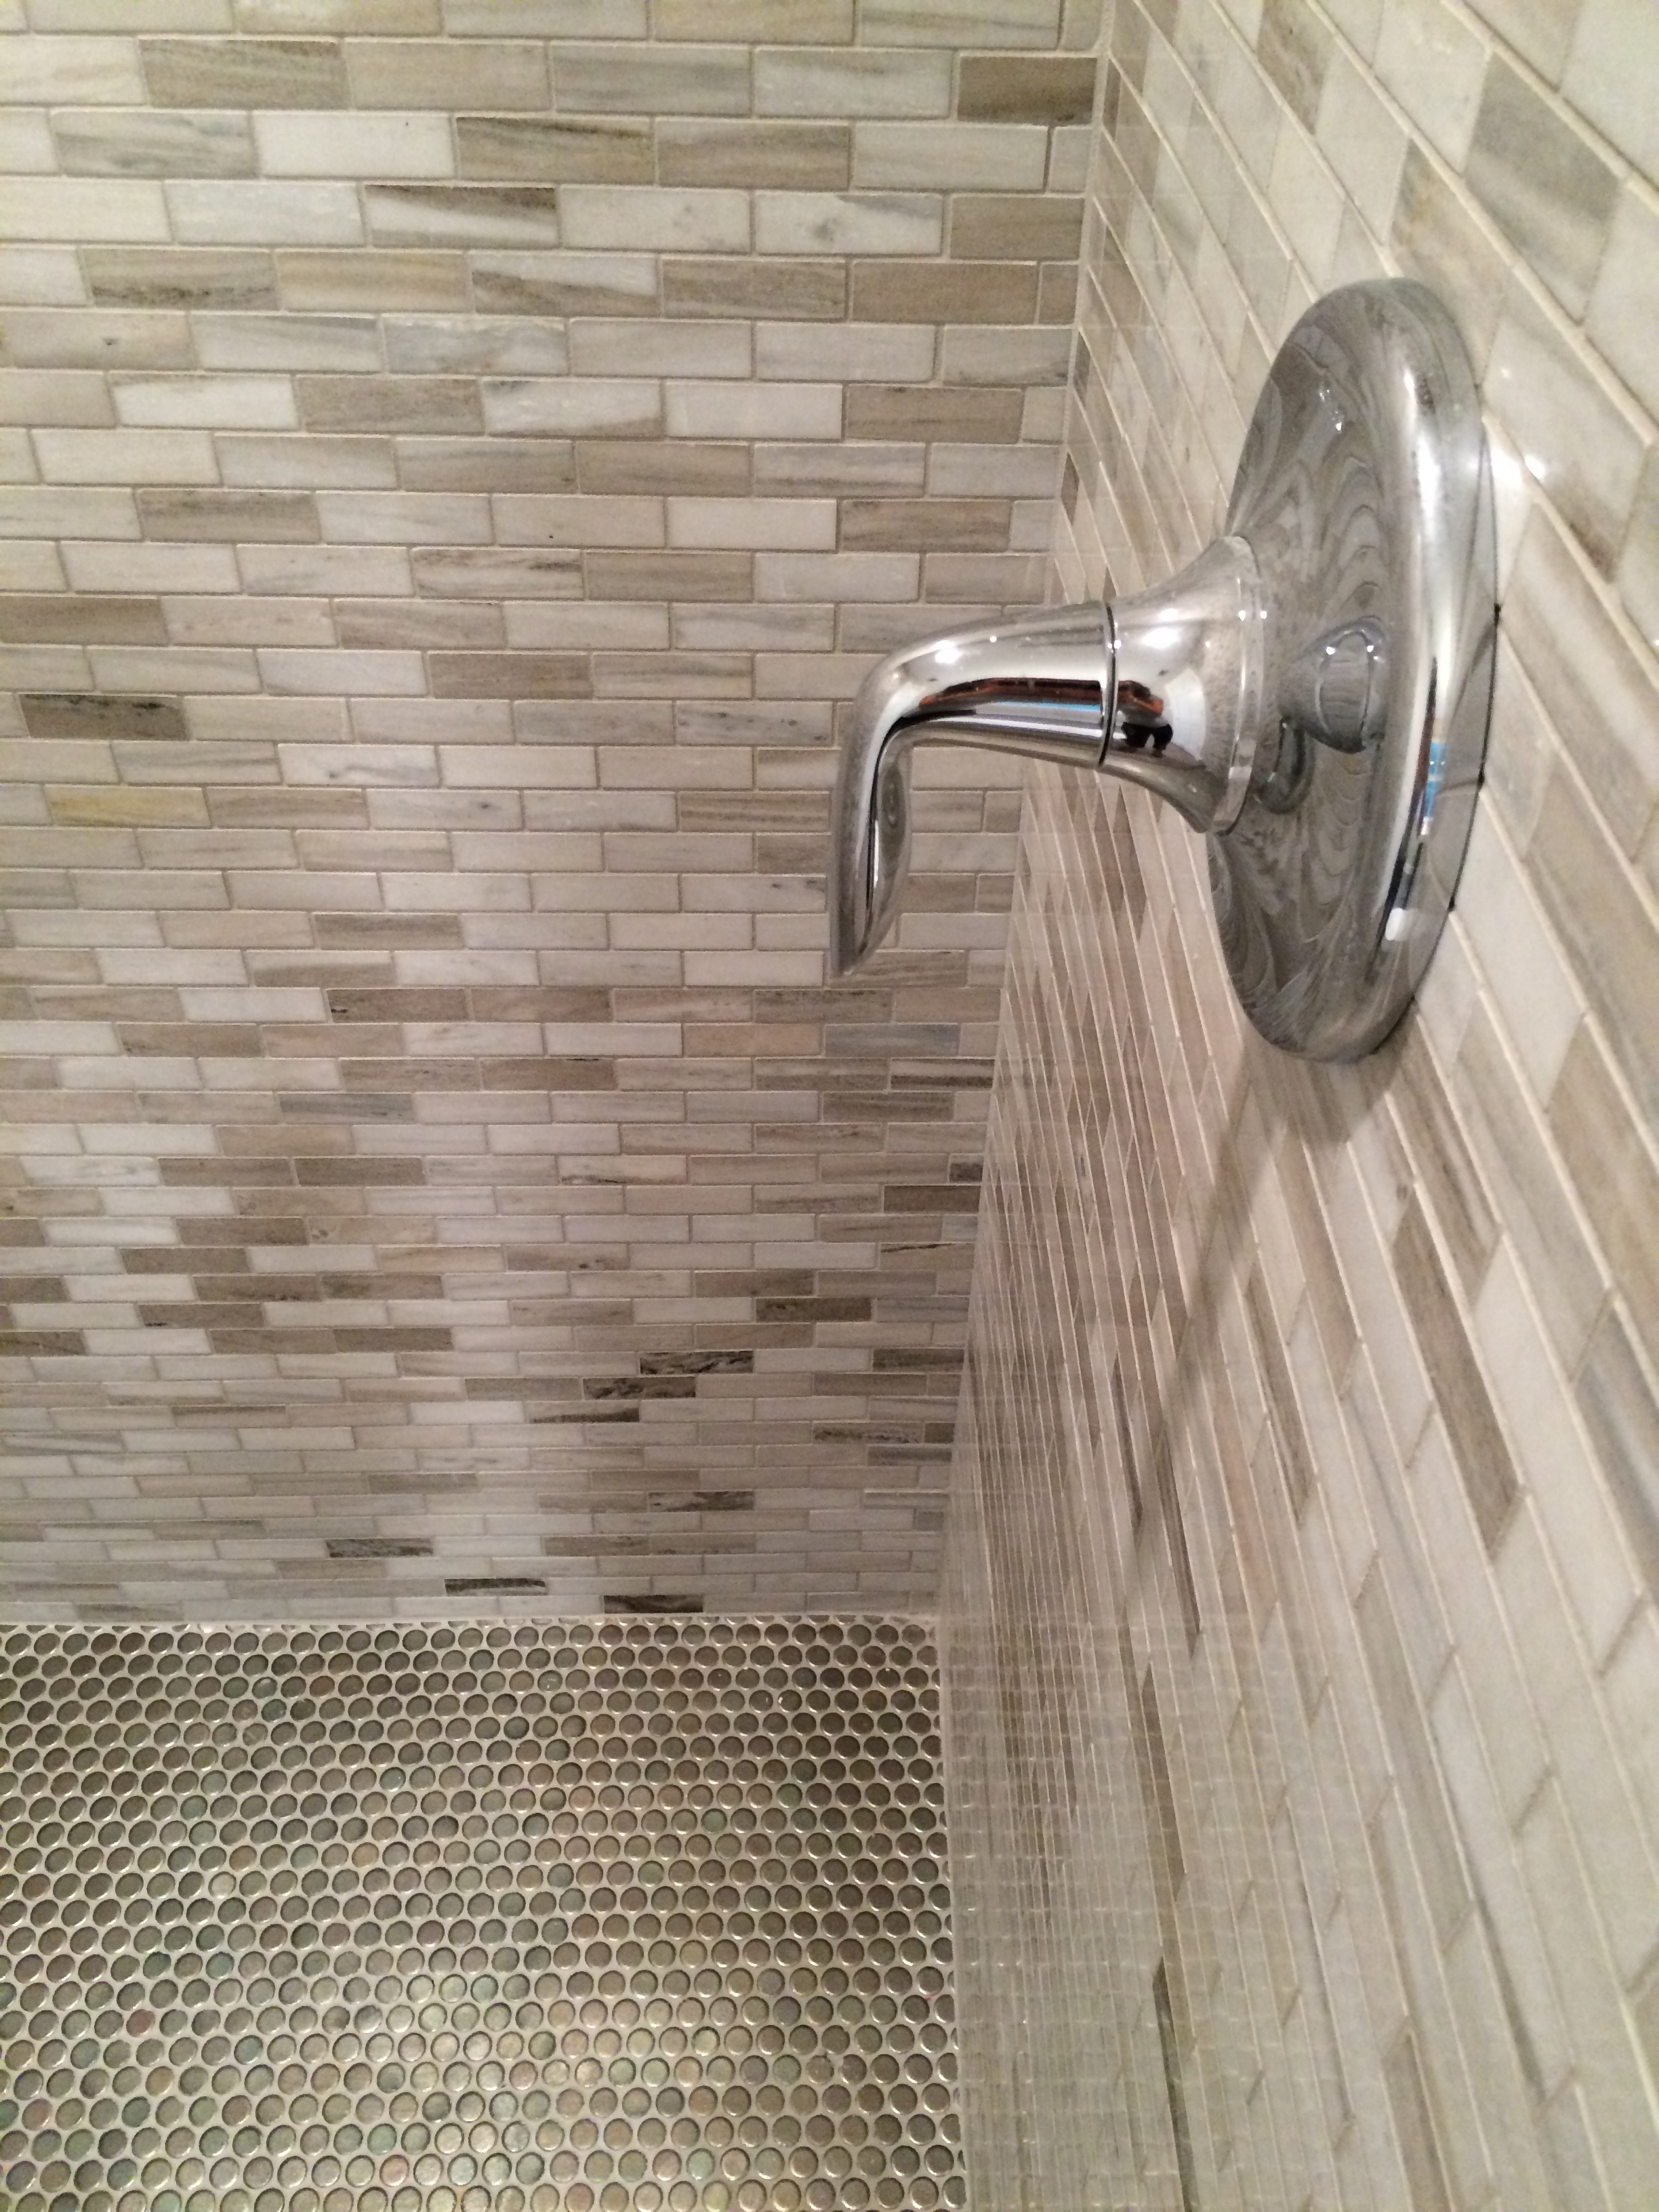
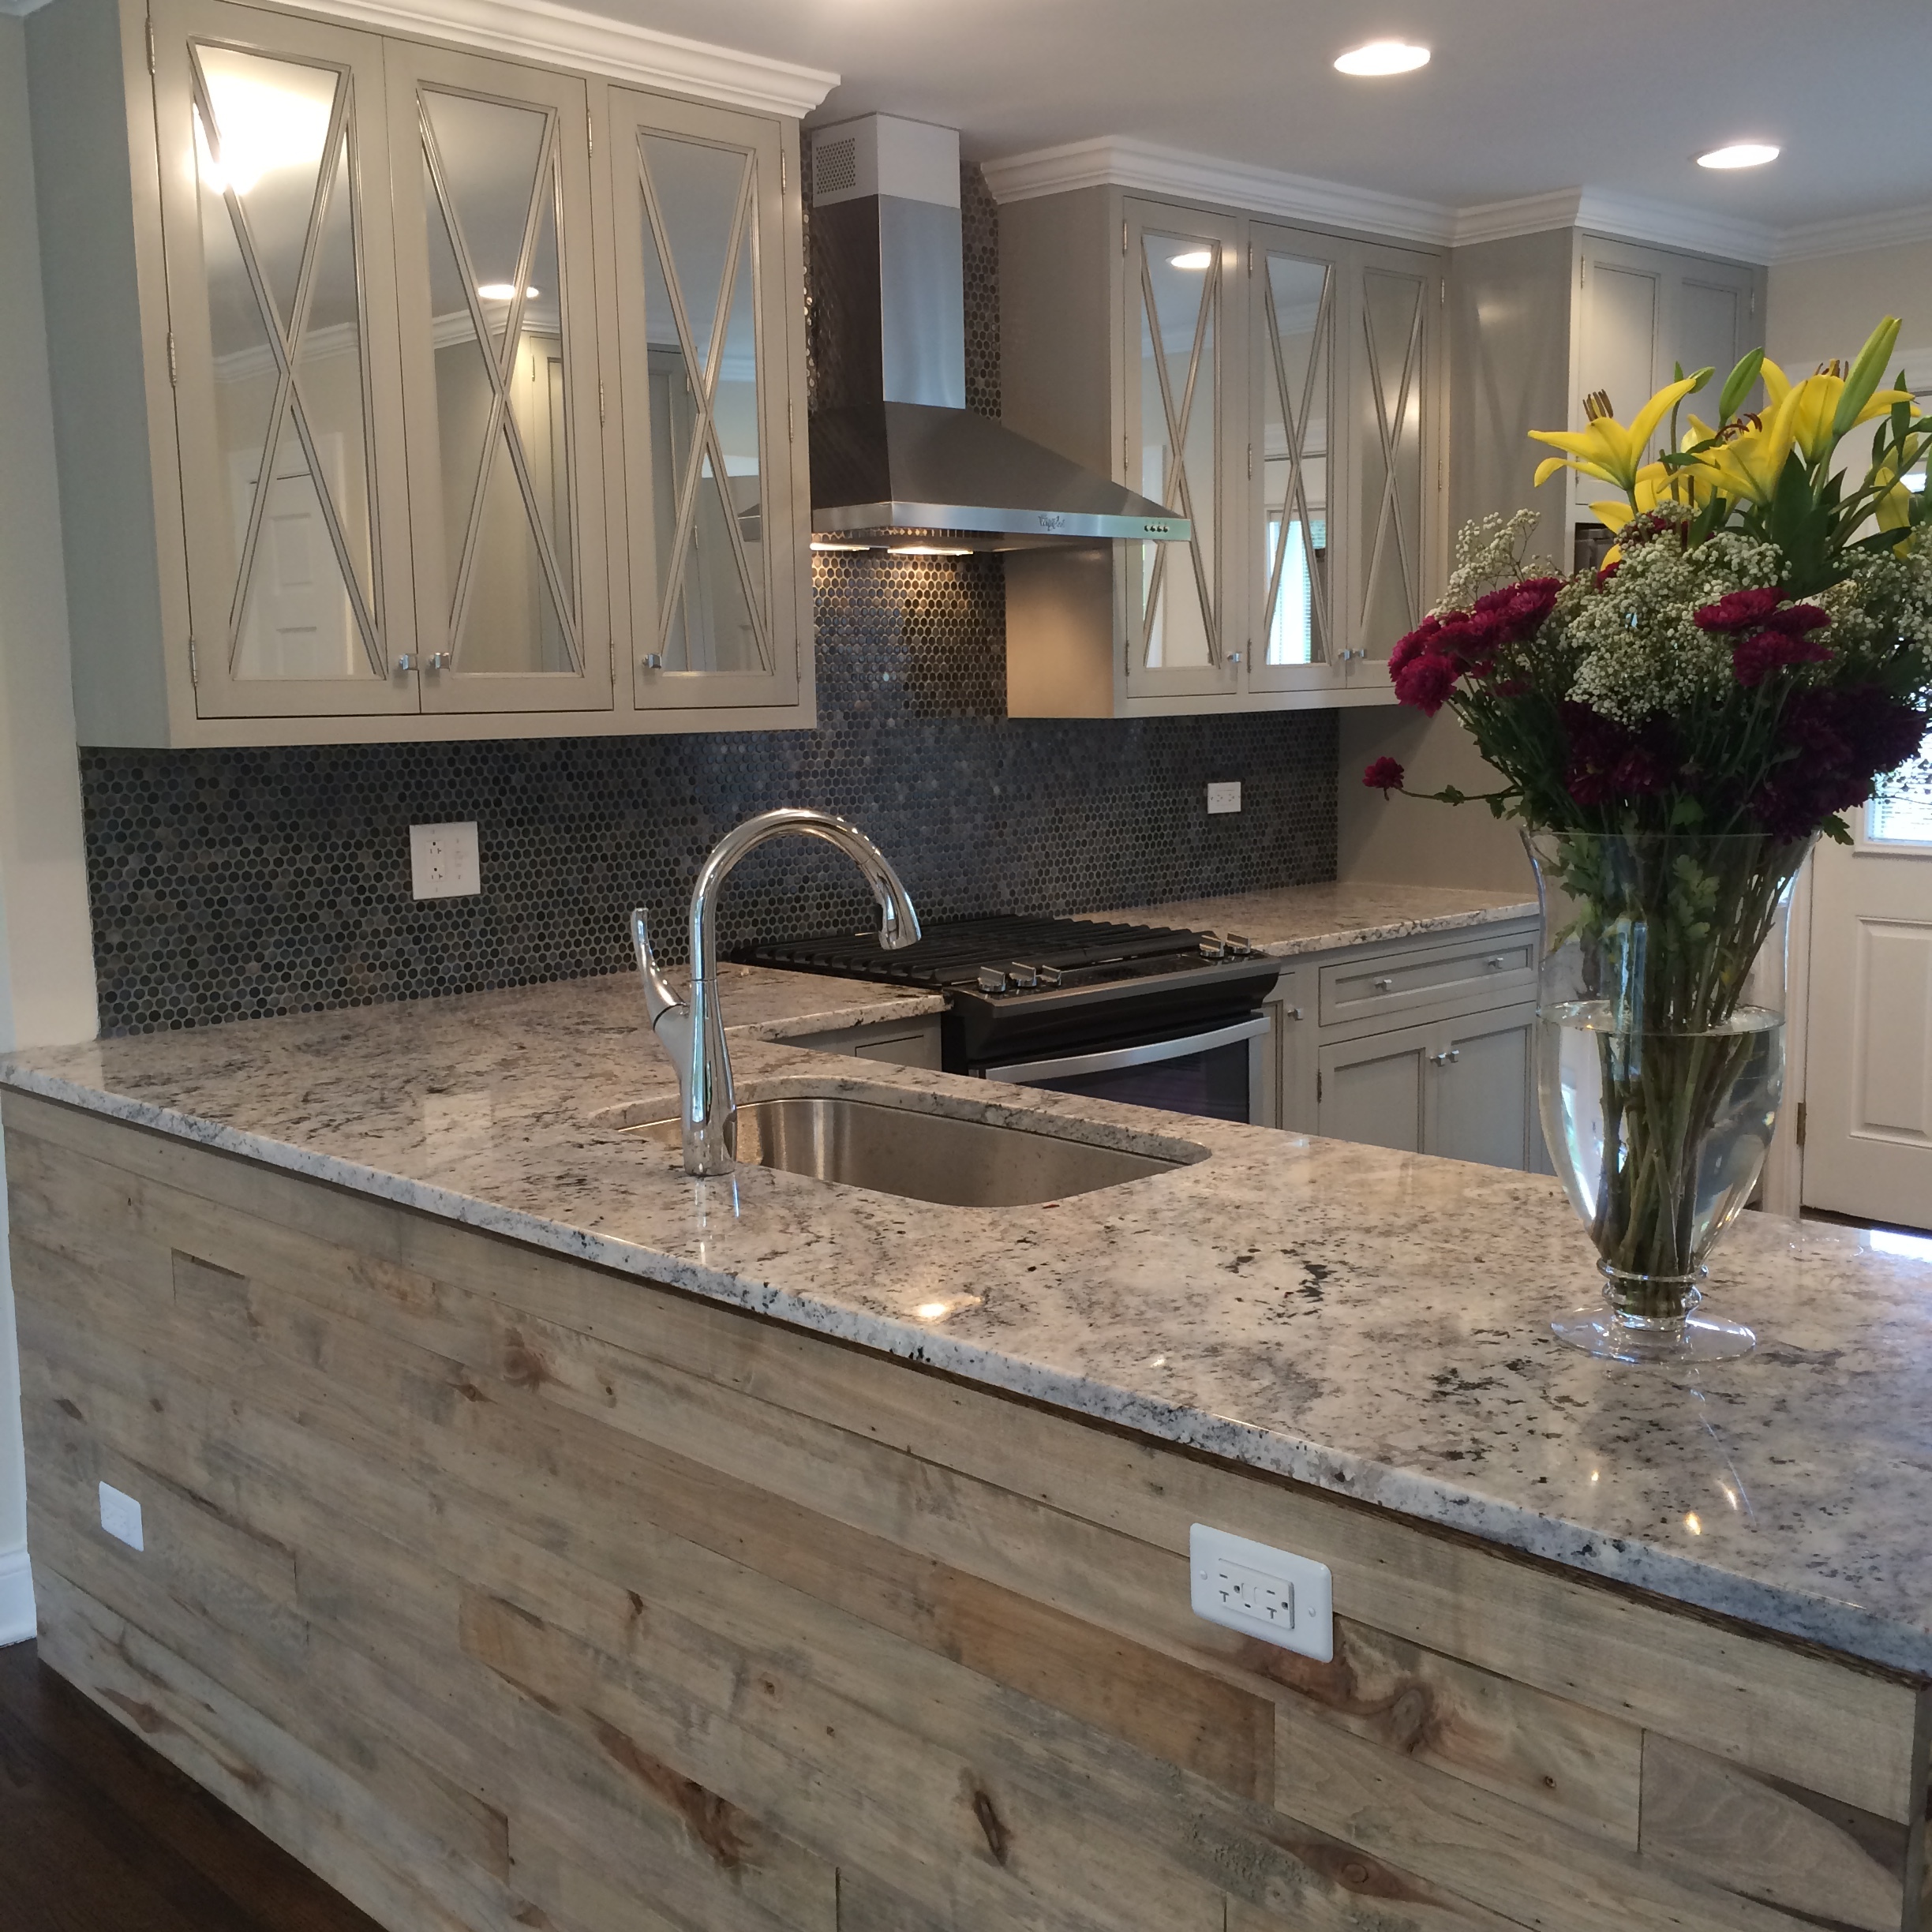
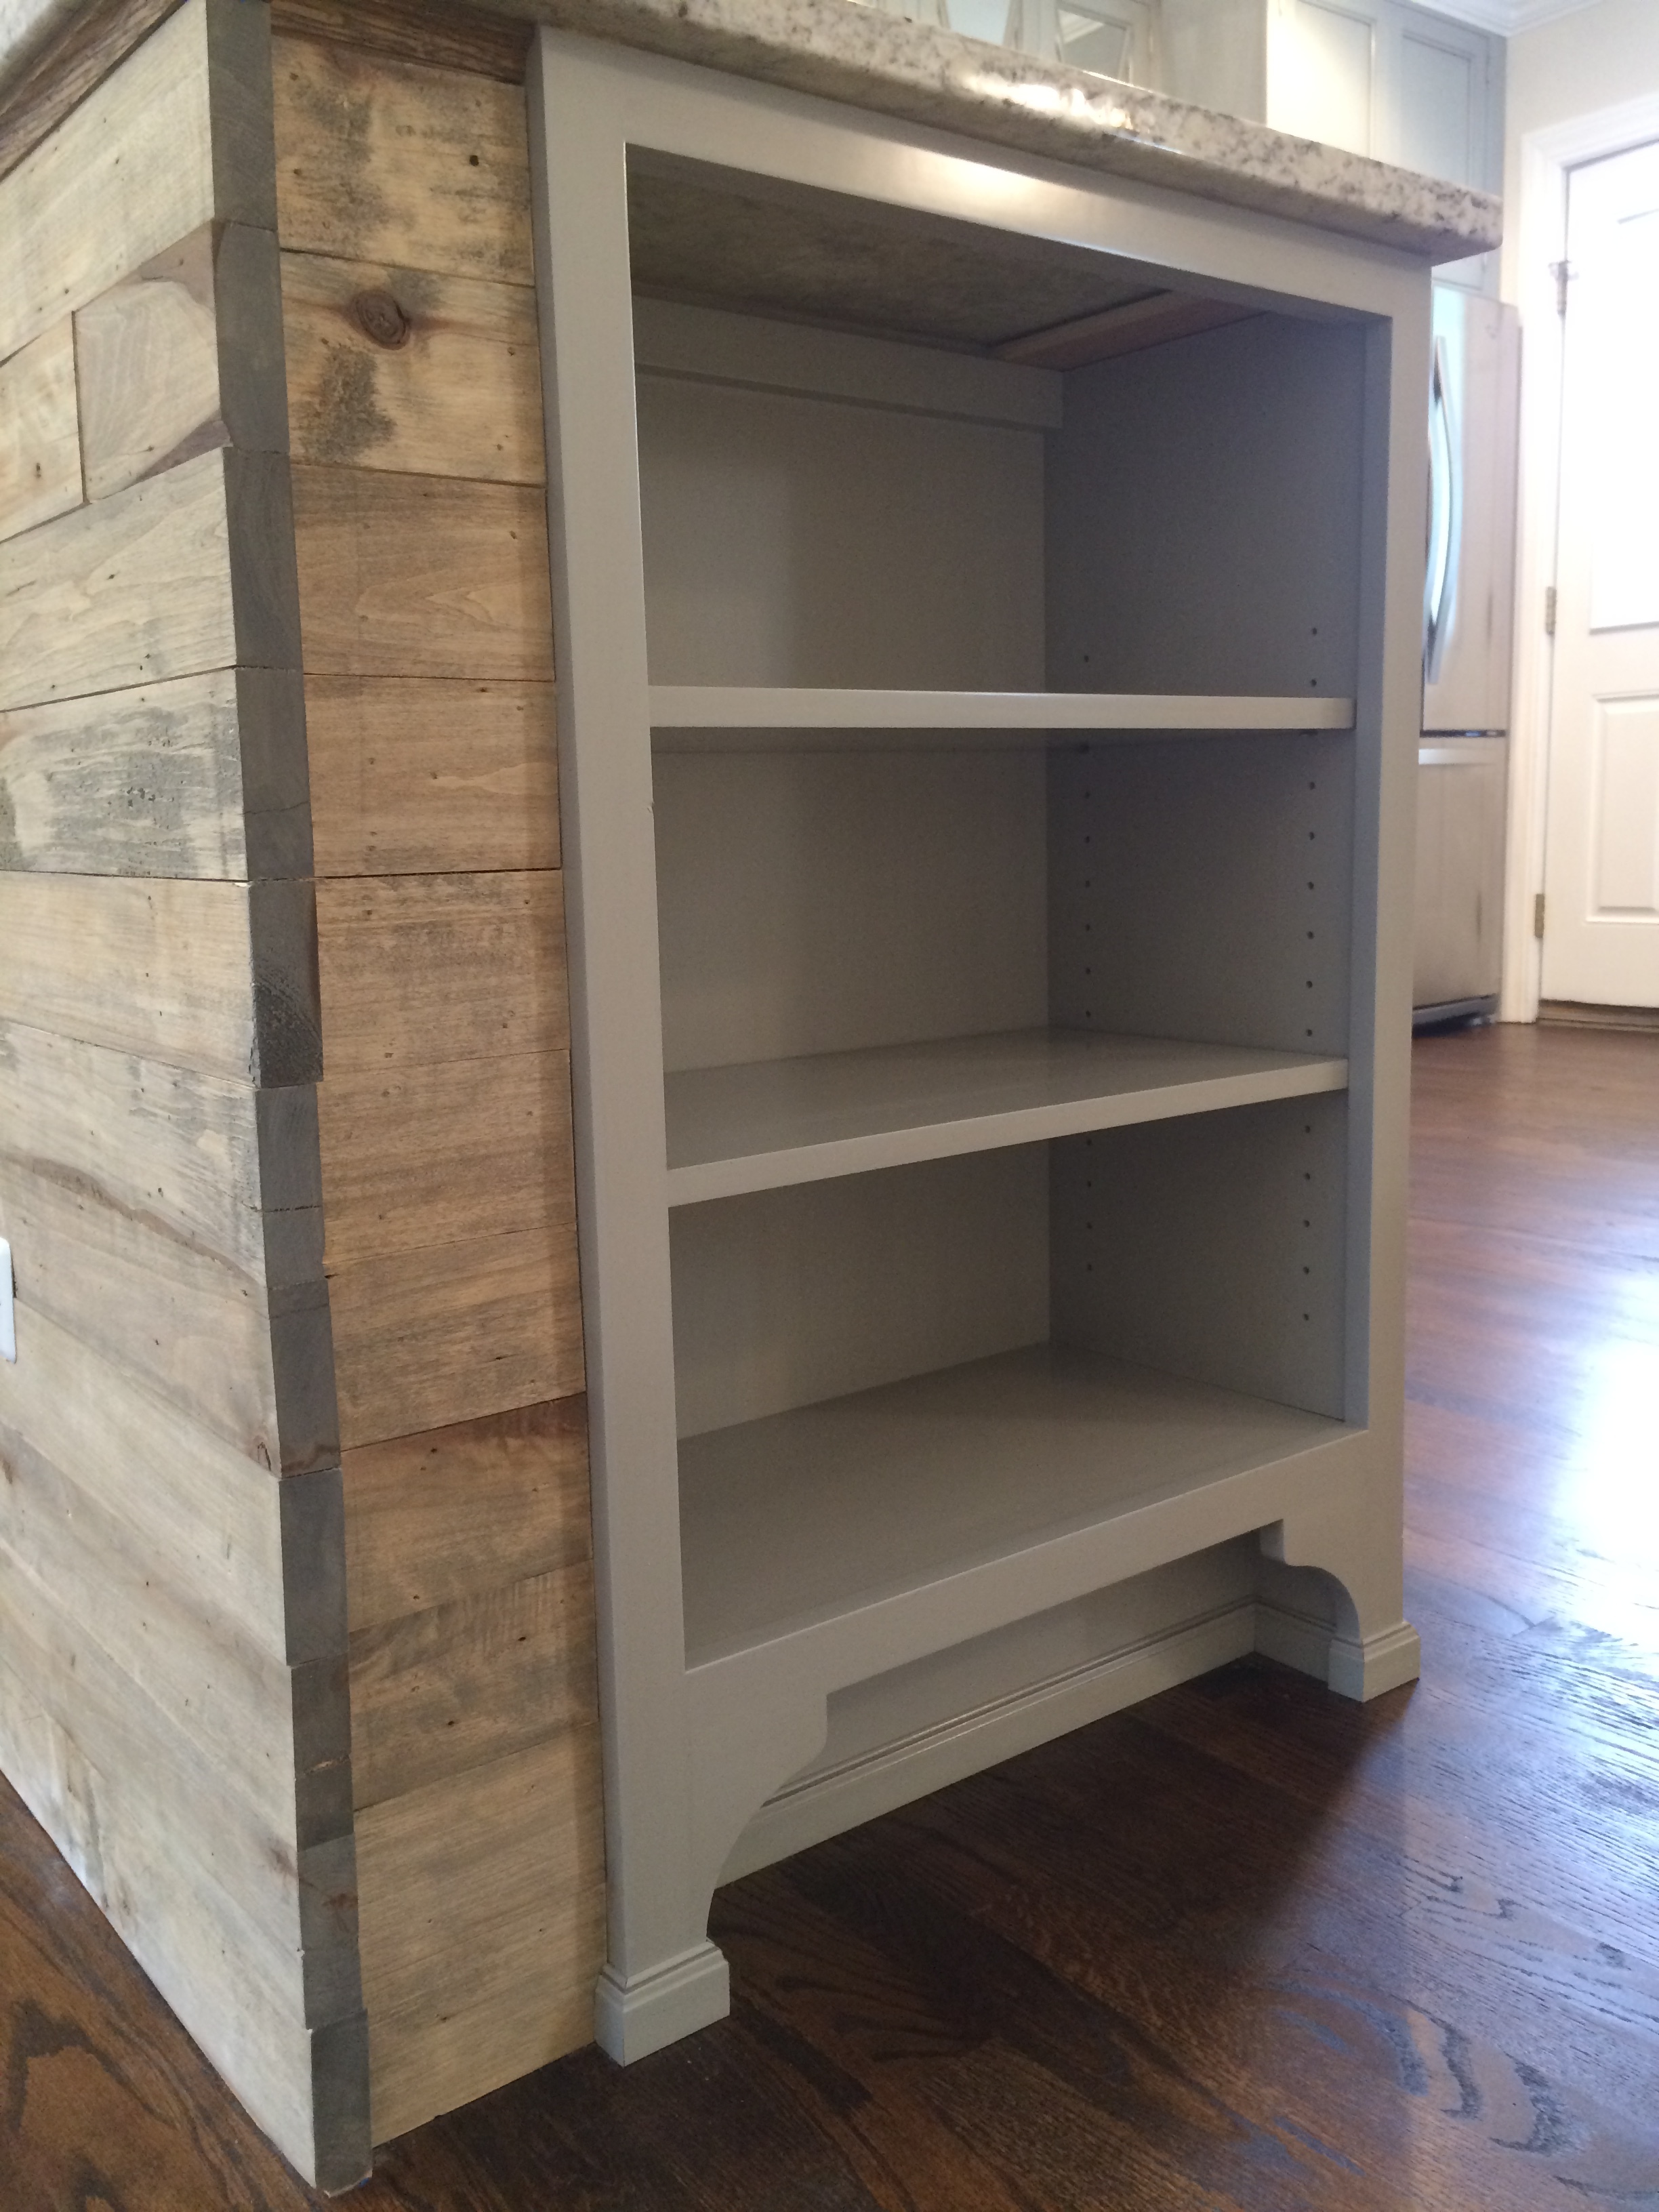
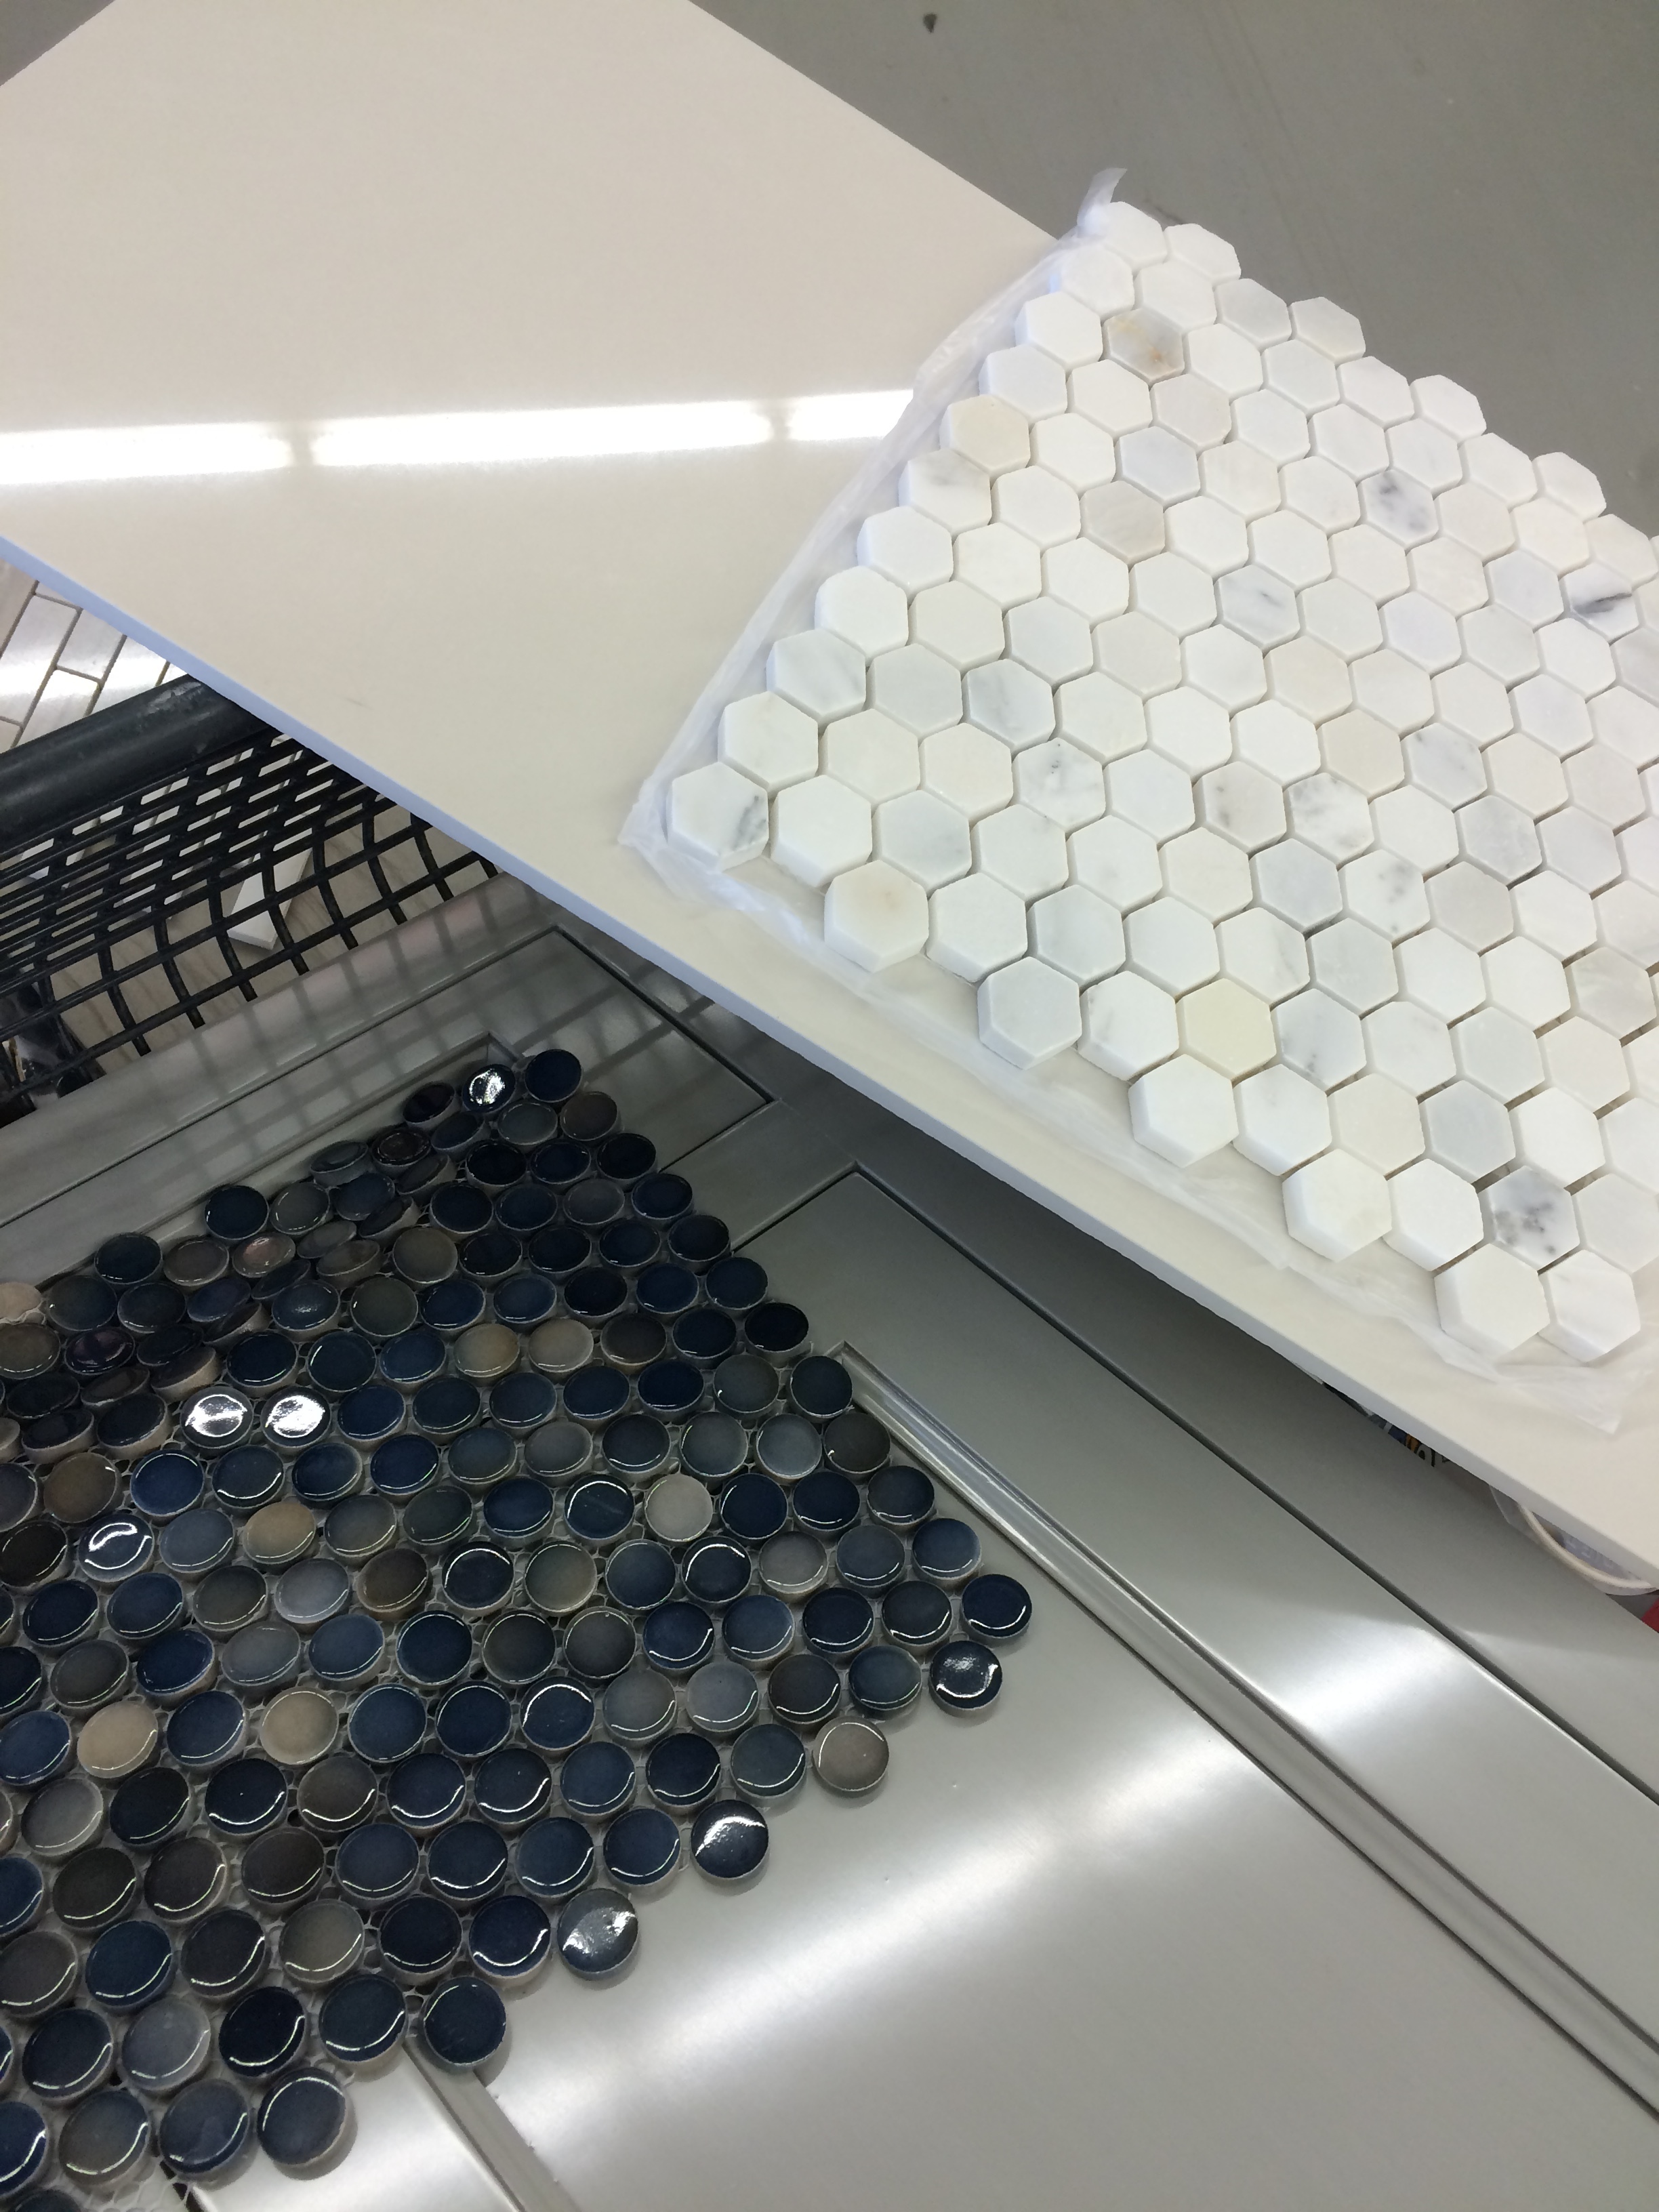
Not bad! As always, I sourced the fixtures and design elements myself, which gives me at least a small chance to be a little creative in the process. I have my favorite go-to dealers, but I also use Amazon and reclaimed items that I find in various places. I think the key is to detail items carefully, and rely on your contractors when needed, to avoid your pet projects looking too much like DIY. The graywashed wall of attic boards was particularly tricky - I found some cove molding leftover from the staircase trim, and used it to finish off the edges of the wall, and that seemed to work well. For the tile, paint, cabinetry, and general 'feel' of the house, I tried to stay on-trend and target a wide audience, and it seemed to work! As far as the investment side of this project went, it was 7 months from close to close, we went about 10% over budget, and I closed with enough profit to get myself into the mess that followed this project..... PART 2 coming next!